You boot up your Windows 7 computer, hoping for a productive day, but instead, you’re met with the unsettling sight of a black screen after running the Windows Memory Diagnostic Tool. This can be frustrating, especially if you suspect a RAM issue. Don’t worry, this guide will walk you through how to diagnose and fix this problem.
One of the first things you should understand is what the Windows Memory Diagnostic tool is. Essentially, it’s a built-in utility in Windows 7 designed to test your computer’s RAM (Random Access Memory) for errors. When you run this tool, it checks your RAM for any problems and then displays the results. However, sometimes, this process can result in a black screen, leaving you unsure of what went wrong.
 Windows 7 Memory Diagnostic Tool Black Screen
Understanding the “Windows 7 Memory Diagnostic Tool Black Screen”
Before we delve into the solutions, let’s understand why you might encounter this issue. The “Windows 7 Memory Diagnostic Tool Black Screen” often occurs after the tool has finished running its memory tests. You might see this black screen before the results are displayed or even during the testing process. This problem can be caused by several factors, including:
- Faulty RAM: The most common culprit is a problem with your RAM modules. This could be due to a failing RAM stick, incorrect installation, or incompatibility with your motherboard.
- Graphics card issues: Sometimes, the problem may not be your RAM but rather your graphics card. A driver conflict or outdated driver could be interfering with the display of the diagnostic results.
- Overheating: Excessive heat build-up within your computer can also lead to unexpected behavior, including the black screen issue.
- Software conflicts: Certain software applications or background processes might interfere with the Memory Diagnostic tool, leading to display problems.
 Causes of Windows 7 Memory Diagnostic Tool Black Screen
Troubleshooting Steps
Now that you have a better understanding of what might be causing the “Windows 7 Memory Diagnostic Tool Black Screen,” let’s move on to some troubleshooting steps.
1. Hard Reset Your Computer
Sometimes, the simplest solution is the most effective. A hard reset can often resolve temporary software glitches:
- Power off your computer completely.
- Unplug the power cable.
- Press and hold the power button for 15-20 seconds to drain any residual power.
- Plug the power cable back in and turn on your computer.
2. Check Your RAM Modules
Since faulty RAM is a frequent cause, visually inspecting and reseating your RAM modules is a good next step:
- Power off your computer and unplug it.
- Open your computer case and locate the RAM slots on the motherboard.
- Gently push down on the clips at both ends of each RAM module to release them.
- Carefully remove the RAM modules from their slots.
- Clean the RAM slots with compressed air to remove any dust or debris.
- Align the notch on each RAM module with the key in the slot and gently push it in until it clicks into place.
- Close your computer case, plug it in, and power it on.
3. Run the Memory Diagnostic Tool Again
After reseating the RAM, try running the Memory Diagnostic tool again to see if the black screen persists. If the issue was a loose connection, this might have solved the problem.
4. Test with One RAM Module at a Time
If you have multiple RAM modules installed, try testing with only one module at a time. This can help you isolate whether a specific RAM stick is causing the problem.
- Power off your computer and unplug it.
- Remove all but one RAM module from the motherboard.
- Power on your computer and run the Memory Diagnostic tool.
- Repeat this process for each RAM module to determine if one of them is faulty.
5. Check Your Graphics Card Driver
As mentioned earlier, graphics card driver issues can also lead to display problems. Make sure your graphics card driver is up to date:
- Press the Windows key and type “Device Manager” in the search bar.
- Open the Device Manager and expand the “Display adapters” category.
- Right-click on your graphics card and select “Update Driver Software.”
- Choose the option to search automatically for updated driver software.
- Follow the on-screen instructions to install the updated driver (if available).
For more advanced users, tools like DirectX Diagnostic Tool can be helpful in identifying and troubleshooting issues related to graphics and sound hardware. You can download and learn more about these tools through resources like DirectX Diagnostic Tools Download. These tools can provide a wealth of information to help you pinpoint the source of the problem.
6. Boot into Safe Mode
Booting into Safe Mode starts Windows with a minimal set of drivers and programs, which can help rule out software conflicts:
- Restart your computer.
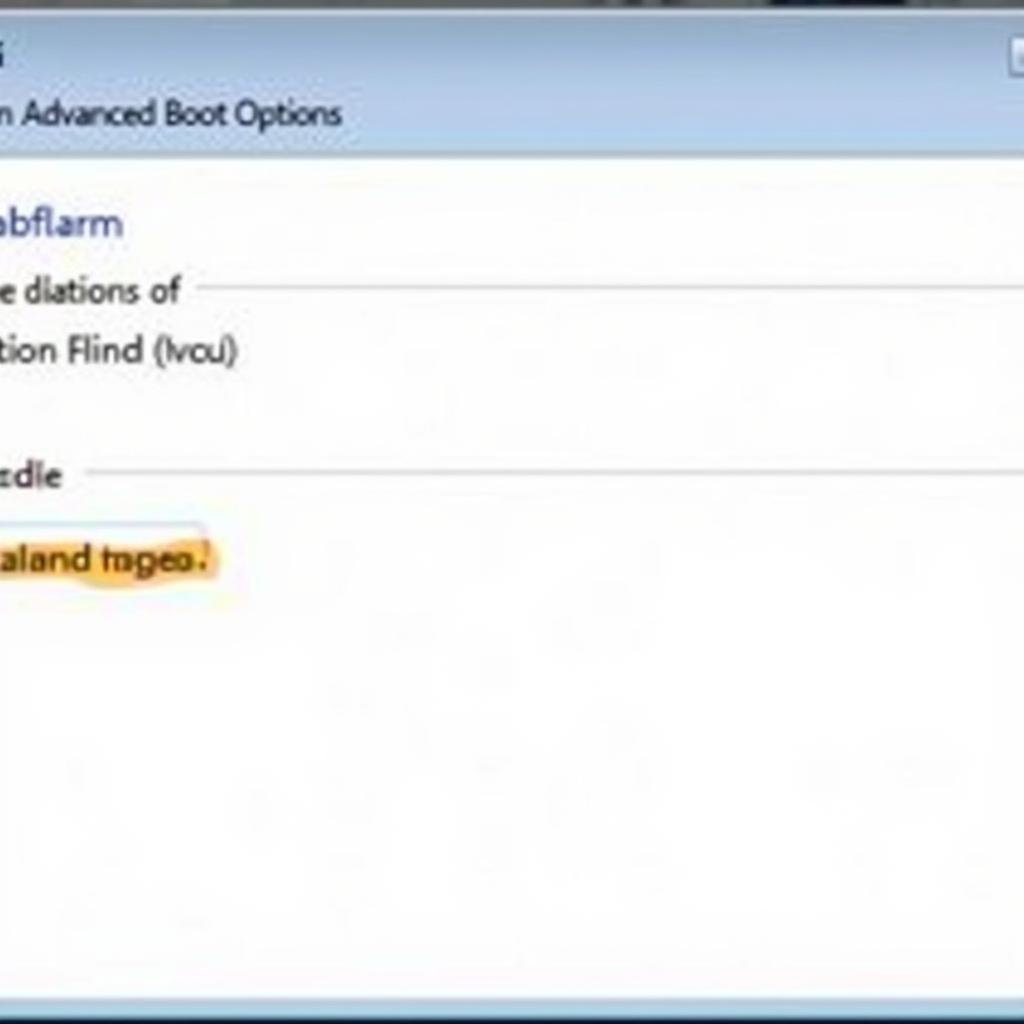
- Repeatedly press the F8 key during startup until the Advanced Boot Options menu appears.
- Select “Safe Mode” from the menu.
- Run the Memory Diagnostic Tool in Safe Mode. If the black screen doesn’t appear, a software conflict might be the culprit.
 Safe Mode Windows 7
7. Run a System File Checker Scan
System file corruption can also lead to various problems, including the black screen during memory diagnostics:
- Press the Windows key and type “cmd” in the search bar.
- Right-click on “cmd” and select “Run as administrator.”
- In the command prompt, type “sfc /scannow” and press Enter.
- Wait for the scan to complete and follow any on-screen instructions to repair corrupted files.
Still Facing the Black Screen?
If you’ve tried all the above steps and are still encountering the “Windows 7 Memory Diagnostic Tool Black Screen,” the issue might be more complex. Consider these additional tips:
-
Check your BIOS settings: Ensure that your RAM settings in the BIOS are configured correctly. Incorrect timings or voltage settings can cause problems. However, be cautious when making changes in the BIOS, as incorrect settings can lead to system instability.
-
Update your BIOS: An outdated BIOS can sometimes cause compatibility issues. Check your motherboard manufacturer’s website for the latest BIOS version for your model and follow their instructions for updating it.
-
Seek Professional Help: If you’re uncomfortable troubleshooting hardware or the problem persists, consider seeking help from a qualified computer technician. They can diagnose the issue more thoroughly and recommend the appropriate course of action.
“Remember,” says John Smith, Senior IT Technician at Tech Solutions Inc., “when troubleshooting computer issues, patience is key. Don’t panic if you encounter a black screen. By following these steps methodically, you can often identify and fix the problem yourself.”
Conclusion
The “Windows 7 Memory Diagnostic Tool Black Screen” can be alarming, but it’s usually solvable. By understanding the potential causes and following the troubleshooting steps outlined in this guide, you can often get to the root of the problem and resolve it. Remember to back up your important data before making any significant changes to your system, and don’t hesitate to seek professional help if needed.
If you’re still experiencing issues or need further assistance, don’t hesitate to contact us at ScanToolUS. Our team of experts is here to help you diagnose and resolve any car diagnostic tool-related problems. You can reach us at +1 (641) 206-8880 or visit our office at 1615 S Laramie Ave, Cicero, IL 60804, USA. We’re committed to providing you with the best possible support and guidance.
