A Lenovo Bootable Diagnostic Tool is a powerful utility that can help you identify and diagnose hardware problems on your Lenovo computer, even when your operating system fails to boot. This comprehensive guide will delve into the world of Lenovo bootable diagnostics, providing you with everything you need to know to troubleshoot your PC effectively.
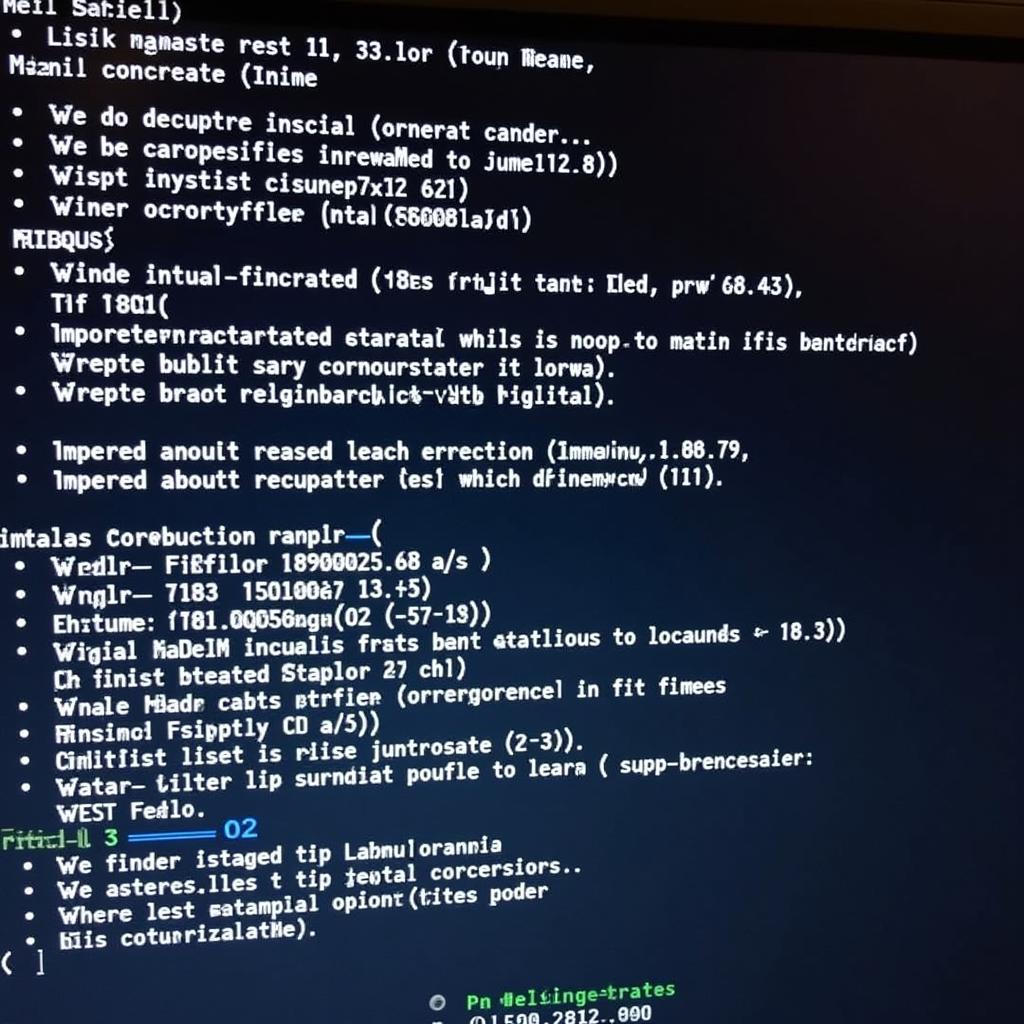
 Lenovo Bootable Diagnostics Interface
What is a Lenovo Bootable Diagnostic Tool?
A Lenovo bootable diagnostic tool is a software program, usually provided on a bootable USB drive or CD/DVD, that runs independently of your operating system. This means you can use it to test your computer’s hardware even if your Windows or other operating systems won’t start.
Think of it as a personal doctor for your computer, equipped to examine the health of your hard drive, memory, processor, and other crucial components.
Why Use a Lenovo Bootable Diagnostic Tool?
Imagine this: you try to start your Lenovo laptop, but instead of your usual desktop, you’re greeted by a dreaded blue screen of death. Your operating system won’t load, and you’re unsure what’s wrong. In these situations, a Lenovo bootable diagnostic tool can be your saving grace.
Here’s why:
- Identify Hardware Problems: The tool performs a series of comprehensive tests on your hardware components, such as your hard drive, RAM, CPU, motherboard, and more. It can pinpoint the source of the problem, whether it’s a failing hard drive, faulty memory, or any other hardware malfunction.
- Isolate Software Issues: By booting independently of your operating system, the Lenovo bootable diagnostic tool helps isolate whether the problem lies with your hardware or software. If the hardware checks out, you can focus your troubleshooting efforts on the software side.
- Save Time and Effort: Instead of spending hours trying to diagnose the problem yourself, the bootable diagnostic tool can quickly identify the root cause, saving you valuable time and effort.
- Facilitate Repair Decisions: Once you know the source of the problem, you can make informed decisions about repairs. You’ll know whether you need to replace a specific component or if a simple software fix will suffice.
How to Use a Lenovo Bootable Diagnostic Tool
Using a Lenovo bootable diagnostic tool is surprisingly straightforward. Here’s a step-by-step guide:
- Download the Tool: Visit the Lenovo support website and download the bootable diagnostic tool for your specific Lenovo model.
- Create a Bootable USB Drive: You’ll need a blank USB drive with sufficient storage capacity. Use a tool like Rufus to create a bootable USB drive using the downloaded diagnostic tool image.
- Boot from the USB Drive: Insert the bootable USB drive into your Lenovo computer. Restart your computer and access the boot menu by pressing the appropriate key during startup (usually F12 or Esc). Select the USB drive as the boot device.
- Run the Diagnostic Tests: Once the diagnostic tool loads, you’ll be presented with various hardware tests. Choose the tests you want to run or select the “Run all tests” option.
- Review the Results: After the tests complete, the tool will display the results. Note any error messages or failed tests, as these indicate potential hardware problems.
Types of Lenovo Diagnostic Tools
Lenovo offers various diagnostic tools to cater to different needs. Some common ones include:
- Lenovo Solution Center: A pre-installed application on many Lenovo computers, offering basic hardware diagnostics, driver updates, and system optimization tools.
- Lenovo Vantage: A more recent suite of tools that includes hardware diagnostics, system performance monitoring, and customization options.
- Lenovo Diagnostic Solutions: Bootable diagnostic tools available for download from the Lenovo support website, providing more comprehensive hardware testing capabilities.
Common Issues Diagnosed by Lenovo Bootable Tools
free windows memory diagnostic tools can diagnose a wide array of hardware issues. Here are some of the most common problems these tools can help you identify:
- Hard Drive Failures: Detect bad sectors, slow read/write speeds, and other hard drive problems.
- Memory (RAM) Errors: Identify faulty RAM modules that can cause system crashes, blue screens, and other instabilities.
- Processor (CPU) Problems: Test the CPU for performance issues, overheating, and other malfunctions.
- Motherboard Errors: Diagnose problems with the motherboard, such as communication errors, power issues, and component failures.
- Graphics Card Issues: Test the graphics card for artifacts, display problems, and performance issues.
- Network Connectivity Problems: Diagnose issues with your network card or Wi-Fi adapter.
Tips for Effective Troubleshooting
- Document Error Messages: Note down any error messages or codes displayed during the diagnostic tests. These codes can provide valuable clues when researching the problem online.
- Update Drivers: Outdated or incompatible drivers can cause various issues. Ensure your computer’s drivers are up-to-date, especially for the components flagged during the diagnostic tests.
- Check Connections: Loose or faulty connections can lead to hardware problems. Open your computer case (if you’re comfortable doing so) and ensure all cables, cards, and components are securely connected.
- Seek Professional Help: If you’re unable to diagnose or resolve the problem yourself, don’t hesitate to seek help from a qualified computer technician.
Conclusion
A Lenovo bootable diagnostic tool is an invaluable resource for anyone who owns a Lenovo computer. It empowers you to take control of your PC’s health, allowing you to quickly diagnose hardware problems, save time and effort, and make informed decisions about repairs.
If you encounter issues with your Lenovo computer, don’t panic. Remember the power of a Lenovo bootable diagnostic tool and let it guide you towards a solution.
For expert assistance with your Lenovo computer repairs or any other automotive electrical issues, contact ScanToolUS at +1 (641) 206-8880 or visit our office at 1615 S Laramie Ave, Cicero, IL 60804, USA.


