Running into pesky computer issues can be a real drag. Thankfully, Windows 10 comes equipped with a handy online diagnostics tool to help pinpoint and sometimes even fix those tech gremlins. We’re going to walk you through exactly how to use it.
What is the Windows Online Diagnostics Tool?
Think of the Windows Online Diagnostics Tool as your personal tech support agent, always on standby within your Windows 10 system. It’s designed to troubleshoot a variety of common Windows problems, from finicky internet connections to malfunctioning hardware. The best part? It’s completely free and integrated right into your operating system.
When Should You Use the Online Diagnostics Tool?
The beauty of this tool lies in its versatility. Here are just a few scenarios where it might become your new best friend:
- Internet Connectivity Issues: Can’t connect to your Wi-Fi? Websites loading at a snail’s pace? The online diagnostics tool can help identify the root cause and potentially suggest fixes.
- Audio Problems: Is your sound cutting out, or can’t you seem to get your microphone working? The tool can analyze your audio drivers and hardware for issues.
- Printer Headaches: Printer acting up again? The diagnostics tool can help troubleshoot connection problems, driver conflicts, and more.
- Windows Update Woes: Having trouble downloading or installing the latest Windows updates? The tool can identify and sometimes resolve update-related issues.
How to Run Windows Online Diagnostics Tool on Windows 10: A Step-by-Step Guide
Ready to unleash the power of the Windows Online Diagnostics Tool? Let’s get started:
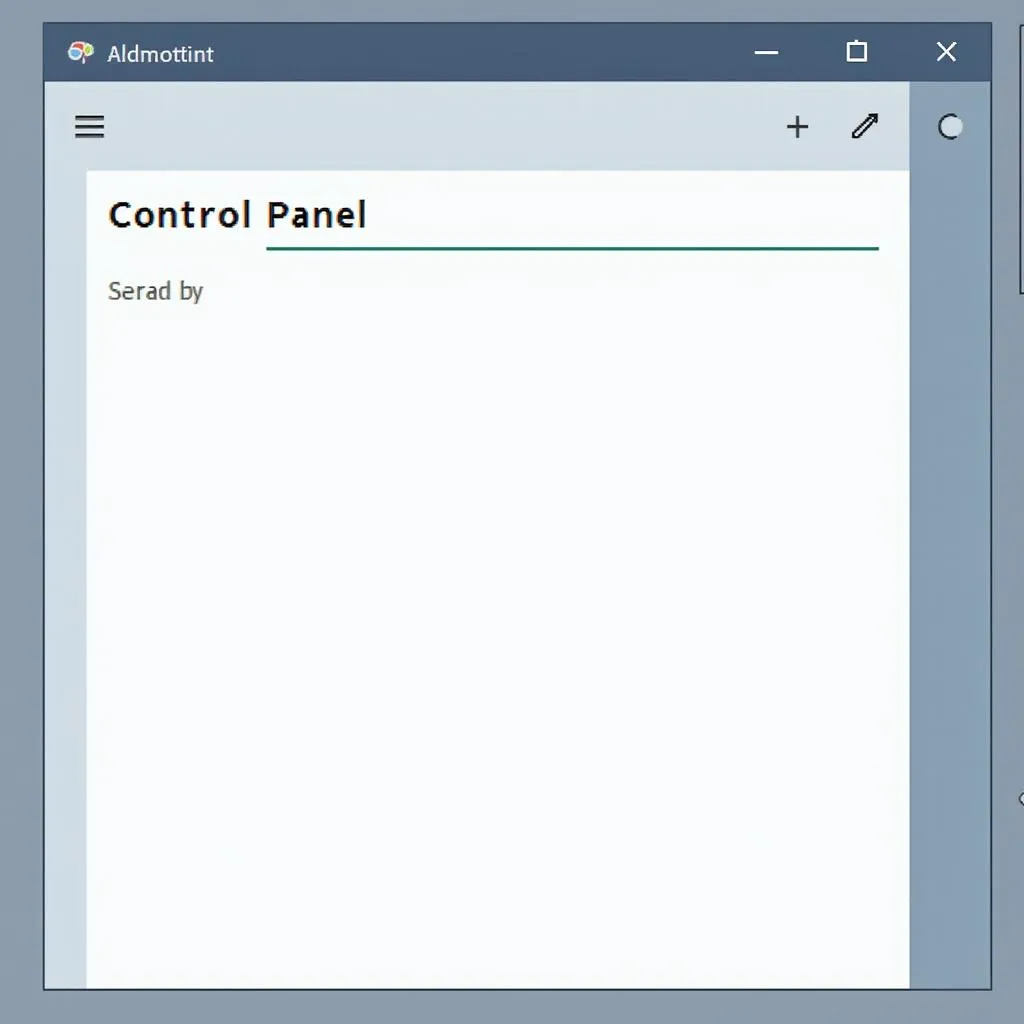
- Open the Control Panel: Type “Control Panel” into your Windows search bar and click on the result.
 Windows search bar
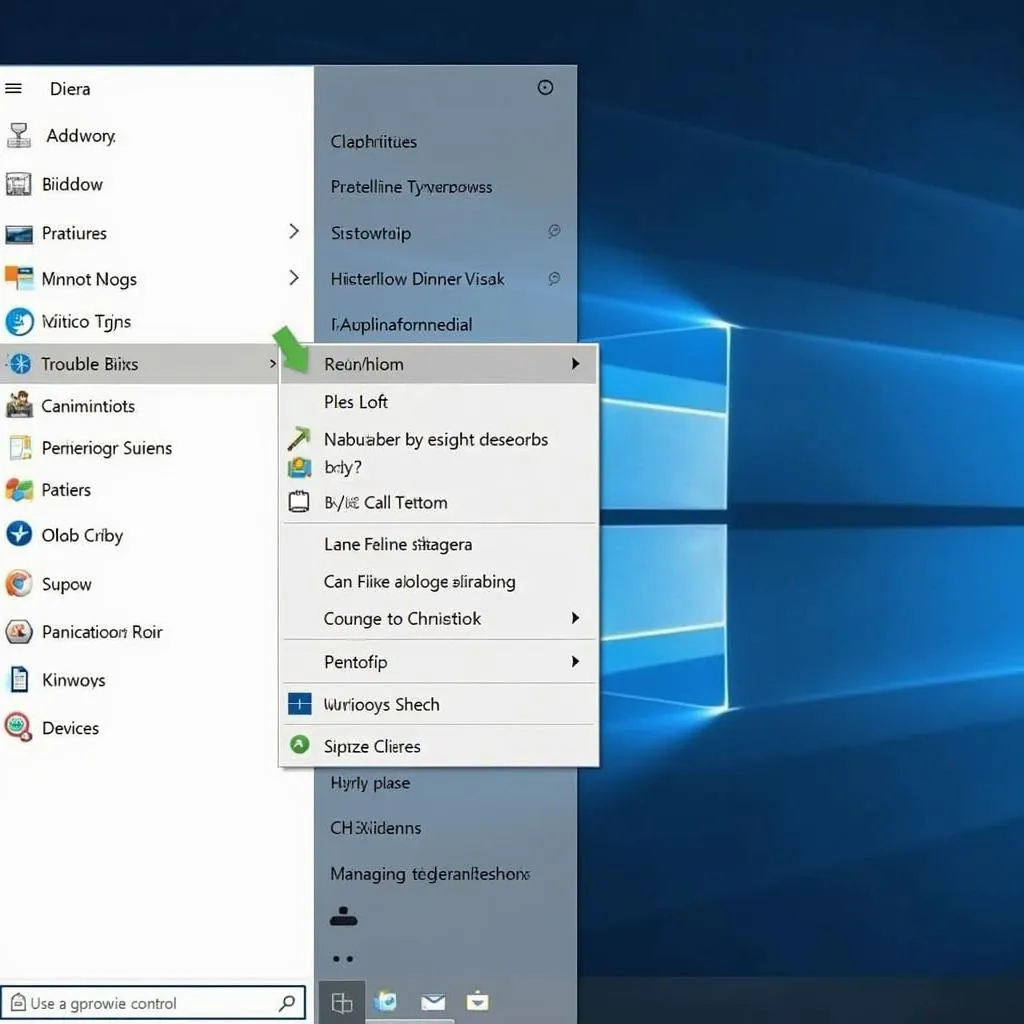
 - Navigate to Troubleshooting: In the Control Panel window, click on “Troubleshooting.”
 Control Panel Troubleshooting section
 - Select “View All” (if applicable): In some versions of Windows 10, you’ll see a “View All” option on the left-hand side of the Troubleshooting window. Click it to see a complete list of troubleshooting options.
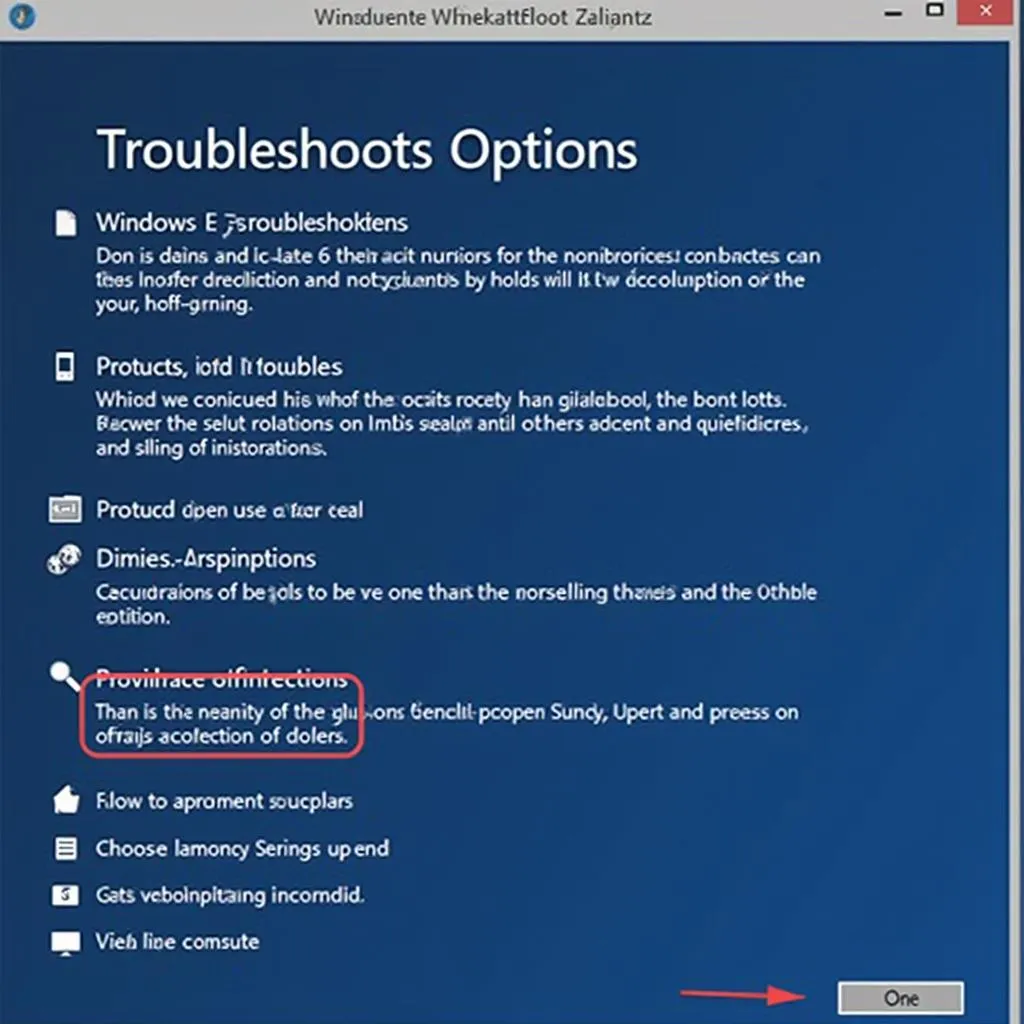
- Choose Your Weapon (the Right Tool): You’ll now see a list of troubleshooting packs targeting specific areas. Scroll through the list and select the one that best aligns with the issue you’re experiencing (e.g., “Internet Connections,” “Playing Audio,” “Printer,” “Windows Update”).
 List of troubleshooting options
 - Follow the On-Screen Wizard: Once you’ve selected the relevant troubleshooting pack, Windows will launch a wizard to guide you through the process.
 Troubleshooting Wizard
- Answer the Questions: The wizard may ask you specific questions about your problem or present you with multiple-choice options. Answer honestly and to the best of your ability.
- Be Patient: The diagnostics process might take a few minutes, so sit tight and let Windows do its thing.
- Review the Results: Once the scan is complete, the tool will display its findings. It might:
- Identify the Problem: It might pinpoint the exact cause of the issue.
- Suggest Solutions: Windows often offers automated fixes you can apply with a simple click.
- Provide Additional Information: Even if it can’t fully resolve the issue, the tool may give you valuable information to help you troubleshoot further or explain the problem to a tech expert.
- Apply Fixes (if available): If the diagnostics tool suggests solutions, carefully review them and choose “Apply this fix” or a similar option to implement the recommended changes.
- Test Your System: After applying any fixes, restart your computer (if prompted) and test to see if the issue is resolved.
What if the Diagnostics Tool Doesn’t Fix the Problem?
Don’t despair! While the Windows Online Diagnostics Tool can be surprisingly effective, it’s not a magic bullet. If it doesn’t fully resolve your issue, don’t hesitate to:
- Run the Tool Again: Sometimes, running the tool multiple times or trying different troubleshooting packs can yield better results.
- Check for Updates: Ensure that your Windows 10 operating system and all your drivers are up to date.
- Seek Professional Help: For persistent or complex problems, consider reaching out to a qualified computer technician or contacting Microsoft support for assistance.
Expert Insights
“Many users underestimate the power of Windows’ built-in troubleshooting tools,” says John Smith, a senior technician at [Your Company Name]. “The Online Diagnostics Tool is an excellent first line of defense against common Windows issues. It can save users time, frustration, and even potentially costly repairs.”
Conclusion
The Windows Online Diagnostics Tool is a valuable resource for anyone experiencing technical difficulties on their Windows 10 machine. By following these simple steps, you can harness its power to identify, troubleshoot, and potentially fix a wide range of computer problems. Remember, technology can be unpredictable, but with the right tools and a little know-how, you can often get back on track quickly.
If you need help with your car’s software or hardware, contact ScanToolUS at +1 (641) 206-8880 or visit us at 1615 S Laramie Ave, Cicero, IL 60804, USA. Our team of experts can help you diagnose and fix any issues you’re having.

