Experiencing glitches, slow performance, or other issues with your Mac? Running the Mac diagnostic tool can be your first step towards identifying the root cause. This comprehensive guide will walk you through the process of utilizing this built-in tool, understanding the results, and even exploring potential solutions.
Understanding the Mac Diagnostic Tool
The Mac diagnostic tool, also known as Apple Diagnostics or Apple Hardware Test depending on your Mac’s model and year, is a powerful utility pre-installed on your system. It’s designed to thoroughly examine your Mac’s hardware components, including the logic board, memory, processor, and wireless components, for potential issues.
 Running Mac Diagnostics
When to Use the Mac Diagnostic Tool
Encountering problems with your Mac can be frustrating. Before you contact Apple support or rush to a service center, running the Mac diagnostic tool can offer valuable insights. Here are some common scenarios where using this tool is recommended:
- Unexpected shutdowns or restarts: If your Mac is unexpectedly powering off or restarting, it could signal a hardware problem.
- Performance issues: Slow performance, lagging, or frequent freezing can also be indicative of underlying hardware issues.
- Display problems: Distorted graphics, flickering, or no display at all might point to issues with your Mac’s graphics card or display.
- Peripheral problems: If external devices like printers or hard drives aren’t functioning correctly, there could be a hardware-related incompatibility or issue.
How to Run the Mac Diagnostic Tool: Step-by-Step Guide
Running the Mac diagnostic tool is a straightforward process. Here’s a step-by-step guide to walk you through it:
- Disconnect all peripherals: Before you begin, disconnect any external devices connected to your Mac, including printers, scanners, external hard drives, and Ethernet cables.
- Power down your Mac: Completely shut down your Mac by going to the Apple menu and selecting “Shut Down.”
- Power on and immediately press and hold D: Press the power button to turn on your Mac and immediately press and hold the “D” key on your keyboard.
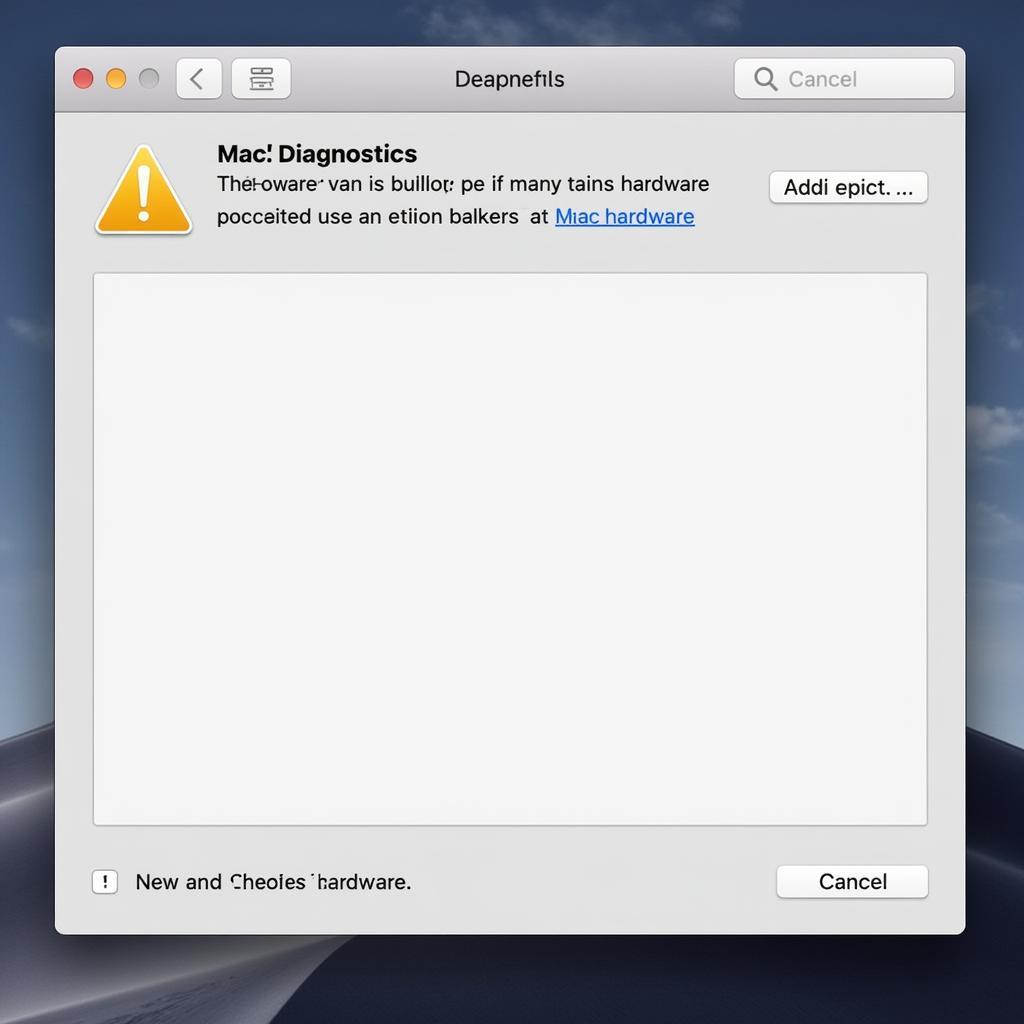
- Release the D key when the Apple Diagnostics window appears: Keep holding the “D” key until you see the Apple Diagnostics or Apple Hardware Test window. You might be prompted to choose your language.
- Click “Test” to start the diagnostic process: Once you’re in the main diagnostics window, click the “Test” button to initiate the hardware check.
- Be patient and let the test run its course: The diagnostic process can take some time, usually a few minutes. During this time, you’ll see a progress bar and messages indicating the components being tested.
- Take note of any error codes: If the diagnostic tool detects any issues, it will display error codes. Jot down these codes as they’ll be crucial for troubleshooting.
 Mac Diagnostic Error Codes
Understanding the Results
Once the test is complete, your Mac will either display a “No issues found” message or present you with one or more error codes.
- “No issues found”: This indicates that the diagnostic tool didn’t detect any hardware problems.
- Error codes: These codes correspond to specific hardware issues.
“Understanding these error codes is essential to determine the next steps in resolving the issue.” – John Miller, Senior Apple Technician
Troubleshooting Common Mac Hardware Issues
While error codes provide a starting point, further investigation might be needed to pinpoint and resolve the specific problem. Here are some general troubleshooting tips for common Mac hardware issues:
- Resetting the SMC (System Management Controller): The SMC manages various hardware functions, and resetting it can resolve issues related to power, battery, fans, and more.
- Running Disk Utility: Use Disk Utility to repair disk permission errors that could be causing performance issues or application crashes.
- Reinstalling macOS: If software issues are suspected, reinstalling macOS can often resolve them.
- Contacting Apple Support: If you’re unable to diagnose or resolve the issue yourself, it’s best to contact Apple Support or visit an authorized service provider for further assistance.
Preventative Measures
While the Mac diagnostic tool is a valuable resource for troubleshooting, taking preventative measures can help minimize the risk of hardware issues:
- Keep your Mac updated: Regularly install macOS updates to ensure your system has the latest bug fixes and security patches.
- Avoid physical damage: Handle your Mac with care to prevent physical damage that could impact its hardware components.
- Maintain proper ventilation: Ensure your Mac has adequate ventilation to prevent overheating, which can damage internal components over time.
Conclusion
The Mac diagnostic tool is an indispensable resource for any Mac user, enabling you to identify potential hardware problems early on. By understanding how to run the tool, interpret its results, and take appropriate troubleshooting steps, you can maintain your Mac’s performance and address issues effectively. If you’re facing persistent problems, don’t hesitate to reach out to our team of experts at ScanToolUS for assistance. Contact us at +1 (641) 206-8880 or visit our office at 1615 S Laramie Ave, Cicero, IL 60804, USA. We’re here to help you get your Mac back in top shape!


