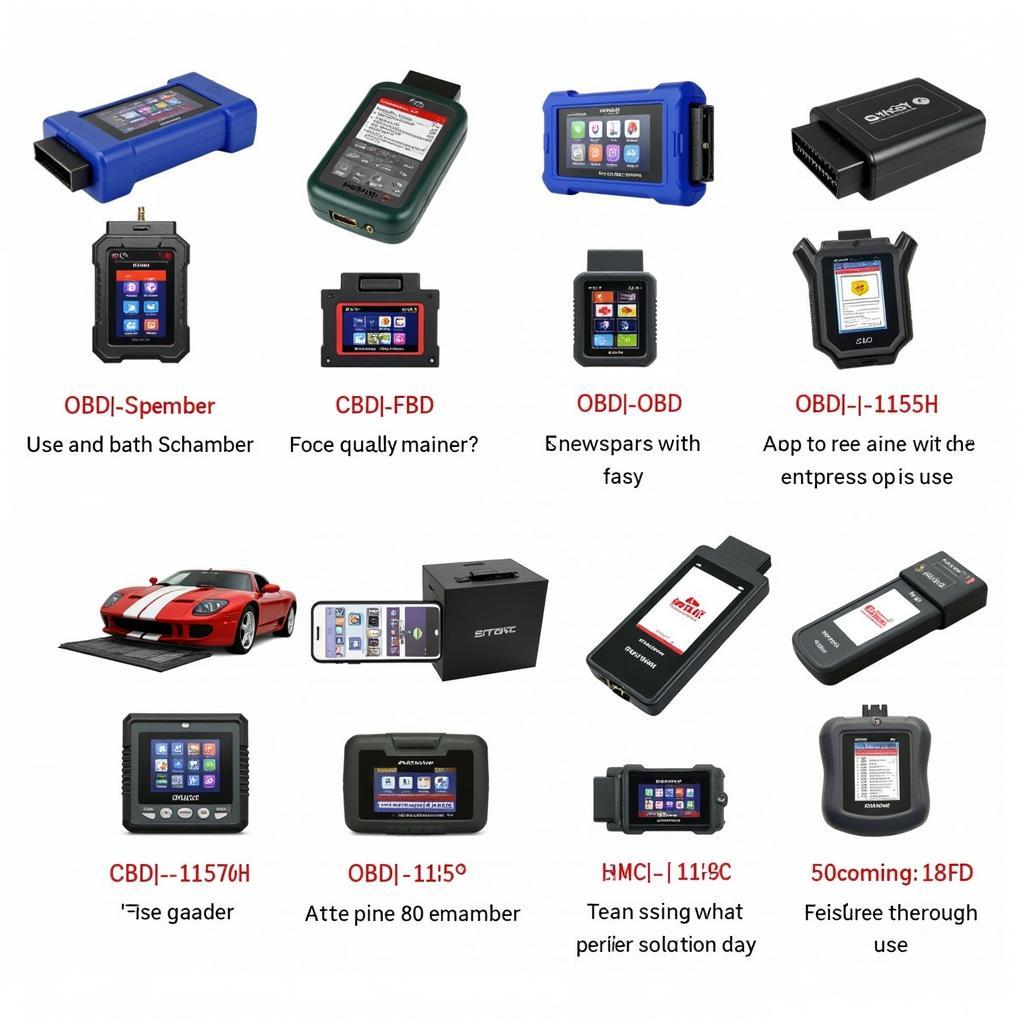
Connecting a scan tool to your car might seem intimidating, but it’s simpler than you think. Whether you’re a DIY enthusiast or a seasoned mechanic, understanding how to use this essential tool can save you time and money on car repairs. This guide will walk you through the process step-by-step, explaining everything you need to know about hooking up a scan tool.
What is a Scan Tool and Why Do I Need One?
Before we dive into the how-to, let’s clarify what a scan tool is and why it’s so valuable. A scan tool, also known as an OBD2 scanner, is a device that connects to your car’s onboard computer – the Engine Control Unit (ECU). This unit monitors various systems in your car, including the engine, transmission, and emissions.
When something goes wrong, the ECU stores a trouble code related to the issue. A scan tool allows you to read these codes, giving you valuable insights into what’s happening under the hood. This information helps you pinpoint the root cause of the problem, saving you from unnecessary guesswork and potentially costly repairs.
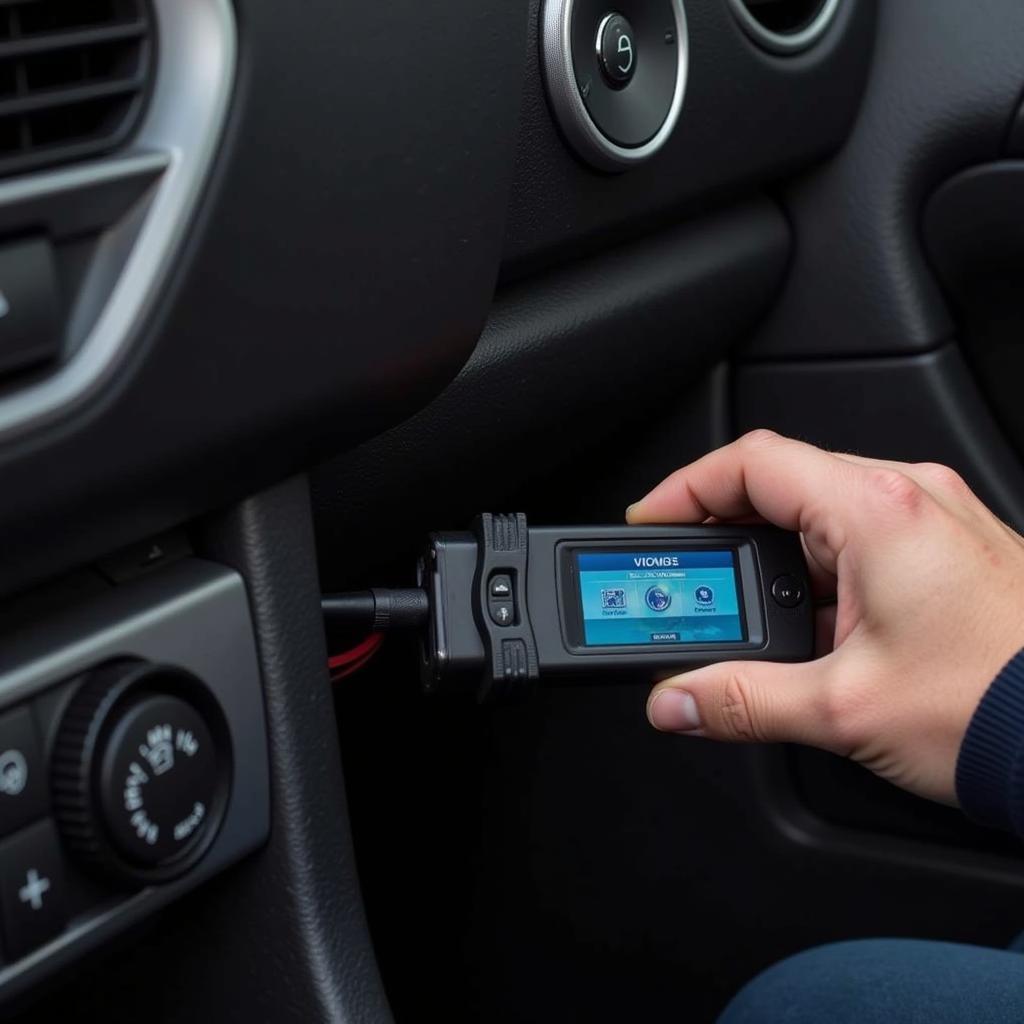 Connecting scan tool to OBD2 port
Locating the OBD2 Port: Your Gateway to Car Diagnostics
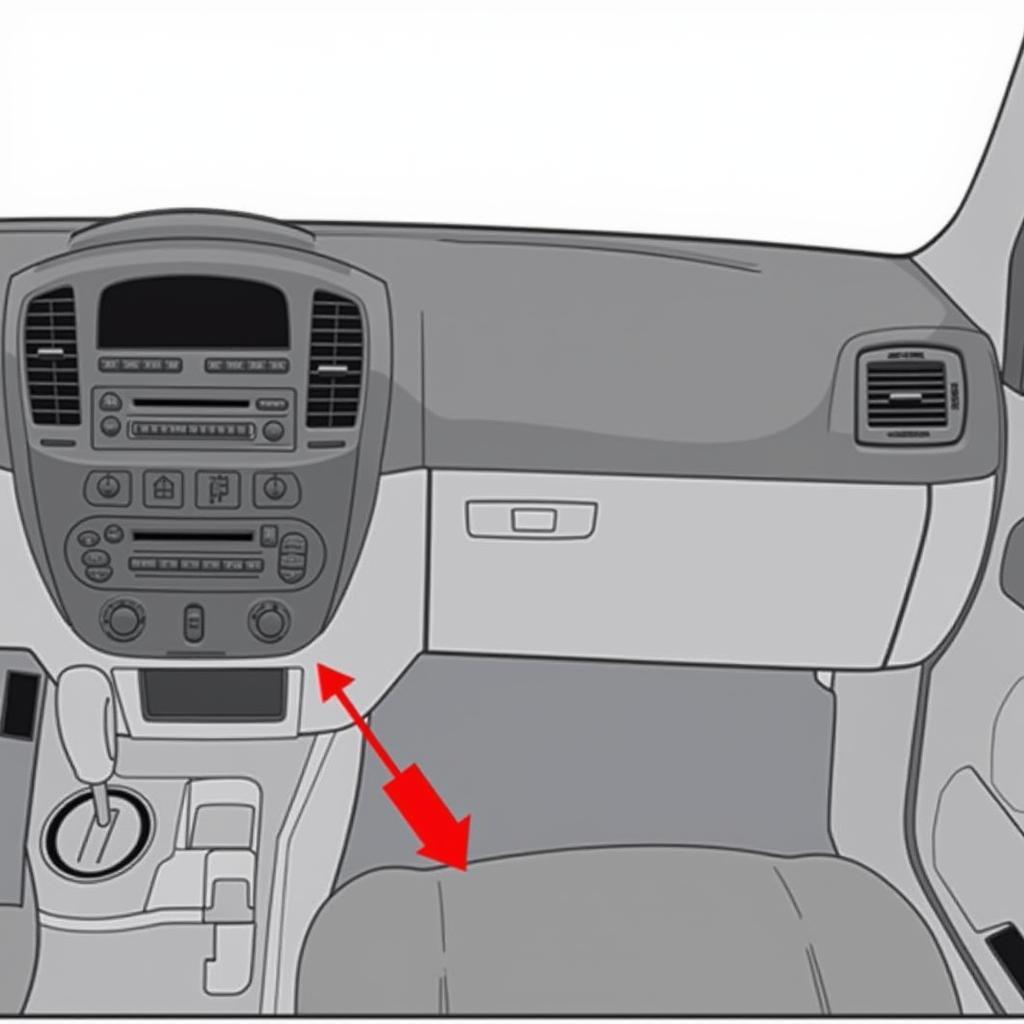
The first step is finding your car’s OBD2 port. This port is typically located under the dashboard, on the driver’s side. It’s a trapezoidal 16-pin connector, often covered by a plastic cap.
Here are some common locations for the OBD2 port:
- Under the steering wheel
- Near the fuse box
- In the center console
- Behind the ashtray or a trim panel
Once you’ve located the port, you’re ready to connect your scan tool.
Making the Connection: Easy as 1, 2, 3
Connecting the scan tool is straightforward:
- Turn off your car’s ignition. This ensures there’s no power surge when you connect the tool.
- Plug the scan tool’s connector into the OBD2 port. You should feel it click into place.
- Turn the ignition to the “on” position, but don’t start the engine. This powers up the scan tool and allows it to communicate with the ECU.
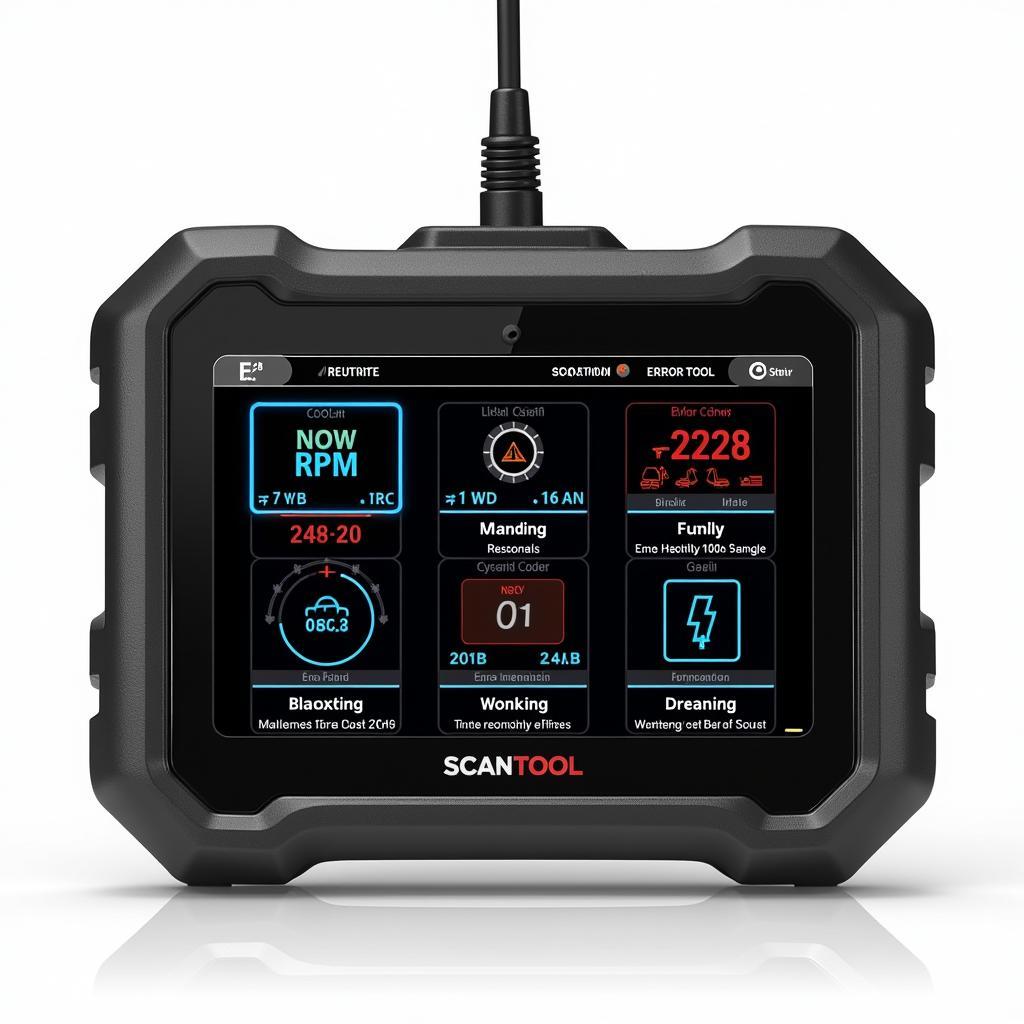 Scan tool display with car data
Reading and Understanding Trouble Codes
Once the scan tool is connected, it will usually display a series of numbers and letters – these are the trouble codes. Each code corresponds to a specific issue within your car’s systems.
For example, a code like “P0301” indicates a misfire in cylinder 1.
While you can jot down these codes and search for their meanings online, many modern scan tools offer built-in code definitions, making the process much more convenient.
If you’re unsure about the meaning of a code or need further guidance, don’t hesitate to consult a qualified mechanic or contact us at ScanToolUS at +1 (641) 206-8880. Our office is located at 1615 S Laramie Ave, Cicero, IL 60804, USA. We’re here to help you navigate the world of car diagnostics and get your vehicle back on track.
Beyond Basic Code Reading: Exploring Advanced Features
While reading and understanding trouble codes is essential, many scan tools offer a wealth of additional features, such as:
- Live Data Stream: View real-time data from various sensors, providing insights into your car’s performance.
- Freeze Frame Data: Access a snapshot of the engine’s operating conditions at the time a fault code was stored.
- Component Activation: Test individual components like actuators and solenoids to verify their functionality.
- Resetting the Check Engine Light: After addressing the underlying issue, you can use the scan tool to clear the trouble codes and turn off the check engine light.
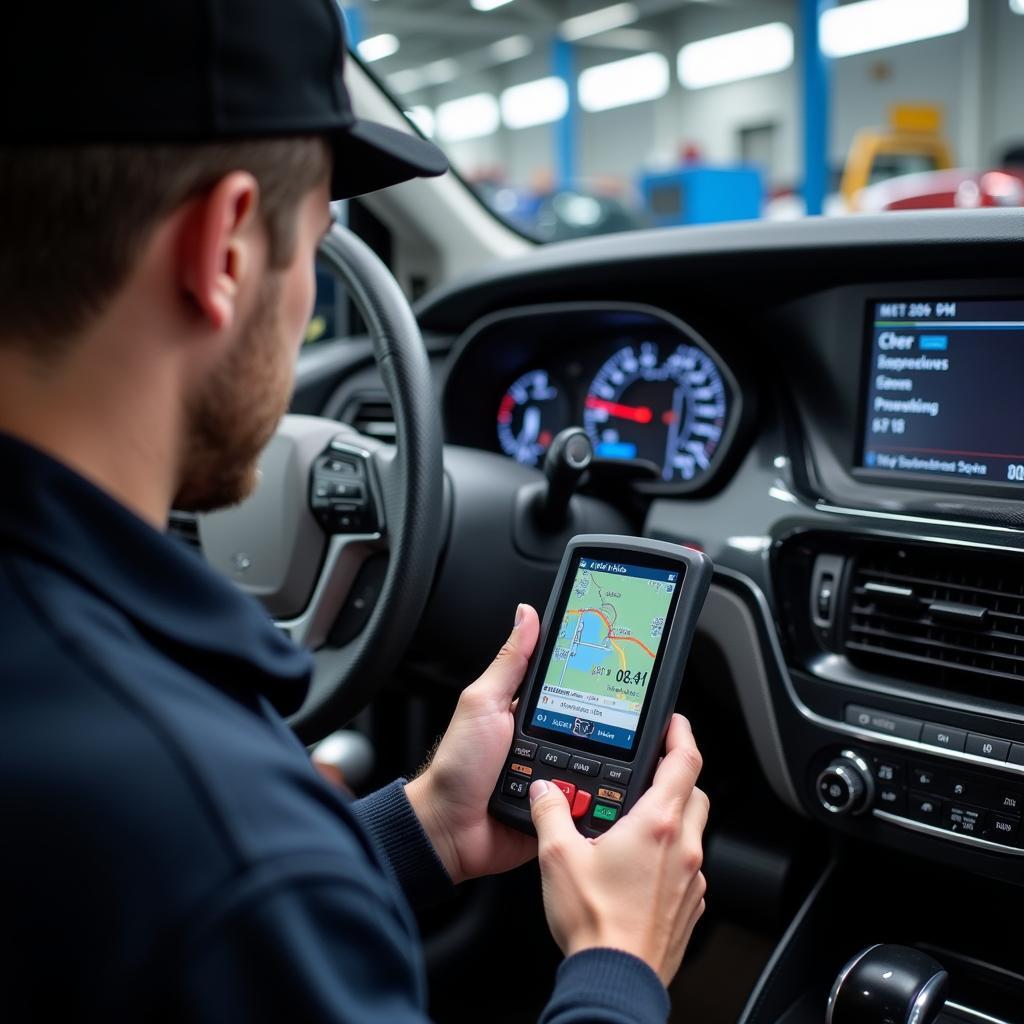 Mechanic using scan tool for advanced diagnostics
Familiarizing yourself with these features can significantly enhance your diagnostic capabilities. However, it’s crucial to exercise caution when using advanced functions, as improper use could potentially damage your vehicle’s systems.
Choosing the Right Scan Tool: Finding Your Perfect Match
With a wide variety of scan tools available, selecting the right one can be overwhelming.
Here are some factors to consider:
- Your Budget: Scan tools range from affordable basic models to high-end professional devices. Determine your budget and prioritize features that align with your needs.
- Your Skill Level: If you’re a DIY beginner, a basic scan tool with code definitions might suffice. For more experienced users, advanced features like live data streaming and component activation could be beneficial.
- Vehicle Compatibility: Ensure the scan tool you choose is compatible with your car’s make, model, and year.
If you’re unsure which scan tool is right for you, consider checking out our articles on all car diagnostic scanners or the cost of car scanners.
Conclusion
Mastering the art of using a scan tool empowers you to take control of your car’s health. By understanding how to connect the tool, read trouble codes, and explore its advanced features, you can confidently diagnose and address issues, saving yourself time and money in the long run. Remember, knowledge is power when it comes to car maintenance, and a scan tool is your key to unlocking that power.
We hope this guide has been helpful in demystifying the process of hooking up a scan tool. If you need further assistance or have any questions, feel free to reach out to us at ScanToolUS. Our team is always ready to help you keep your car running smoothly.
You can learn more about specific car models and how to connect scan tools to them, such as the 2002 Lincoln LS. We even have information on how much it costs to hook up a scanner to a car at a professional mechanic. And if you encounter an “INC” message on your scan tool, we have a guide about that too, just check out this article about what “INC” means on a scan tool.
We’re committed to providing car owners and mechanics alike with the information and resources they need to stay ahead of the curve.

