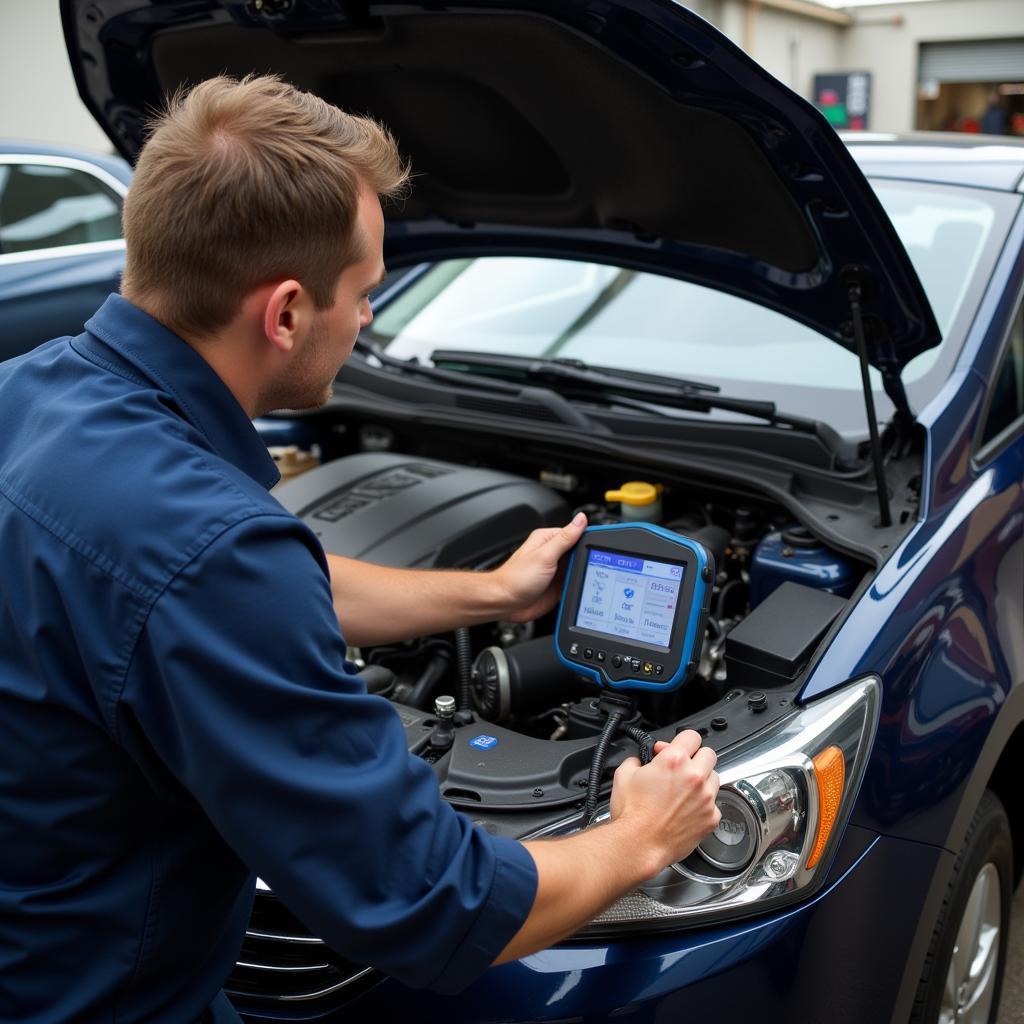
Want to listen to police, fire, and EMS chatter without relying on fickle antenna reception? Hardwiring your police scanner directly to your car’s electrical system is the answer. This guide will walk you through the process step-by-step, explaining everything from choosing the right power source to ensuring a clean and safe installation.
Understanding the Benefits of Hardwiring
Before we delve into the how-to, let’s discuss why hardwiring your police scanner is beneficial:
- Superior Reception: Hardwiring eliminates the signal interference often experienced with cigarette lighter adapters, providing a clearer, more consistent audio stream.
- Reliability: Say goodbye to loose connections or accidental disconnects. Hardwiring ensures your scanner receives constant power for uninterrupted listening.
- Clean Aesthetics: A hardwired installation eliminates cable clutter in your vehicle, contributing to a neat and organized appearance.
Gathering Your Tools and Materials
Before you begin, assemble the following:
- Police Scanner: This guide assumes you already have a scanner picked out.
- Hardwiring Kit: Choose a kit specifically designed for your scanner model.
- Wire Strippers/Cutters: Essential for preparing wires for connections.
- Electrical Tape: Used for insulating exposed wire connections.
- Zip Ties: For bundling and securing wires neatly.
- Screwdrivers: A variety of sizes may be needed depending on your vehicle.
- Circuit Tester: To locate a suitable power source in your car.
- Fuse Tap (Optional): For tapping into an existing fuse circuit.
Choosing the Right Power Source
Selecting the correct power source is crucial for your scanner’s performance and safety:
- Switched Power Source: This option powers your scanner only when your vehicle’s ignition is on, preventing battery drain. Common switched sources include the fuse box, ignition switch, or accessory wiring.
- Constant Power Source: This option powers your scanner even when the ignition is off. Use this option with caution, as it can drain your car battery if not managed properly.
Expert Insight: “Always choose a power source with a current rating matching your scanner’s requirements,” advises John Miller, a senior automotive electrician with 20 years of experience. “Overloading a circuit can lead to blown fuses or even electrical damage.”
Step-by-Step Hardwiring Guide
[image-1|hardwiring-police-scanner-fuse-box|Connecting Scanner to Fuse Box| Close-up view of a hand connecting a police scanner power cable to a car fuse box using a fuse tap. The image should highlight the proper connection points and emphasize safety measures.]
-
Disconnect Your Car Battery: This crucial safety step prevents accidental shorts and potential damage to your vehicle’s electrical system.
-
Locate a Suitable Power Source: Use a circuit tester to identify a switched power source if you prefer the scanner to turn on and off with the ignition. Refer to your vehicle’s owner’s manual for fuse box diagrams.
-
Connect the Hardwiring Harness: Following the instructions provided with your specific kit, connect the harness to your scanner. Typically, this involves attaching bare wire ends to corresponding terminals.
-
Route the Power Wire: Carefully route the power wire from the scanner’s location to your chosen power source. Secure the wire at regular intervals using zip ties, ensuring it doesn’t interfere with pedals or steering components.
-
Connect to the Power Source:
- Fuse Tap Method: If using a fuse tap, insert it into the designated fuse slot. Crimp the fuse tap’s wire to the scanner’s power wire.
- Direct Connection: If connecting directly to a power source, strip the wire insulation and use a butt connector or soldering iron to create a secure connection.
-
Ground the Scanner: Locate a suitable grounding point (usually a metal bolt or bracket) and securely connect the scanner’s ground wire.
-
Insulate All Connections: Use electrical tape to thoroughly insulate all exposed wire connections. This step prevents shorts and ensures a safe and reliable connection.
-
Test the Connection: Reconnect your car battery and turn on the ignition (if you used a switched power source). Your scanner should power on. Test its functionality to ensure everything is working correctly.
-
Secure the Scanner and Wires: Securely mount your scanner in your desired location using the provided mounting bracket or adhesive tape. Neatly bundle and secure any excess wiring.
Troubleshooting Tips
Problem: Scanner doesn’t power on.
Solution: Check the fuse for the circuit you tapped into. Ensure all connections are secure and properly insulated. Verify that you connected to a live power source.
Problem: Scanner experiences static or interference.
Solution: Check the grounding connection. Reroute the power wire away from potential sources of interference, such as other electronics.
Conclusion
Hardwiring your police scanner to your car is an excellent way to enjoy crystal-clear reception and a clean installation. By following this comprehensive guide and taking necessary safety precautions, you can successfully complete this project. However, if you are uncomfortable working with car electronics, it’s always best to consult a qualified automotive electrician.
Need further assistance or have questions about the process? Contact ScanToolUS at +1 (641) 206-8880 or visit our office at 1615 S Laramie Ave, Cicero, IL 60804, USA.


Pingback: How to Install Police Scanner in Car: A Comprehensive Guide - Car Scan Tool