Bleeding your GM ABS brakes might seem like a job for a seasoned mechanic with a fancy scan tool, but that’s not entirely true. You can absolutely tackle this task yourself and save some money in the process. Whether you’re dealing with a spongy brake pedal or performing routine maintenance, this guide will walk you through the steps of bleeding your GM ABS brakes without a scan tool.
Understanding Your GM ABS Brake System
Before we dive into the how-to, let’s take a moment to understand why bleeding your brakes is crucial. Your vehicle’s Anti-lock Braking System (ABS) is a safety net, preventing wheel lockup during hard braking. This system relies on hydraulic pressure to function correctly. Over time, air bubbles can creep into the brake lines, wreaking havoc on your braking performance. These air bubbles compress more easily than brake fluid, leading to that dreaded spongy brake pedal feel and reduced braking efficiency.
 Bleeding GM ABS Brakes
Gathering Your Tools and Materials
Having the right tools on hand can make the process much smoother. Here’s what you’ll need:
- Wrench Set: To loosen and tighten the bleeder valves.
- Clear Tubing: To direct the brake fluid from the bleeder valve into a container.
- Container: To collect the old brake fluid.
- Brake Fluid: Use the brake fluid specified in your GM vehicle’s owner’s manual.
- Jack and Jack Stands: To safely lift your vehicle.
- Wheel Chocks: To secure the wheels that remain on the ground.
- A Helper: An extra pair of hands to assist with the bleeding process is invaluable.
Bleeding Your GM ABS Brakes: A Step-by-Step Guide
Now, let’s get down to business and bleed those brakes:
-
Safety First: Park your vehicle on a level surface, engage the parking brake, and place wheel chocks behind the rear wheels.
-
Locate the Master Cylinder: Pop the hood and locate the master cylinder, the reservoir containing the brake fluid. It’s usually situated on the driver’s side of the engine bay.
-
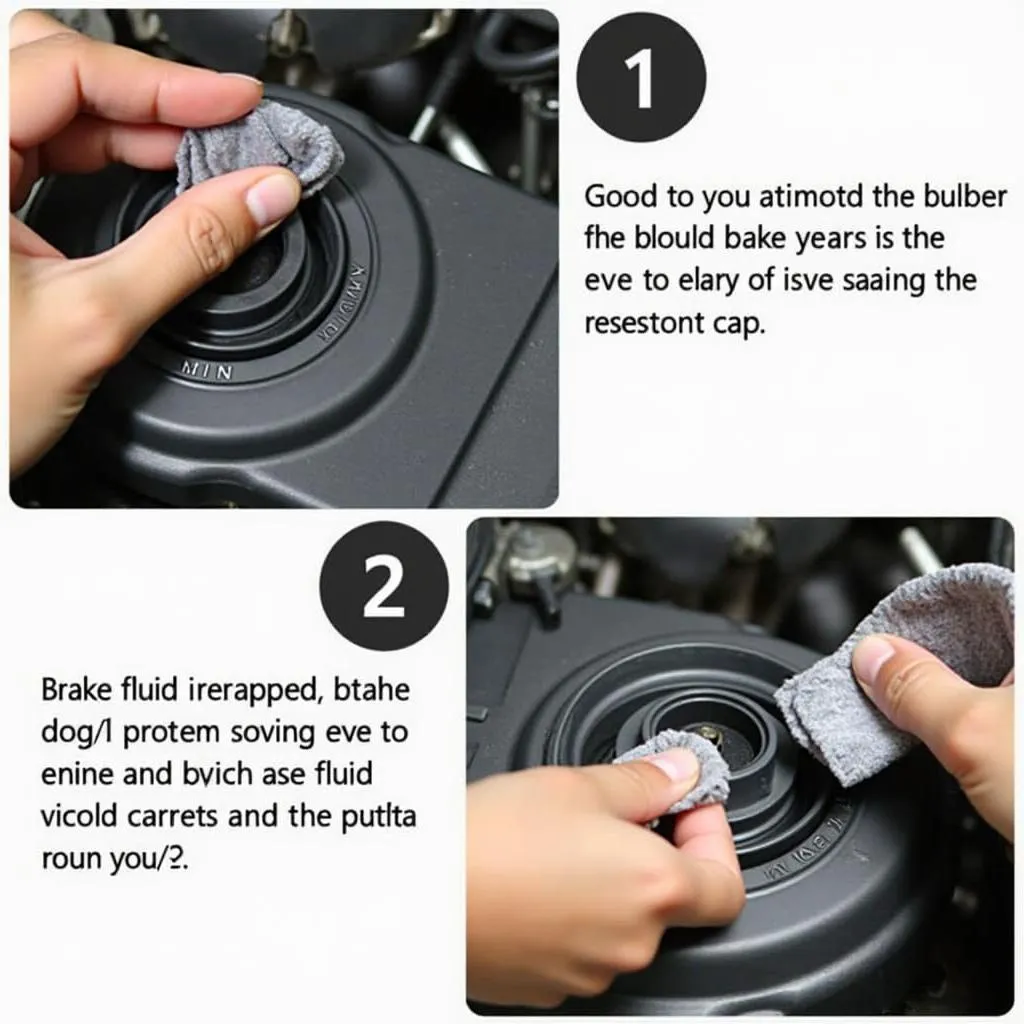
Clean the Master Cylinder Cap: Before opening the cap, clean it thoroughly to prevent dirt from contaminating the brake fluid.
-
Check Fluid Level: Ensure the brake fluid level is at the “MAX” mark. If it’s low, top it off with the correct type of brake fluid.
-
Prepare Your Bleeding Sequence: Start with the wheel farthest from the master cylinder and work your way closer. For most GM vehicles, the bleeding sequence is: right rear, left rear, right front, and finally, left front.
 Checking Brake Fluid
-
Prepare the First Wheel: Starting with the right rear wheel, use the jack to lift the vehicle and secure it with jack stands. Remove the wheel to expose the brake caliper and bleeder valve.
-
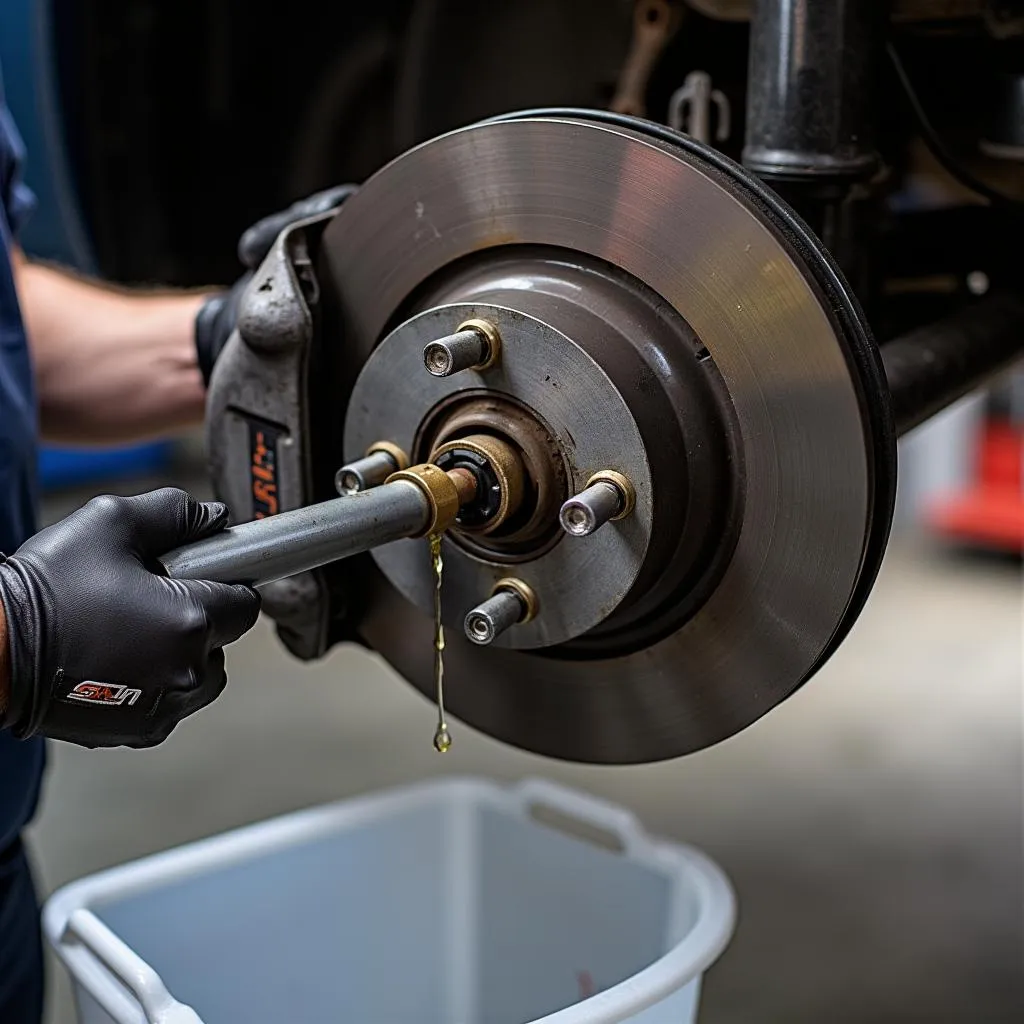
Attach the Tubing: Connect one end of the clear tubing to the bleeder valve and submerge the other end in the container partially filled with brake fluid.
-
Bleed the Brake: Have your helper depress the brake pedal several times until they feel pressure, then hold it down firmly. While the pedal is depressed, slightly open the bleeder valve with the wrench. You’ll notice old brake fluid with air bubbles flowing through the tubing. Close the bleeder valve before your helper releases the brake pedal.
-
Repeat the Process: Repeat step 8 several times for each wheel until you see a consistent flow of brake fluid without any air bubbles. Remember to top off the brake fluid reservoir in the master cylinder as needed.
-
Move to the Next Wheel: Once you’re satisfied with the bleeding of the first wheel, tighten the bleeder valve securely. Reinstall the wheel, lower the vehicle slightly, and move on to the next wheel in the sequence.
-
Final Check: After bleeding all four wheels, double-check the master cylinder’s fluid level and add more fluid if necessary.
Important Tips for Success
- Don’t Let the Master Cylinder Run Dry: Keep a close eye on the brake fluid level in the master cylinder throughout the process. Running it dry will introduce more air into the system, complicating matters.
- Bleed in Short Bursts: Opening the bleeder valve in short bursts helps control the flow of brake fluid and prevents air from being drawn back into the system.
- Tighten the Bleeder Valves Securely: Over-tightening can damage the bleeder valves, while under-tightening can lead to leaks. Aim for a snug fit.
- Test Your Brakes: After bleeding the brakes, take your vehicle for a cautious test drive in a safe location to ensure the brake pedal feels firm and responsive.
 Brake Bleeding Sequence
When to Seek Professional Help
While bleeding your GM ABS brakes without a scan tool is achievable, there are instances where seeking professional help is the safest course of action. If you encounter any of the following, it’s best to consult a trusted mechanic:
-
Persistent Spongy Brakes: If the brake pedal remains spongy even after bleeding the brakes, there might be a more serious underlying issue within the braking system.
-
Leaking Brake Fluid: Leaking brake fluid is a major safety hazard and requires immediate attention from a qualified mechanic.
-
ABS Warning Light: If your ABS warning light illuminates on the dashboard, it indicates a potential problem with the ABS system that requires diagnosis and repair by a professional.
Expert Insights
“Bleeding brakes is a fundamental maintenance task that can significantly impact your vehicle’s safety,” says John Miller, a seasoned automotive engineer with over 20 years of experience. “While the process itself is straightforward, it’s crucial to pay attention to detail and follow the correct procedures. If you’re unsure about any step, don’t hesitate to consult your vehicle’s service manual or seek assistance from a qualified mechanic.”
Conclusion
Bleeding your GM ABS brakes without a scan tool is a manageable task that can save you time and money. By following this guide, using the right tools, and prioritizing safety, you can maintain your vehicle’s braking system and ensure optimal performance on the road. Remember, a firm and responsive brake pedal is essential for your safety and the safety of others.
If you have any further questions or require assistance with your vehicle’s diagnostic needs, ScanToolUS is here to help. Our team of experts can provide you with the tools and information you need to get the job done right. Contact us at +1 (641) 206-8880 or visit our office located at 1615 S Laramie Ave, Cicero, IL 60804, USA.
FAQs
1. Can I use any type of brake fluid for my GM vehicle?
No, it’s crucial to use the brake fluid specified in your GM vehicle’s owner’s manual. Using the incorrect type of brake fluid can damage the braking system.
2. How often should I bleed my GM ABS brakes?
It’s generally recommended to bleed your brakes every 2 years or 24,000 miles, or as part of your vehicle’s regular maintenance schedule.
3. What does a spongy brake pedal indicate?
A spongy brake pedal usually signals the presence of air in the brake lines. Bleeding the brakes will typically resolve this issue.
4. Can I bleed my GM ABS brakes with the engine running?
No, always bleed your brakes with the engine turned off. Bleeding with the engine running can damage the ABS system.
5. Is it necessary to bleed all four wheels?
Yes, it’s essential to bleed all four wheels to ensure all air is purged from the braking system.
6. Can I reuse the brake fluid that was drained from the system?
No, never reuse old brake fluid. It’s contaminated and can damage the braking system.
7. What should I do if my brake pedal still feels spongy after bleeding?
If your brake pedal remains spongy after bleeding, there may be a more serious problem with your braking system, and it’s best to consult a qualified mechanic.
