The Foxwell NT201 OBD2 scanner is a powerful and affordable tool that can help you diagnose and fix car problems. However, setting up the device and understanding its features can be challenging for first-time users. This guide provides a step-by-step walkthrough of the Foxwell Nt201 Setup process, ensuring you can quickly start diagnosing and resolving your vehicle’s issues.
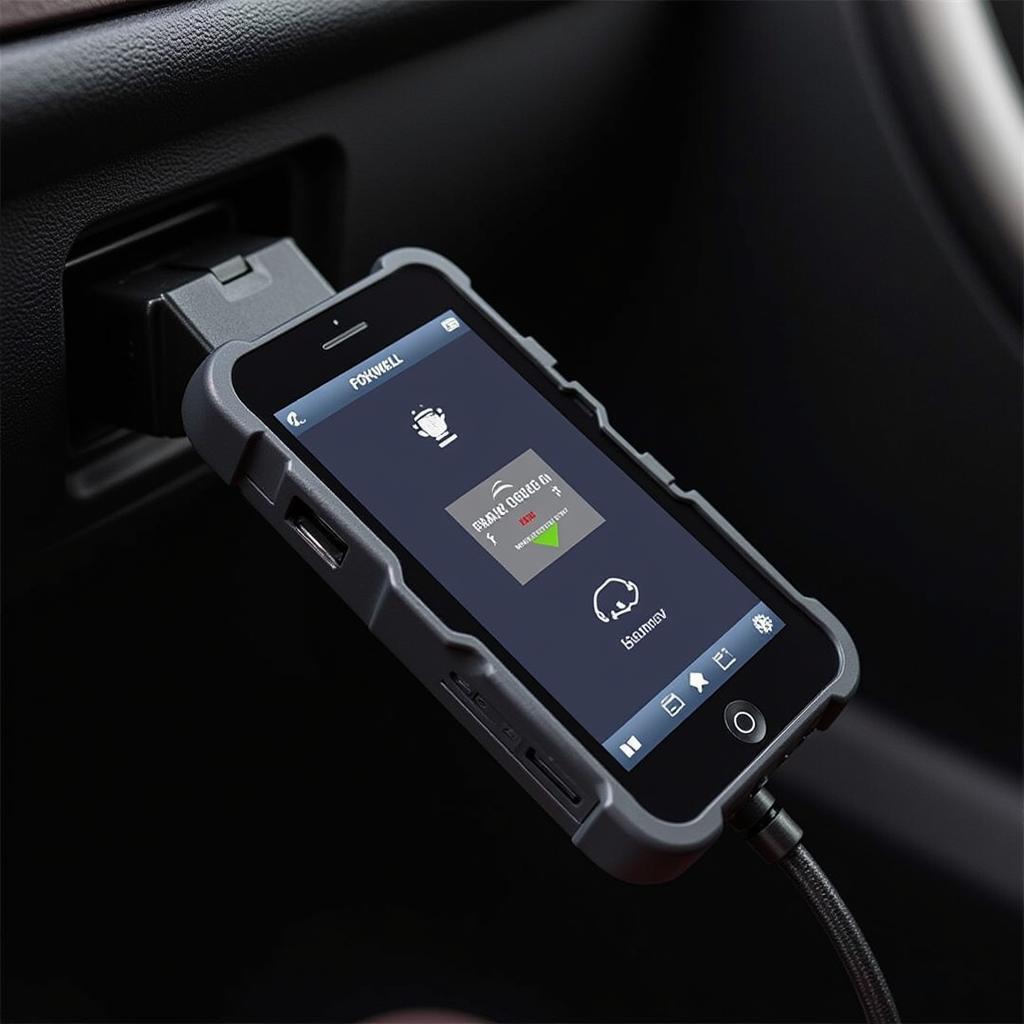
 Foxwell NT201 Scanner Connected to OBD2 Port
Understanding the Foxwell NT201 Scanner
The Foxwell NT201 is an entry-level OBD2 scanner designed for car owners and DIY enthusiasts. It offers a wide range of functions, including reading and clearing diagnostic trouble codes (DTCs), viewing live data streams, and performing basic OBD2 tests. Its intuitive interface and plug-and-play functionality make it an excellent choice for beginners.
Before diving into the setup process, let’s clarify what the Foxwell NT201 can and cannot do. This scanner is primarily designed for basic diagnostics on most 1996 and newer US-based vehicles, along with vehicles from other regions that support OBD2 protocols.
What the Foxwell NT201 Can Do:
- Read and clear engine-related DTCs
- Display live sensor data, such as engine RPM, coolant temperature, and oxygen sensor readings
- Perform basic OBD2 tests, such as readiness monitors and oxygen sensor tests
- View freeze frame data, providing a snapshot of the engine conditions when a DTC was set
What the Foxwell NT201 Cannot Do:
- Program keys or perform advanced ECU functions
- Diagnose issues with ABS, airbags, or other advanced systems that require specialized scanners
- Provide in-depth analysis of complex electrical issues
Foxwell NT201 Setup: A Step-by-Step Guide
Setting up your Foxwell NT201 is straightforward and can be completed in a few simple steps:
- Locate Your Vehicle’s OBD2 Port: The OBD2 port is typically found under the driver’s side dashboard, near the steering column. Consult your vehicle’s owner’s manual if you have trouble locating it.
- Connect the Foxwell NT201 Scanner: Plug the scanner’s 16-pin connector into the OBD2 port.
- Turn On Your Vehicle’s Ignition: Turn the key to the “on” position but do not start the engine. This will power up the scanner and allow it to communicate with your vehicle’s ECU.
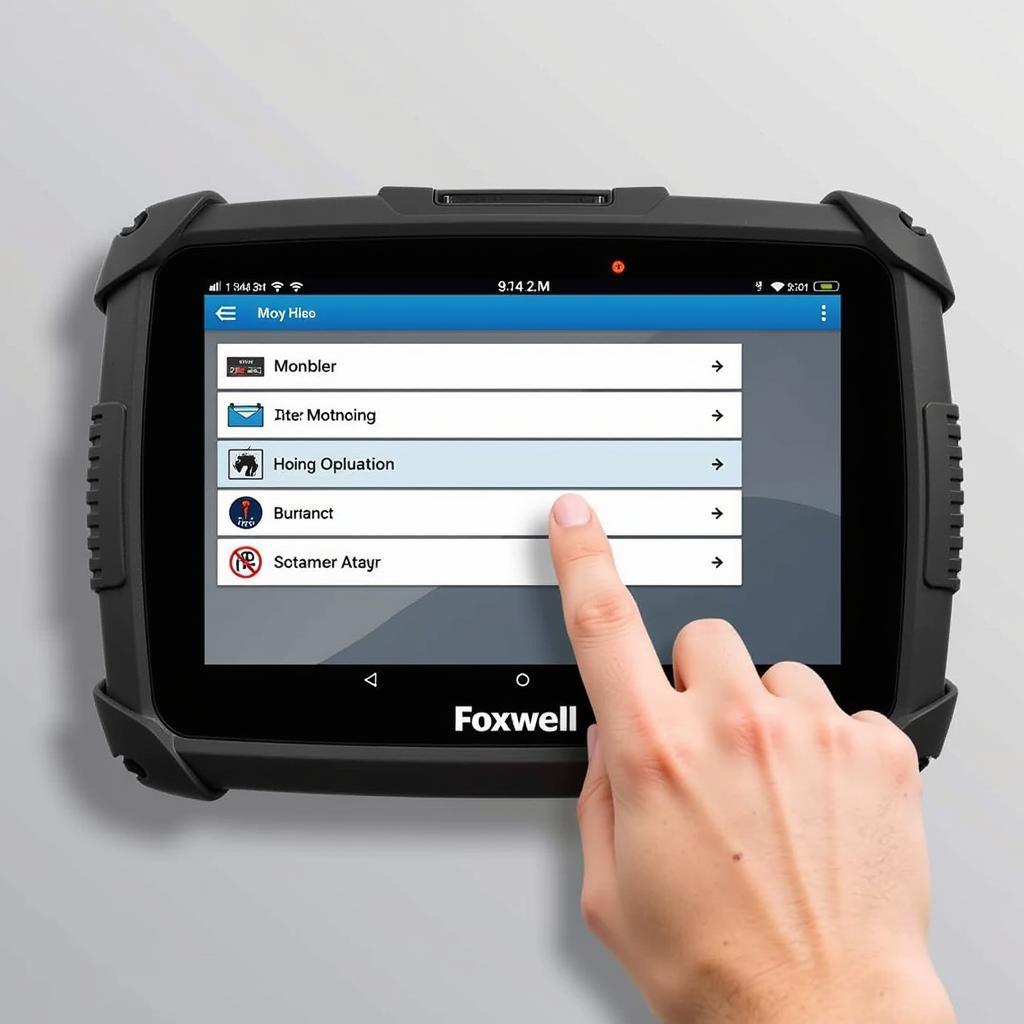
- Navigate the Scanner’s Menu: The scanner will automatically power on and display the Foxwell logo. Use the directional buttons to navigate through the menu options.
- Select Vehicle Information: Enter your vehicle’s year, make, and model to ensure the scanner uses the correct protocols for communication.
 Navigating the Foxwell NT201 Menu
“Accurate vehicle information is crucial for the Foxwell NT201 to properly interpret the data from your car’s computer,” says John Smith, Senior Automotive Technician at ABC Auto Repair. “Without it, you risk misdiagnoses and wasted time.”
Using Your Foxwell NT201: Common Functions
Once you’ve completed the initial setup, you can begin using your Foxwell NT201 to diagnose and troubleshoot car problems. Here are some common functions:
1. Reading and Clearing Diagnostic Trouble Codes (DTCs)
DTCs are codes stored in your vehicle’s ECU that indicate a specific problem area. The Foxwell NT201 can read and clear these codes.
- Select “Read Codes” from the main menu. This will initiate a scan of your vehicle’s ECU for any stored DTCs.
- View and Interpret the Codes: The scanner will display any found DTCs, along with their descriptions.
- Clear the Codes: After addressing the underlying issue, select “Clear Codes” to erase the DTCs from the ECU’s memory.
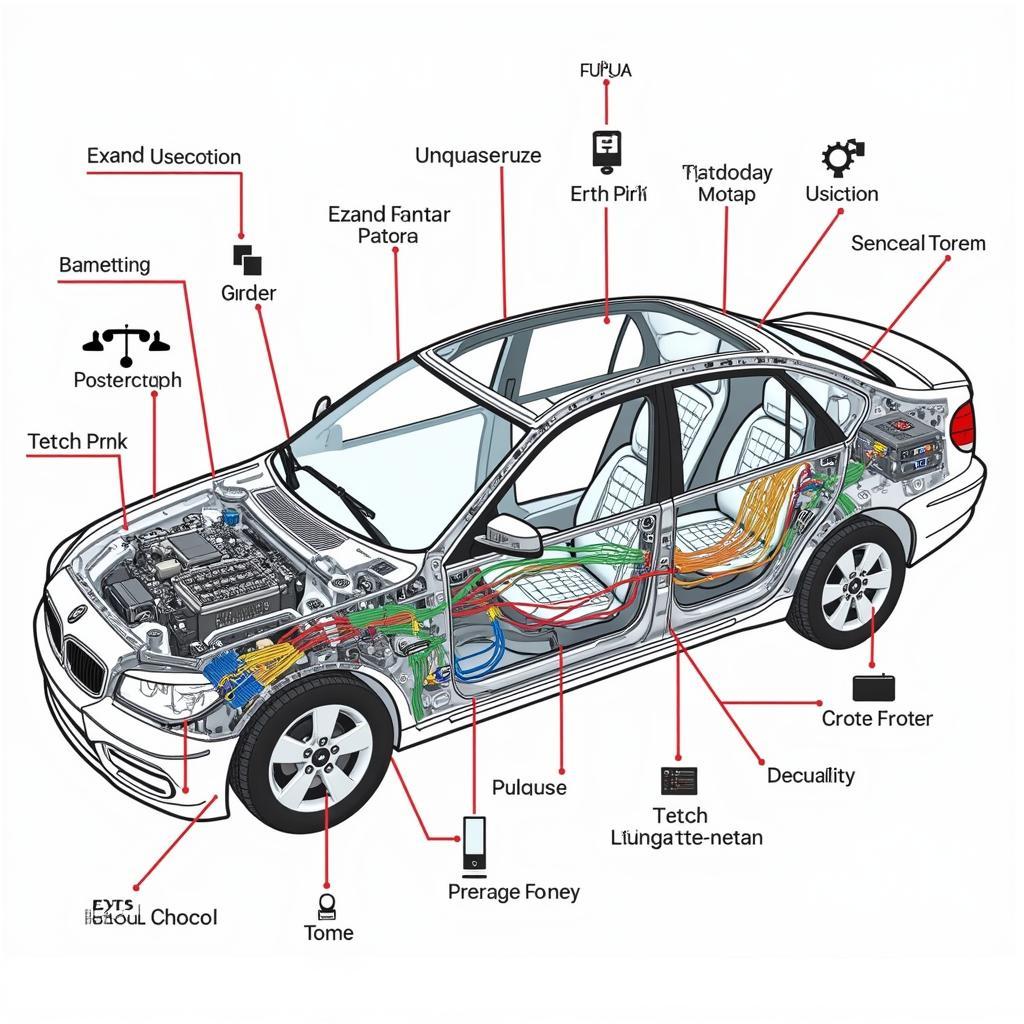
Foxwell NT201 scanner obdii owners manual
2. Viewing Live Data Streams
Live data streams provide real-time information from various sensors throughout your vehicle.
- Select “Live Data” from the main menu. This will display a list of available sensors and their readings.
- Select Specific Sensors: You can choose specific sensors to monitor, such as engine RPM, coolant temperature, or oxygen sensor readings.
3. Performing Basic OBD2 Tests
The Foxwell NT201 can perform several basic OBD2 tests, including:
- Readiness Monitors: These tests check the functionality of various emission-related components.
- Oxygen Sensor Tests: These tests assess the performance of your vehicle’s oxygen sensors.
For a complete understanding of your Foxwell NT201’s capabilities and detailed instructions, refer to the Foxwell user guide.
Foxwell NT201 Setup Tips:
- Update Your Scanner: Ensure your Foxwell NT201 has the latest software updates for optimal performance and compatibility.
- Consult Reliable Sources: For accurate DTC interpretations and repair guidance, refer to reputable sources such as your vehicle’s repair manual or online databases.
- Seek Professional Help: If you encounter persistent or complex car issues, consult a qualified mechanic for further diagnosis and repair.
Conclusion
The Foxwell NT201 offers an affordable and user-friendly solution for basic car diagnostics. By following this comprehensive setup guide, you can easily configure and utilize your scanner to identify and resolve common car problems. Remember to update your scanner regularly and consult reliable sources for accurate information. If you need assistance with your Foxwell NT201, don’t hesitate to contact ScanToolUS at +1 (641) 206-8880 or visit our office at 1615 S Laramie Ave, Cicero, IL 60804, USA. We’re here to help you keep your vehicle running smoothly.


