An engraving tool for your Scan N Cut machine opens up a world of creative possibilities, from personalized gifts to intricate designs on various materials. Whether you’re a seasoned crafter or just starting out, understanding how to effectively use this tool can significantly enhance your projects. This guide will delve into the intricacies of using an engraving tool with your Scan N Cut, covering everything from choosing the right tool to troubleshooting common issues.
Choosing the Right Engraving Tool for Your Scan N Cut
Not all engraving tools are created equal. Selecting the appropriate tool for your Scan N Cut and your specific project is crucial for achieving optimal results. Consider the material you plan to engrave. For softer materials like acrylic or plastic, a finer tip engraving tool is ideal. For harder materials like metal or glass, a more robust and durable tool is necessary. Always consult the manufacturer’s recommendations for compatible tools and materials.
What are the different types of engraving tools available for the Scan N Cut? There are several types available, including diamond-tipped tools for hard materials, and carbide-tipped tools for softer materials. Some manufacturers also offer specialty tools for specific applications, like etching on glass. Researching the different options will help you determine the best tool for your needs.
Preparing Your Design for Engraving with Scan N Cut
Preparing your design properly is key to a successful engraving project. Using the correct software settings and ensuring your design is optimized for engraving will save you time and frustration. When creating your design, consider the line thickness and intricacy. Thinner lines and intricate details may require a finer tip engraving tool and slower cutting speed. Always test your design on a scrap piece of material before engraving on your final project.
How do you optimize a design for engraving? Start by ensuring your design is in a vector format, such as SVG. This allows for clean, crisp lines when engraved. Avoid using raster images, as they can result in pixelated edges. Adjust the line thickness and spacing in your design software to suit the material and engraving tool you are using.
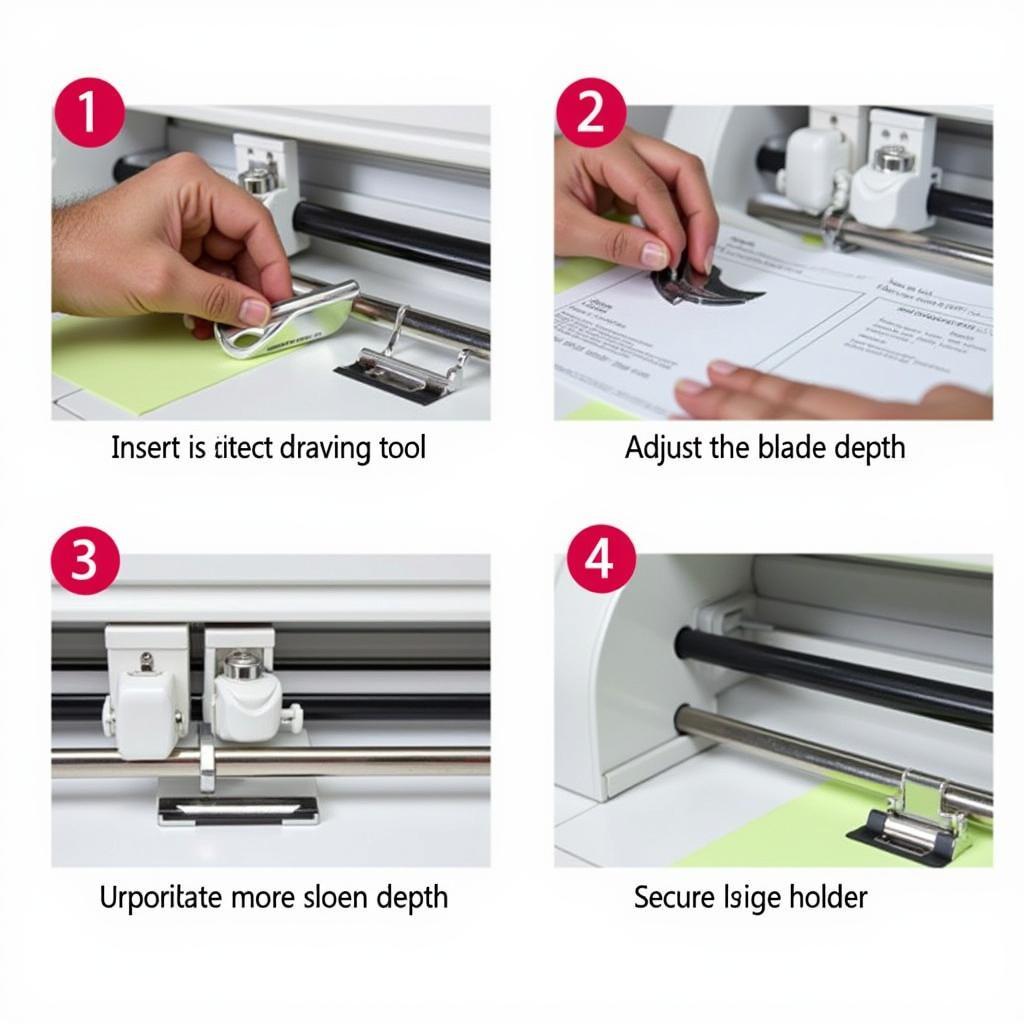
 Scan N Cut Engraving Tool Setup Guide
Setting Up Your Scan N Cut for Engraving
Once you have chosen the appropriate engraving tool and prepared your design, it’s time to set up your Scan N Cut machine. Refer to your machine’s manual for specific instructions on installing the engraving tool and adjusting the settings. Ensure the tool is securely fastened in the holder and the blade depth is correctly set for your chosen material. Testing the engraving depth on a scrap piece of material is highly recommended to avoid damaging your final project.
What settings should I use for engraving on different materials? The optimal settings vary depending on the material and the engraving tool. Start with a lower speed and shallower depth for delicate materials and gradually increase as needed. Experimentation is key to finding the perfect balance for each project.
Troubleshooting Common Engraving Issues with Scan N Cut
Even with careful preparation, you may encounter some common engraving issues. If your engraving is too shallow, try increasing the blade depth or reducing the cutting speed. If the engraving is too deep, decrease the blade depth or increase the cutting speed. Uneven engraving can be caused by an improperly secured tool or an uneven material surface. Always double-check your setup and ensure the material is flat and secure.
What if my engraving tool breaks during use? If your engraving tool breaks, immediately stop the machine and unplug it. Carefully remove the broken pieces and replace the tool with a new one. Inspect the machine for any damage before resuming your project.
Advanced Engraving Techniques with Scan N Cut
Once you are comfortable with the basics of engraving, you can explore more advanced techniques. Experiment with different line thicknesses, patterns, and depths to create unique textures and effects. Consider using multiple passes with varying depths to achieve a 3D engraved look.
How can I create multi-depth engraving with my Scan N Cut? Multi-depth engraving involves making multiple passes over the same design with different blade depths. Start with a shallow depth for the first pass and gradually increase the depth with each subsequent pass. This technique allows you to create intricate and visually appealing engraved designs.
“Engraving with the Scan N Cut requires patience and practice, but the results are well worth the effort,” says Jane Doe, a certified Scan N Cut technician. “Don’t be afraid to experiment and push the boundaries of what you can create.”
Maintaining Your Engraving Tool for Longevity
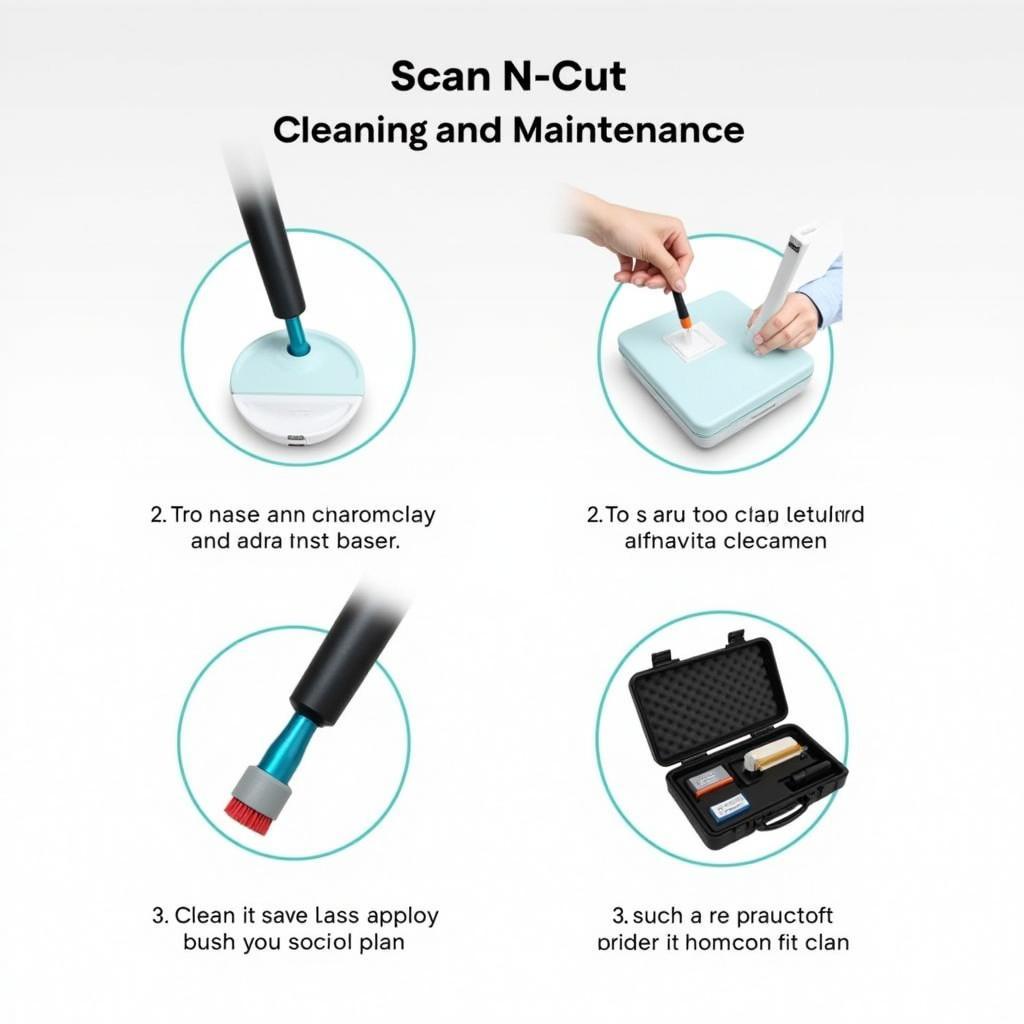
Proper maintenance of your engraving tool is essential for prolonging its lifespan and ensuring consistent results. After each use, clean the tool with a soft brush to remove any debris. Store the tool in a protective case to prevent damage. Regularly inspect the tool for wear and tear and replace it when necessary.
John Smith, an experienced Scan N Cut instructor, advises, “Keeping your engraving tool clean and sharp is crucial for achieving clean and precise engravings. A dull tool can lead to uneven lines and damage your materials.”
 Scan N Cut Engraving Tool Maintenance
In conclusion, mastering the engraving tool for your Scan N Cut unlocks a wealth of creative opportunities. By understanding the different types of tools, preparing your designs correctly, and following the proper setup and maintenance procedures, you can achieve professional-quality engravings on a variety of materials. If you have any questions or need further assistance, feel free to connect with us. We are here to help you make the most of your Scan N Cut machine. You can contact ScanToolUS at +1 (641) 206-8880 or visit our office at 1615 S Laramie Ave, Cicero, IL 60804, USA.


