“Directx Diagnostic Tool Geforce Not Detected” – a phrase that can strike fear into the hearts of gamers and PC enthusiasts alike. This error message usually signals a problem with your graphics card or its drivers, preventing you from enjoying your favorite games and applications. But don’t worry, this comprehensive guide will walk you through the common causes and provide practical solutions to get you back in the game.
Understanding the Issue: Why Your GeForce is MIA
Before we dive into solutions, it’s helpful to understand why this error occurs. The DirectX Diagnostic Tool (dxdiag) provides crucial information about your system’s hardware and software components, including your graphics card. When it fails to detect your GeForce GPU, it’s often due to:
- Outdated or corrupted graphics drivers: Drivers act as translators between your operating system and hardware. Outdated or corrupted drivers can lead to compatibility issues and prevent dxdiag from recognizing your GeForce card.
- Conflicting software: Sometimes, third-party applications, especially overlay software or monitoring tools, can interfere with your graphics card’s operation.
- Hardware issues: While less common, a faulty graphics card or a loose connection in your PC can also trigger this error.
Troubleshooting Steps: Reconnecting Your GeForce to the Matrix
Now, let’s tackle the problem head-on with these proven troubleshooting methods:
1. Update or Reinstall Your Graphics Drivers: The First Line of Defense
In most cases, outdated or faulty drivers are the culprits. Follow these steps to update or reinstall your GeForce drivers:
- Identify your graphics card model: Open the Device Manager (search for it in the Windows search bar), expand the Display adapters category, and note down your GeForce model.
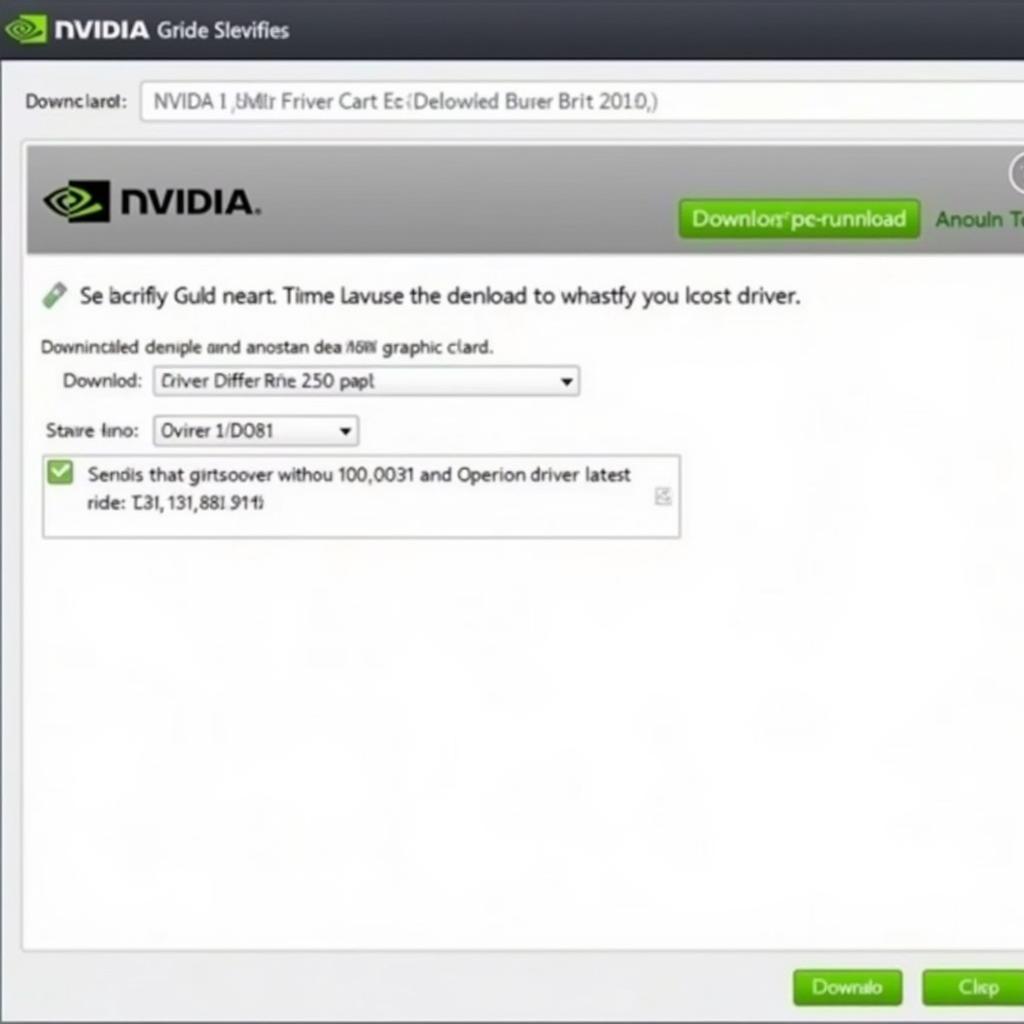
- Download the latest drivers: Visit the NVIDIA website’s driver download page, select your graphics card model, and download the latest drivers for your operating system.
- Uninstall existing drivers (optional but recommended): To ensure a clean install, consider uninstalling your current drivers. You can do this from the Device Manager by right-clicking your graphics card and selecting Uninstall device.
- Install the downloaded drivers: Run the downloaded driver installation file and follow the on-screen instructions.
- Restart your computer: This ensures the changes take effect.
 Downloading NVIDIA Drivers
2. Perform a Clean Boot: Eliminating Software Conflicts
A clean boot starts your Windows with a minimal set of drivers and programs, helping identify if any third-party software is causing the conflict:
- Open System Configuration: Press Windows key + R, type msconfig, and hit Enter.
- Go to the Services tab: Check the Hide all Microsoft services box and then click Disable all.
- Disable startup programs: Go to the Startup tab and click Open Task Manager. Disable all startup programs.
- Restart your computer: This will boot your system in a clean state.
Check if dxdiag now detects your GeForce card. If it does, a third-party program is likely the culprit. You can then selectively enable programs and services to identify the conflicting one.
3. Inspect Your Hardware: A Physical Checkup
If driver-related solutions haven’t worked, it’s wise to inspect your hardware:
- Power down your PC: Unplug the power cord for safety.
- Open your computer case: Carefully open the case, adhering to any safety precautions.
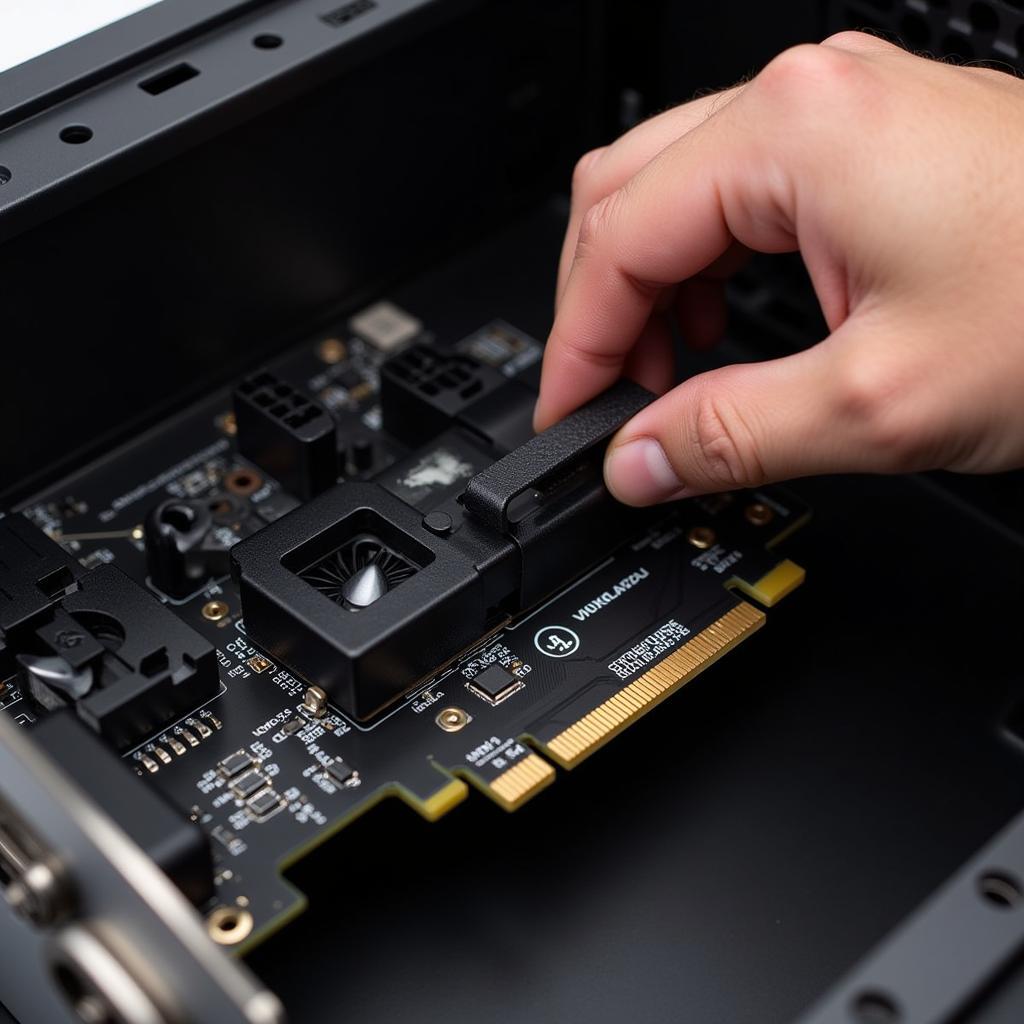
- Check the graphics card: Ensure your GeForce card is securely seated in its slot. If it feels loose, gently push it back in until it clicks into place.
- Check for physical damage: Inspect the card for any visible damage, such as burnt components or broken pins.
- Consider reseating other components: If comfortable, you can try reseating other components like RAM modules to eliminate potential issues.
Important: If you’re not comfortable working inside your computer, seek professional assistance from a qualified technician.
 Inspecting the Graphics Card
Additional Tips: Going the Extra Mile
If the above steps haven’t solved the issue, try these additional solutions:
- Run System File Checker: Open Command Prompt as an administrator and run sfc /scannow to scan and repair corrupted system files.
- Update your BIOS: Check your motherboard manufacturer’s website for the latest BIOS version and update if necessary.
- Contact Support: If the problem persists, reach out to NVIDIA support or your computer manufacturer for further assistance.
Conclusion: Getting Back to Gaming
The “DirectX Diagnostic Tool GeForce not detected” error can be frustrating, but it’s usually resolvable. By following the troubleshooting steps outlined in this guide, you can identify the root cause and get your GeForce card back in action.
Remember, keeping your drivers up-to-date is crucial for optimal performance and compatibility. If you encounter persistent problems or are uncomfortable with hardware troubleshooting, don’t hesitate to contact ScanToolUS for expert assistance at +1 (641) 206-8880 or visit our office at 1615 S Laramie Ave, Cicero, IL 60804, USA. We’re here to help you get back to enjoying your PC to the fullest.

