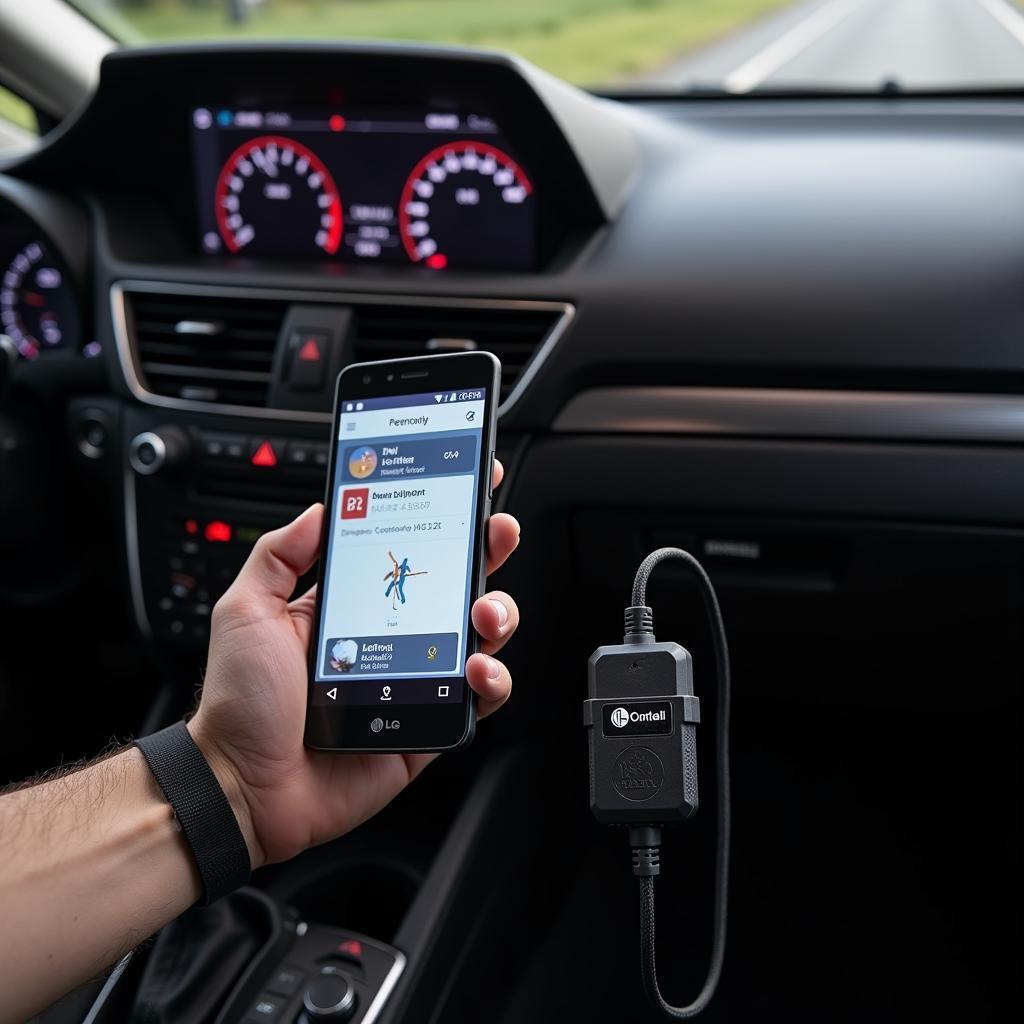
The modern car is a complex marvel of engineering, a symphony of mechanical, electrical, and computer systems working together. When a problem arises, it can be difficult to pinpoint the source without specialized equipment. That’s where an Automotive Diagnostic Tool, also known as a car diagnostic scanner, comes in. This essential piece of equipment allows you to communicate with your car’s computer system, read error codes, and diagnose issues quickly and accurately.
What is an Automotive Diagnostic Tool?
An automotive diagnostic tool is an electronic device that connects to a car’s onboard computer system, often through the OBD-II port (On-Board Diagnostics, generation two) usually located under the steering wheel. This connection allows the tool to retrieve information from the vehicle’s various electronic control units (ECUs).
 Car OBD-II Port Location
Think of your car’s ECUs as its brains and the diagnostic tool as a translator. The tool deciphers the complex data from the ECUs and displays it in a user-friendly format, helping you understand what’s happening under the hood.
Types of Automotive Diagnostic Tools
Automotive diagnostic tools come in various forms, each with a different level of complexity and functionality.
1. Code Readers
These are the most basic type of diagnostic tools, designed to read and clear Diagnostic Trouble Codes (DTCs). DTCs are standardized codes that indicate specific areas of malfunction within your vehicle’s systems. While code readers are helpful for identifying potential issues, they usually don’t provide detailed information about the problem.
2. OBD-II Scanners
A step up from basic code readers, OBD-II scanners offer more features, such as displaying live data streams from various sensors, providing freeze frame data (a snapshot of the vehicle’s parameters when a fault code was stored), and accessing manufacturer-specific codes.
3. Professional Diagnostic Tools
These are the most advanced and expensive type of otc automotive diagnostic tools, used by professional mechanics and dealerships. They offer comprehensive functionality, including bi-directional control (the ability to command certain systems to activate for testing), advanced programming options, and access to extensive repair databases.
Benefits of Using an Automotive Diagnostic Tool
Whether you’re a DIY enthusiast or a professional mechanic, using an automotive diagnostic tool brings numerous benefits:
- Accurate Diagnosis: Pinpoint the root cause of a problem instead of relying on guesswork.
- Save Time and Money: Avoid unnecessary repairs and replacements by identifying the exact issue.
- Increased Control: Gain a deeper understanding of your vehicle’s health and performance.
- Preventative Maintenance: Detect potential problems early and address them before they escalate.
- Enhanced Safety: Ensure your vehicle is operating safely and efficiently.
How to Choose the Right Automotive Diagnostic Tool
Selecting the right automotive diagnostic tool depends on your individual needs and budget.
- Frequency of Use: If you only need a tool for occasional check-ups, a basic code reader or OBD-II scanner might suffice. However, for frequent use or professional purposes, investing in a more advanced tool is recommended.
- Vehicle Compatibility: Ensure the tool you choose is compatible with your vehicle’s make, model, and year. Some tools are designed for specific car manufacturers, while others offer broader compatibility.
- Features and Functionality: Determine the features most important to you, whether it’s reading and clearing codes, viewing live data, or accessing manufacturer-specific information.
- Budget: Automotive diagnostic tools range in price from affordable to expensive. Set a budget that aligns with your needs and the features you require.
Basic Troubleshooting Using an Automotive Diagnostic Tool
Let’s walk through a common car problem – the “Check Engine” light is on. Here’s how you can use an automotive diagnostic tool to diagnose the issue:
- Locate the OBD-II Port: It’s typically located under the dashboard on the driver’s side.
- Connect the Diagnostic Tool: Plug the tool into the OBD-II port and turn on the vehicle’s ignition (don’t start the engine).
- Read the Codes: Navigate to the “Read Codes” function on your tool. This will display any stored Diagnostic Trouble Codes (DTCs).
- Research the Codes: Note down the codes and refer to a reliable source like a DTC database or online forums to understand what they signify.
- Clear the Codes: After addressing the potential issue, use the tool to clear the codes and see if the “Check Engine” light turns off.
Remember, while automotive diagnostic tools are powerful aids, they don’t replace the need for mechanical expertise. If you’re unsure about a diagnosis or repair, always consult with a qualified mechanic.
“I always tell my clients, a good diagnostic tool is like having X-ray vision for your car. It lets you see what’s really going on and make informed decisions about repairs.” – John Miller, ASE Certified Master Technician
Conclusion
An automotive diagnostic tool is an indispensable tool for car owners and mechanics alike. It empowers you to understand, diagnose, and often resolve car problems, saving time, money, and unnecessary headaches. By understanding the different types of tools available and how to use them effectively, you can take control of your vehicle’s maintenance and ensure a smoother, safer driving experience.
For expert advice on choosing the right automotive diagnostic tool or for any car repair needs, contact ScanToolUS at +1 (641) 206-8880 or visit our office at 1615 S Laramie Ave, Cicero, IL 60804, USA.

