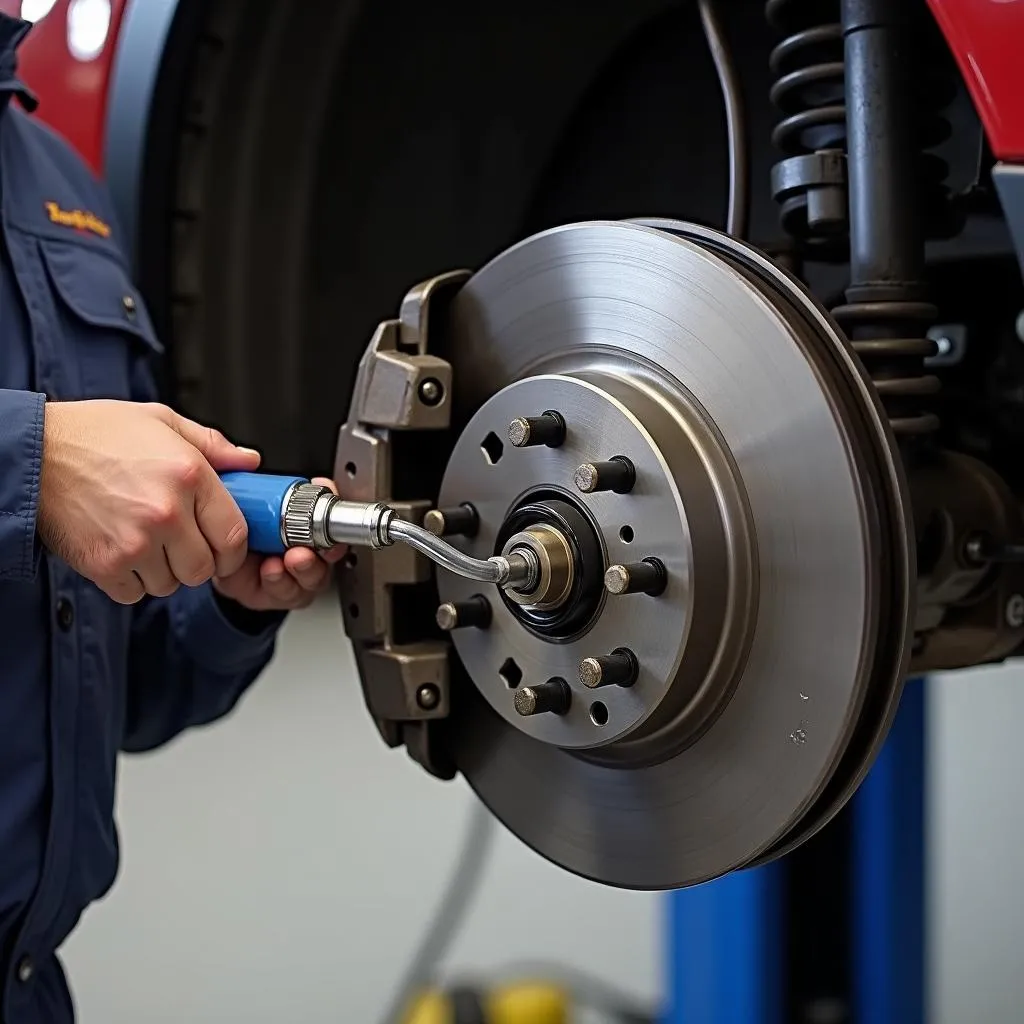
Bleeding your ABS module is a crucial part of car maintenance. It ensures your braking system stays in top condition, preventing air from getting trapped and potentially causing brake failure. While a scan tool simplifies the process, you can still bleed your ABS module effectively without one. This comprehensive guide will walk you through the steps involved in bleeding your ABS module without a scan tool, providing you with a safe and effective solution.
Understanding Your ABS System and the Importance of Bleeding
Before diving into the procedure, it’s vital to understand why bleeding your ABS system is essential. The Anti-lock Braking System (ABS) is a safety feature that prevents your wheels from locking up during hard braking, giving you better control and preventing skidding.
The ABS module is the brain of this system, controlling the hydraulic pressure that reaches each brake caliper. When air enters the ABS module or brake lines, it disrupts this pressure, making your brakes feel spongy and reducing their effectiveness. Bleeding the system removes this trapped air, ensuring optimal braking performance.
Bleeding Your ABS Module Without a Scan Tool: A Step-by-Step Guide
While a scan tool makes bleeding your ABS module easier by cycling the ABS solenoids, it’s not strictly necessary. You can achieve the same results with a bit more effort. Here’s how to do it safely and effectively:
What You’ll Need
Before you begin, gather the following:
- A helper: An extra pair of hands is invaluable for this process.
- Brake fluid: Use the type specified in your car’s owner’s manual.
- A clear container: This is for collecting the old brake fluid.
- A wrench that fits your bleeder valves: Check your owner’s manual for the correct size.
- A length of clear tubing: This will fit over the bleeder valve and go into your container.
- Safety glasses and gloves: Brake fluid is corrosive, so protect yourself.
- Jack and jack stands (optional): These are needed if you need to access a bleeder valve that’s not easily reachable.
Step 1: Prepare Your Vehicle
- Park your vehicle on level ground and engage the parking brake.
- If necessary, jack up your vehicle and secure it on jack stands to access the bleeder valves comfortably.
Step 2: Locate the Bleeder Valves
Consult your car’s owner’s manual to locate the bleeder valves on each wheel. They’re typically found on the back of the brake caliper or wheel cylinder.
Step 3: Start Bleeding the Brakes
Always start with the wheel farthest from the master cylinder and work your way closer:
- Clean the bleeder valve on the first wheel with a rag.
- Connect the clear tubing to the bleeder valve and submerge the other end in your container with a small amount of brake fluid.
- Have your helper press down firmly on the brake pedal several times and then hold it down.
- Carefully open the bleeder valve by about a quarter turn. You should see old brake fluid and air bubbles flowing through the tube.
- Once the flow slows to a trickle, close the bleeder valve.
- Repeat steps 3-5 until you see a steady stream of fluid with no air bubbles.
- Repeat the process for each of the remaining wheels, always working your way closer to the master cylinder.
Step 4: Top Up the Brake Fluid
Throughout the bleeding process, keep an eye on the brake fluid level in the master cylinder reservoir. Refill it as needed to prevent it from running dry, which could introduce air into the system.
Step 5: Test Your Brakes
Once you’ve bled all four wheels, double-check that the bleeder valves are tightly closed and remove the tubing. Dispose of the old brake fluid properly. Start your vehicle and press the brake pedal a few times. It should feel firm. Test your brakes at low speeds in a safe environment to ensure they’re working correctly.
 Mechanic bleeding car brake system
What If the Brakes Still Feel Spongy?
If your brakes still feel spongy after bleeding them without a scan tool, there are a few potential explanations:
- Air in the system: It’s possible that air is still trapped in the lines or ABS module. Repeat the bleeding process carefully, ensuring no air enters the system.
- Worn brake components: Worn brake pads, rotors, or calipers can also contribute to spongy brakes. Inspect these components and replace them if necessary.
- Internal ABS module issue: In some cases, a faulty ABS module may require professional diagnosis and repair or replacement.
Safety Precautions
- Never reuse old brake fluid: It absorbs moisture over time, reducing its effectiveness.
- Avoid getting brake fluid on your skin or paint: It’s corrosive and can cause damage.
- Don’t apply excessive force when opening or closing bleeder valves: You could damage them.
Conclusion
Bleeding your ABS module without a scan tool is entirely achievable with the right knowledge and tools. Following this step-by-step guide will help you maintain your vehicle’s braking system, ensuring optimal performance and, most importantly, your safety on the road. However, if you are uncomfortable with any step of this process or if you continue to experience braking issues, it’s always best to consult a qualified mechanic.
At ScanToolUS, we understand the importance of properly maintaining your vehicle’s safety systems. We offer a wide range of automotive diagnostic tools and equipment to help you tackle even the most complex repairs with confidence. Contact us today at +1 (641) 206-8880 or visit our office at 1615 S Laramie Ave, Cicero, IL 60804, USA, for all your automotive diagnostic needs.
