The advent of the OBD II scan tool revolutionized automotive diagnostics. No longer were mechanics and car enthusiasts left guessing about the source of a “check engine” light. This powerful tool, using standardized Obd Ii Scan Tool Instructions, decodes cryptic error codes, providing a roadmap to understanding and resolving vehicle issues. Whether you’re a seasoned mechanic or a car owner looking to demystify car repair, this guide is your key to understanding and utilizing the OBD II scan tool effectively.
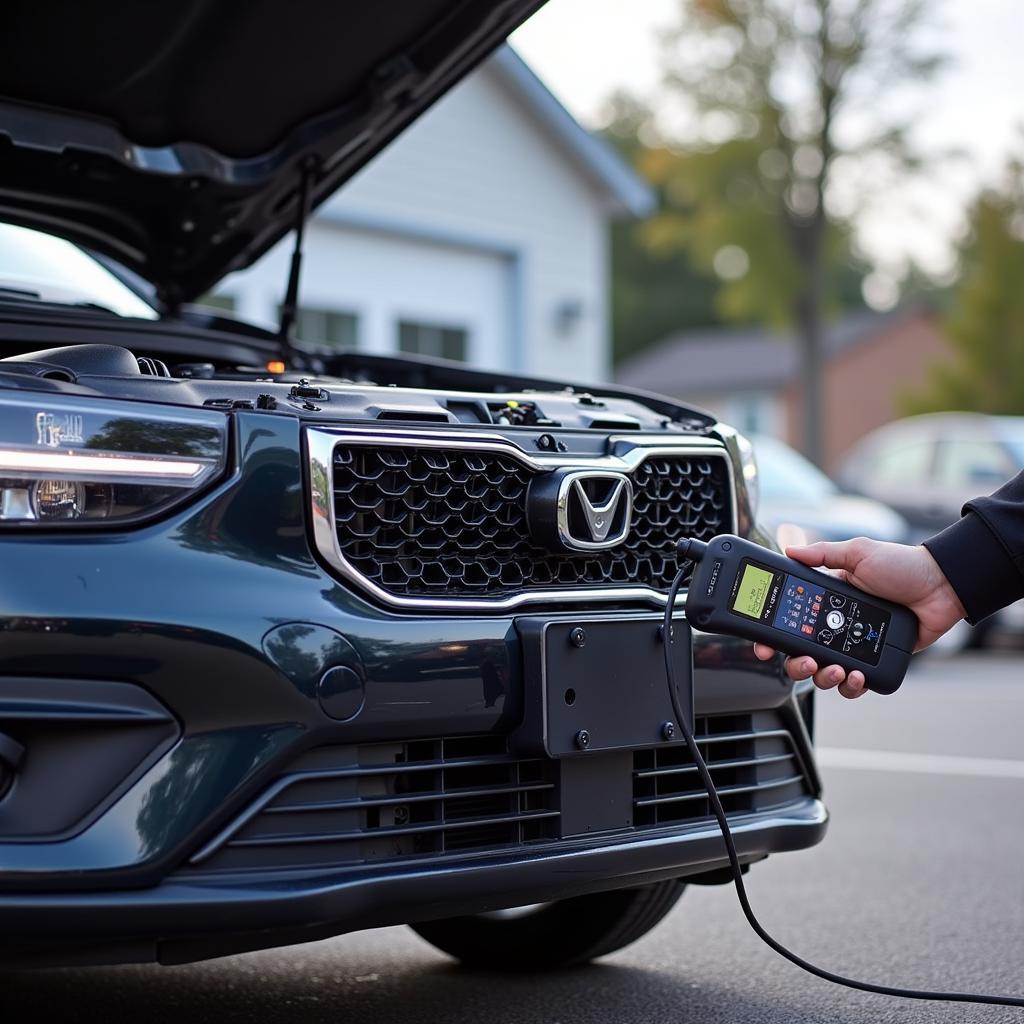
 OBD II Scanner Connected to Car
What is an OBD II Scan Tool and How Does it Work?
OBD II, short for On-Board Diagnostics, second generation, is a standardized system implemented in vehicles from 1996 onwards (in the United States). At its core is the OBD II port, a 16-pin connector typically located beneath the driver-side dashboard. This port acts as the vehicle’s data hub, storing a wealth of information about the engine, transmission, emissions system, and more.
The OBD II scan tool serves as the interpreter of this data. By connecting to the port and communicating with the vehicle’s computer, the scan tool can:
- Retrieve Diagnostic Trouble Codes (DTCs): These codes, appearing as a combination of letters and numbers, pinpoint specific areas or components within the vehicle’s systems that are experiencing malfunctions.
- Display Live Data Stream: This feature provides real-time information from various sensors throughout the vehicle, allowing for monitoring of engine parameters, oxygen sensor readings, and more.
- Perform Special Functions: Depending on the scan tool’s capabilities, it may offer advanced functionalities such as resetting the check engine light, performing component actuations, or accessing manufacturer-specific data.
can-obd-ii-car-scanner-diagnostic-tool
Types of OBD II Scan Tools
OBD II scan tools come in various forms, catering to different user needs and budgets:
-
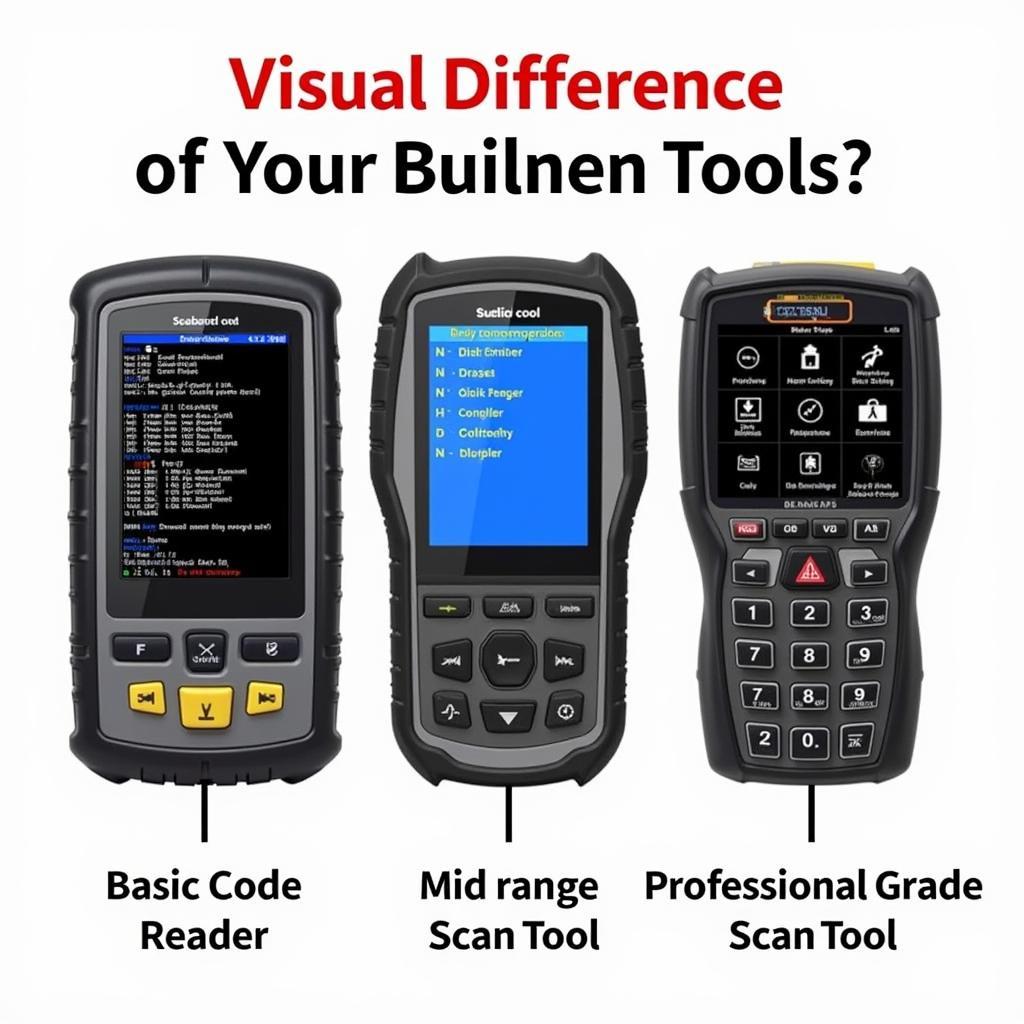
Basic Code Readers: These entry-level devices primarily focus on retrieving and displaying DTCs. They are ideal for car owners seeking a quick understanding of the check engine light.
-
Mid-Range Scan Tools: Offering a balance between affordability and functionality, these tools provide access to live data streams, code definitions, and some advanced features.
-
Professional-Grade Scan Tools: These comprehensive tools are equipped with a wide array of features, including bidirectional communication, extensive code databases, graphing capabilities, and manufacturer-specific diagnostics. They are indispensable for professional mechanics and serious DIY enthusiasts.
 Different Types of OBD II Scanners
Understanding OBD II Scan Tool Instructions: A Step-by-Step Guide
Using an OBD II scan tool might seem daunting at first, but the process is surprisingly straightforward. Here’s a general guide, keeping in mind that specific steps may vary slightly depending on the scan tool model:
1. Locate the OBD II Port
As mentioned earlier, the OBD II port is typically located beneath the driver-side dashboard. However, refer to your vehicle’s owner’s manual for its precise location if you’re unable to find it.
2. Connect the Scan Tool
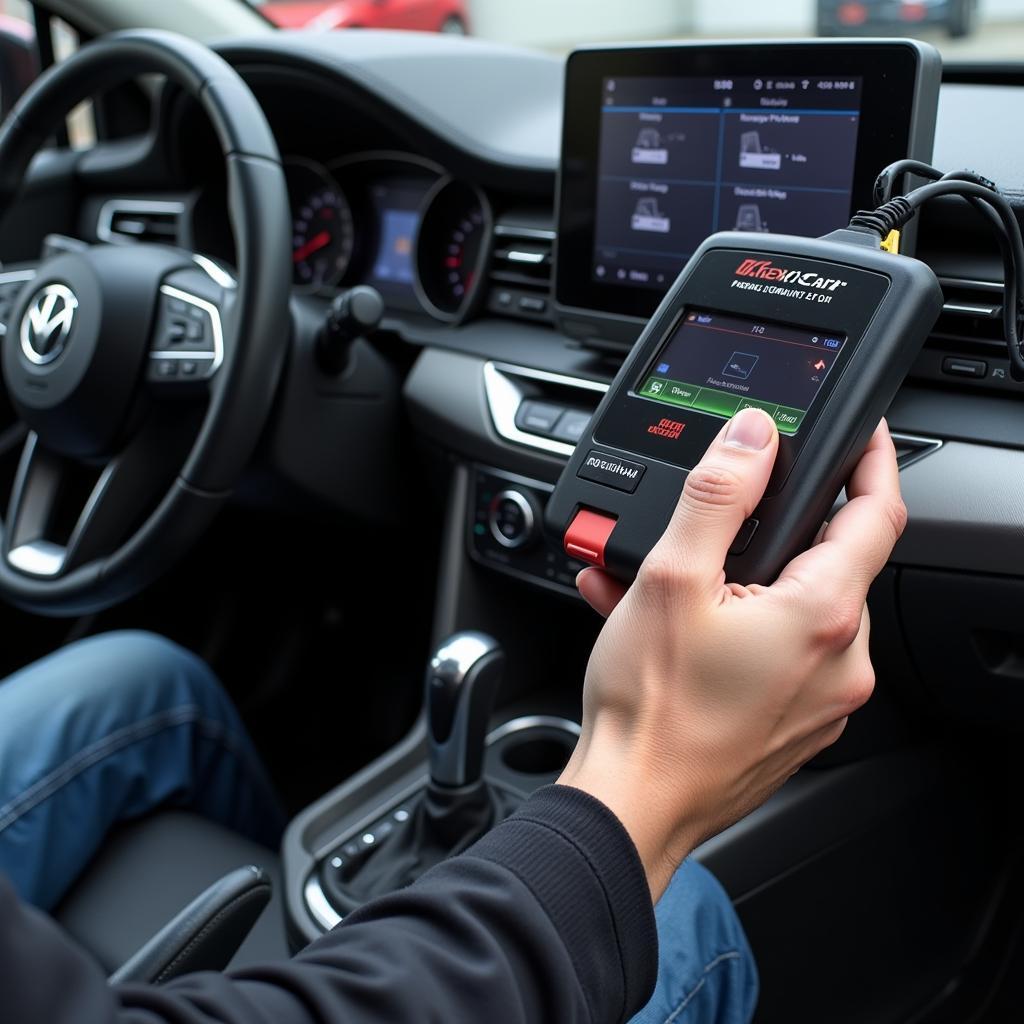
Turn the ignition off. Insert the scan tool’s connector into the OBD II port. Ensure a secure connection.
3. Turn the Ignition On
Turn the ignition to the “on” position, but do not start the engine. This powers up the scan tool and allows it to establish communication with the vehicle’s computer.
4. Follow On-Screen Prompts
Most modern scan tools will guide you through the process with clear on-screen instructions. You may be prompted to enter vehicle-specific information such as the VIN, make, model, and engine type.
5. Retrieve Diagnostic Trouble Codes (DTCs)
Select the option to read or retrieve DTCs. The scan tool will communicate with the vehicle’s computer and display any stored codes.
6. Interpret the Codes
Each DTC consists of a five-digit alphanumeric code. The first character indicates the system the code pertains to (e.g., “P” for powertrain, “B” for body, “C” for chassis, “U” for network). The remaining digits provide a more specific indication of the issue. Refer to the scan tool’s manual or an online DTC database to decipher the meaning of each code.
7. Address the Underlying Issues
Once you’ve interpreted the DTCs, you can begin diagnosing and addressing the root causes of the problems. This may involve further inspection of specific components, testing procedures, or consulting repair manuals.
8. Clear the Codes and Verify Repairs
After performing repairs, use the scan tool to clear the DTCs. It’s crucial to address the underlying issues rather than simply clearing the codes, as this could mask potential problems.
good-scanning-tool-readings-1998-chevy-blazer-4×4
Advanced OBD II Scan Tool Features
Beyond basic code reading and clearing, more advanced scan tools offer additional functionalities:
-
Live Data Stream Analysis: Observing real-time data from various sensors provides valuable insights into the vehicle’s performance. Mechanics and experienced DIYers can use this feature to pinpoint intermittent issues or confirm suspicions about specific components.
-
Bi-Directional Control: This powerful feature allows the scan tool to send commands to the vehicle’s computer, enabling actions such as actuating solenoids, turning on fans, or controlling fuel injectors. This is particularly useful for testing components and verifying repairs.
bidirectional-scan-tool-definition
- Manufacturer-Specific Diagnostics: Some scan tools offer enhanced functionalities for specific vehicle makes and models. This can include access to proprietary codes, advanced diagnostic procedures, and module programming capabilities.
Choosing the Right OBD II Scan Tool
With numerous options available, selecting the right OBD II scan tool can be overwhelming. Consider the following factors:
-
Your Skill Level and Needs: A basic code reader may suffice for casual car owners, while professionals require the comprehensive capabilities of a high-end scan tool.
-
Vehicle Compatibility: Ensure the scan tool is compatible with your vehicle’s make, model, and year.
-
Features and Functionality: Evaluate the scan tool’s features and prioritize those that align with your diagnostic needs and budget.
-
User Interface and Ease of Use: Opt for a scan tool with an intuitive interface, clear display, and easy-to-navigate menus.
-
Updates and Support: Choose a reputable brand that offers software updates and reliable customer support.
Conclusion
The OBD II scan tool is an invaluable tool for anyone who owns, repairs, or maintains vehicles. Its ability to provide insights into a vehicle’s health, diagnose problems, and guide repairs has revolutionized automotive diagnostics. By understanding how to use an OBD II scan tool effectively, you empower yourself to take control of your vehicle’s maintenance, save on costly repairs, and ensure a smoother, safer driving experience.
If you have any questions about OBD II scan tools or need help choosing the right one for your needs, don’t hesitate to contact the experts at ScanToolUS at +1 (641) 206-8880 or visit our office at 1615 S Laramie Ave, Cicero, IL 60804, USA.


