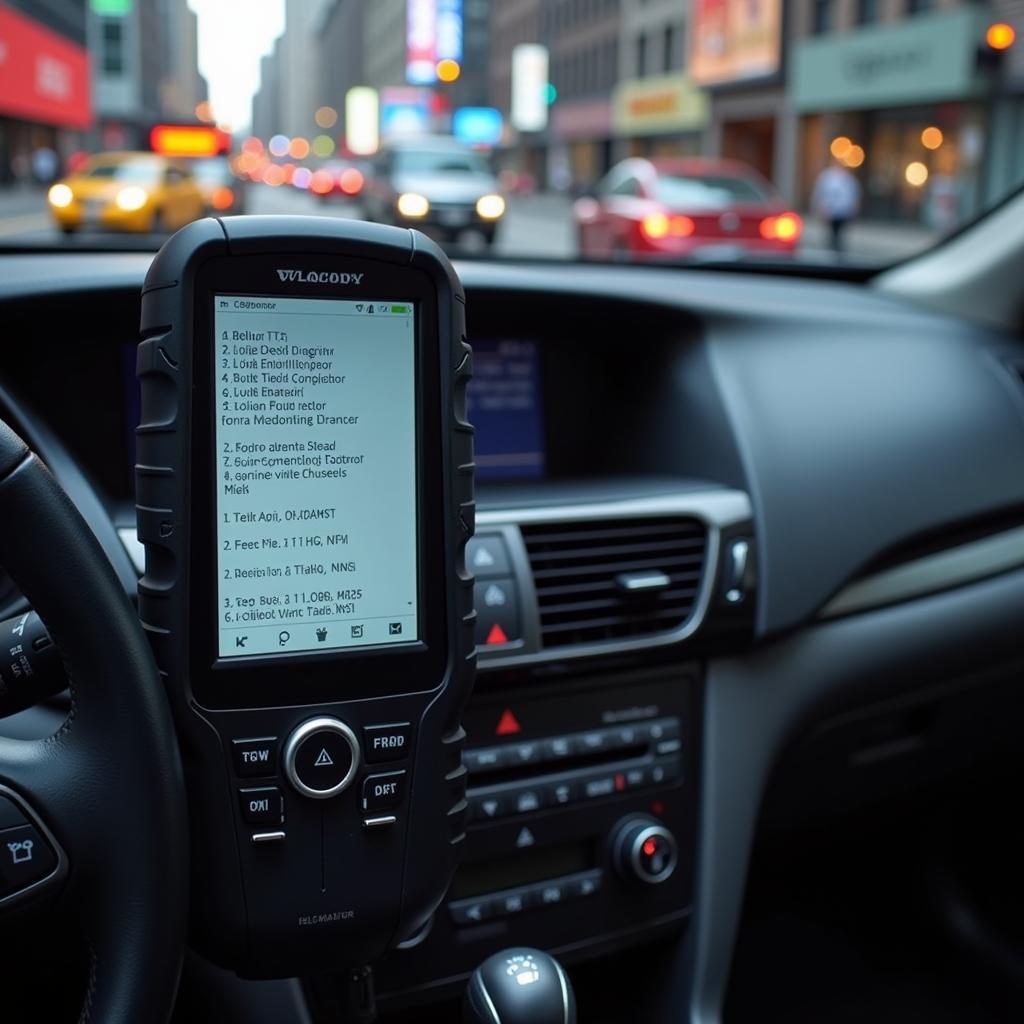
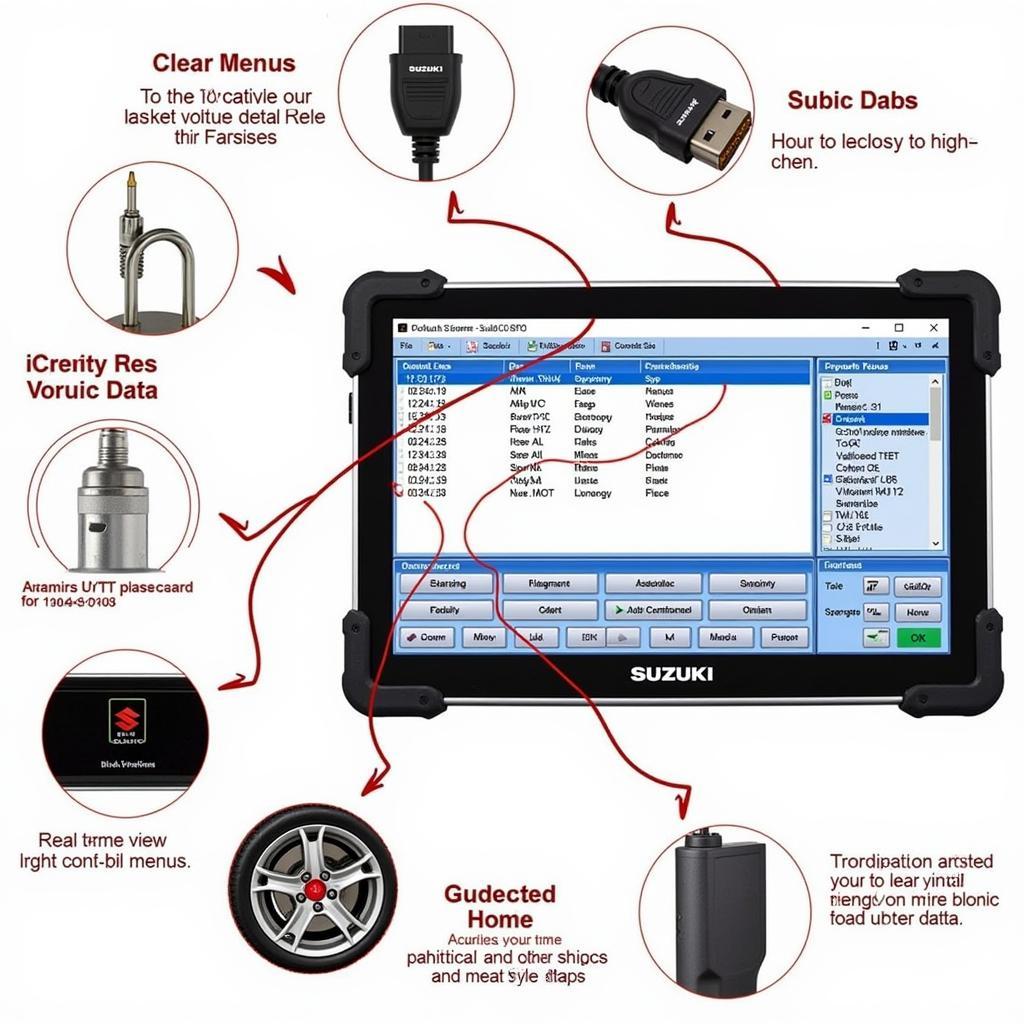
In the world of automotive electronics, few upgrades offer the same blend of practicality and excitement as a radio scanner. Whether you’re a curious driver, a dedicated hobbyist, or an auto repair professional looking to expand your services, a Radio Scanner Car Installation can open up a world of audio information, from real-time traffic updates to public safety broadcasts. This guide will walk you through everything you need to know about radio scanner car installation, from choosing the right scanner to enjoying crystal-clear reception.
Understanding Radio Scanners and Their Benefits
Before we dive into the installation process, let’s clarify what radio scanners are and why you might want one in your car. Unlike traditional AM/FM radios, radio scanners pick up radio frequencies used by various organizations and services, including:
- Public Safety: Police, fire departments, and EMS
- Transportation: Air traffic control, marine channels, and railroad communications
- Weather Services: NOAA weather broadcasts and storm spotter networks
- Amateur Radio: Listen in on conversations between ham radio operators
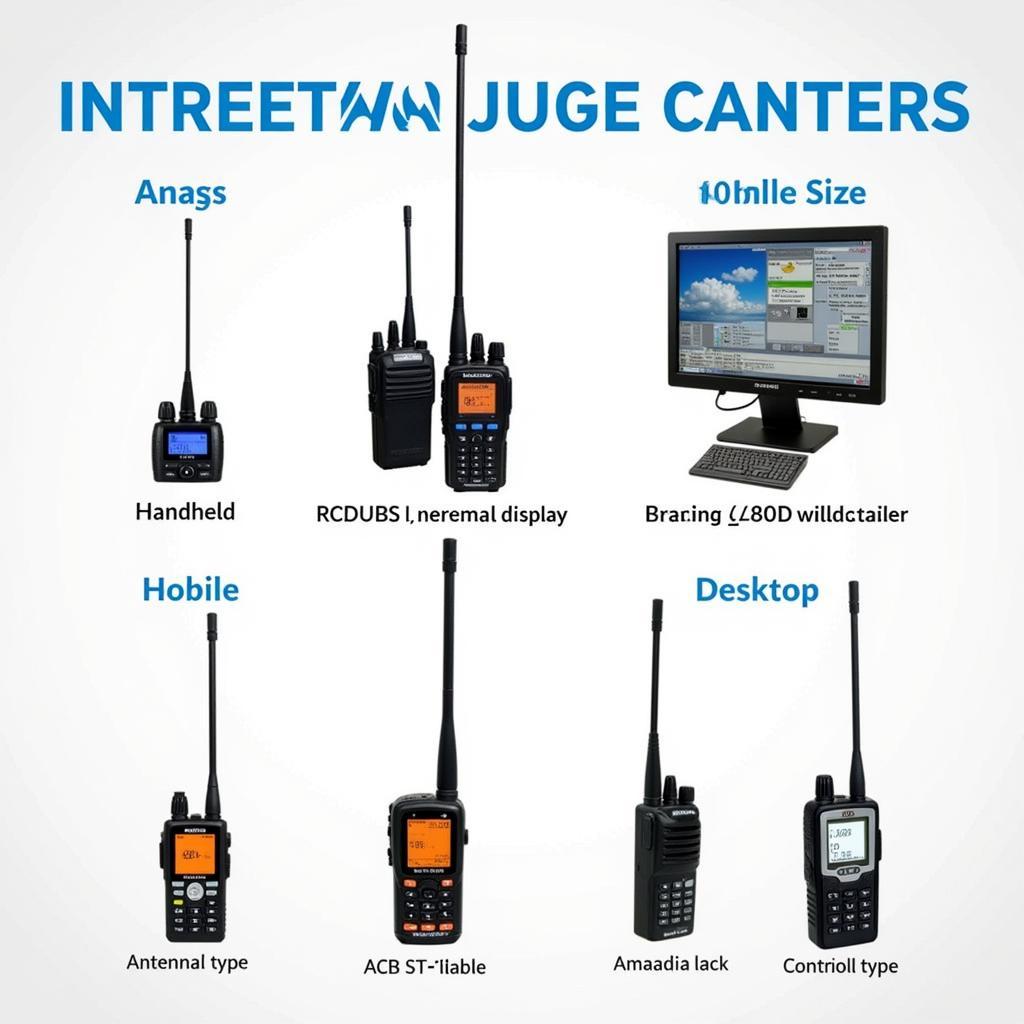 Different Types of Radio Scanners
Why Install a Radio Scanner in Your Car?
The benefits of having a radio scanner in your vehicle are numerous:
- Situational Awareness: Stay informed about accidents, traffic jams, and other incidents on your route.
- Safety: Be aware of emergency situations developing in your vicinity.
- Entertainment: Tune into interesting conversations and broadcasts from various services.
- Professional Advantage: For those in security, transportation, or related fields, a scanner is an invaluable tool.
Choosing the Right Radio Scanner for Your Needs
Selecting the right radio scanner is crucial for a successful installation and an enjoyable listening experience. Here’s a breakdown of the types of scanners available:
1. Handheld Scanners:
- Pros: Compact, portable, and affordable.
- Cons: Limited features, shorter antenna range.
2. Mobile Scanners:
- Pros: Designed for vehicle use, more powerful, feature-rich.
- Cons: Can be more expensive, require more complex installation.
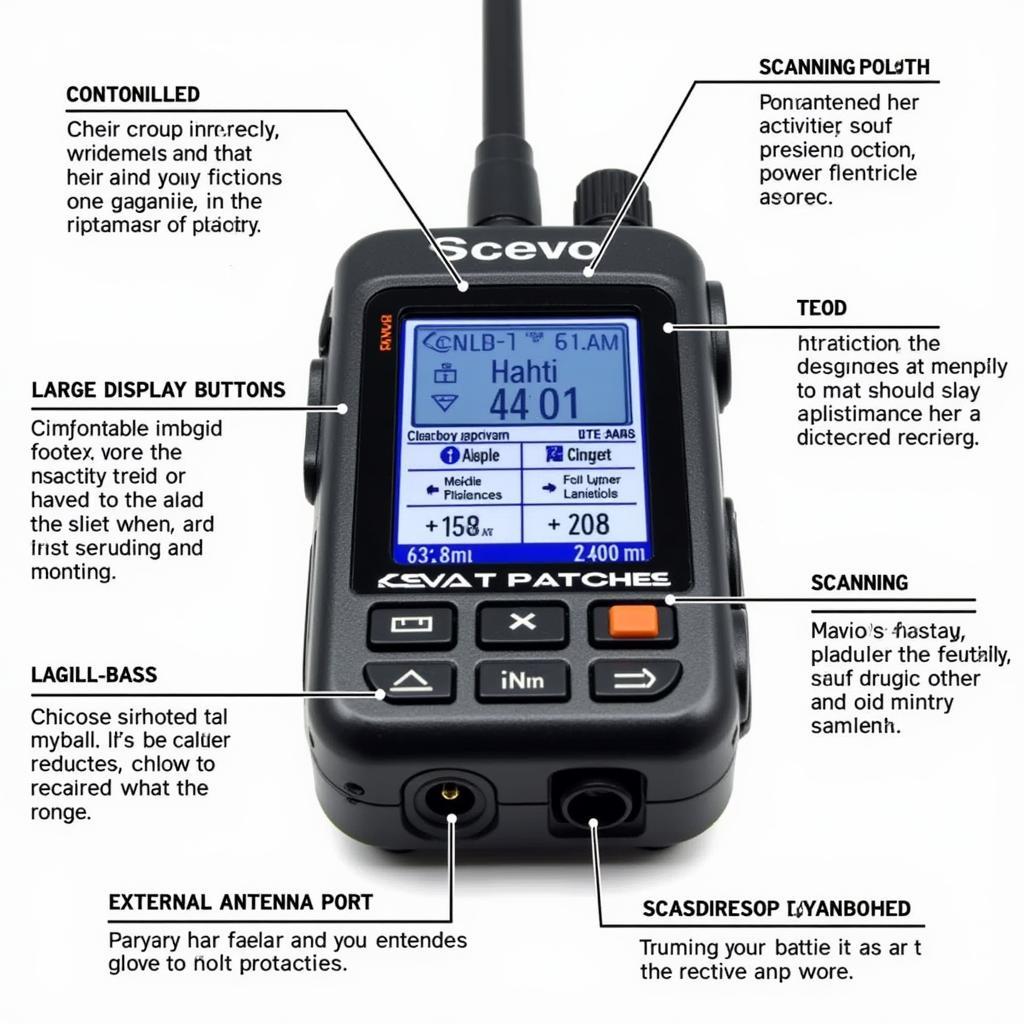 Mobile Radio Scanner Features
3. Desktop Scanners:
- Pros: The most powerful option, advanced features, exceptional reception.
- Cons: Not designed for vehicle use, usually require a separate power source.
For most car owners and professionals, a mobile radio scanner offers the best balance of performance and practicality.
Essential Equipment for Radio Scanner Car Installation
Before you begin the installation, gather the following tools and materials:
- Radio Scanner: Choose a model suited for your needs and vehicle.
- Antenna: A high-quality antenna is vital for optimal reception. Consider the type of frequencies you want to listen to and your typical driving environment.
- Antenna Mount: Select a mount that is compatible with your vehicle and antenna.
- Coaxial Cable: This cable connects the antenna to the scanner.
- Wiring Kit: This kit should include all the necessary wires, connectors, and fuses for a safe and reliable installation.
- Tools: You’ll need basic hand tools like screwdrivers, pliers, wire strippers, and possibly a drill.
- Zip Ties or Velcro Straps: These will help you neatly route and secure wires.
- Installation Manual: Always consult your scanner’s and antenna’s installation manuals for specific instructions.
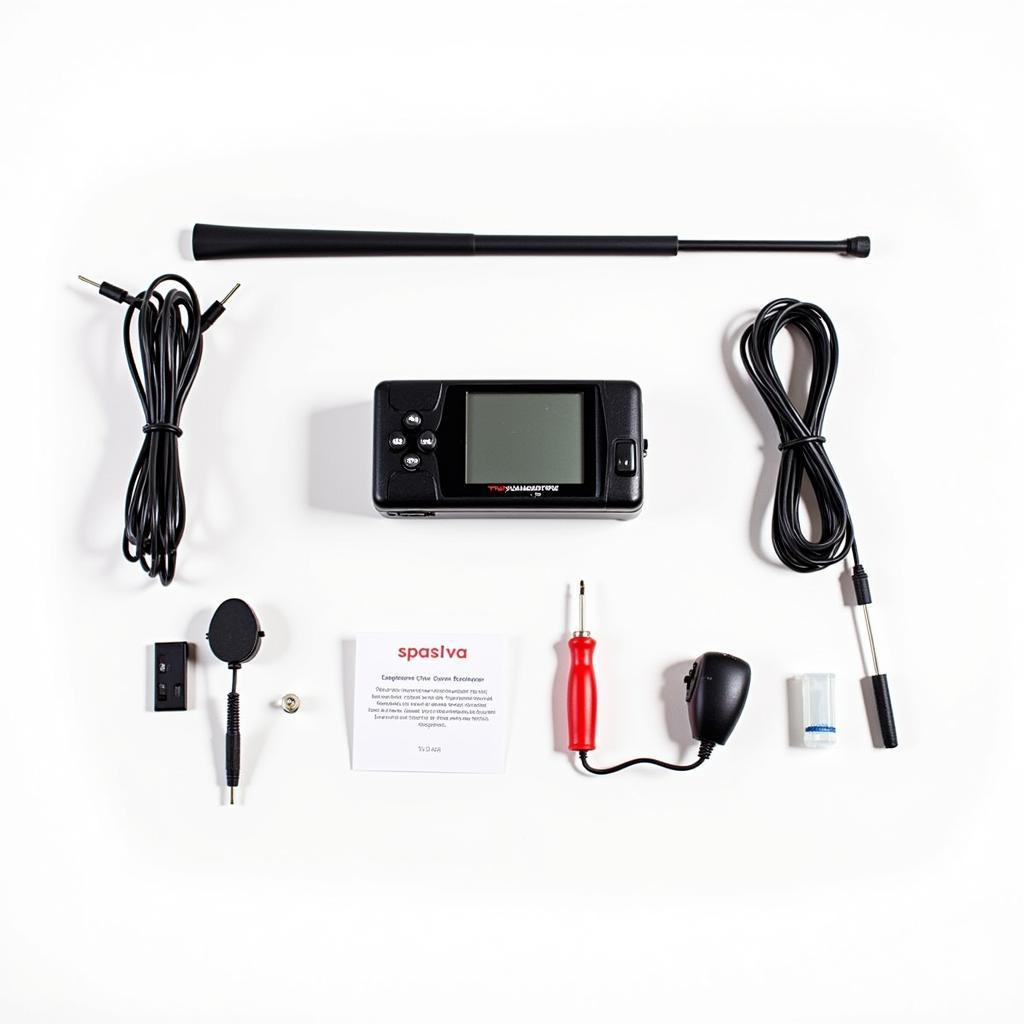 Car Radio Scanner Installation Kit
Step-by-Step Radio Scanner Car Installation Guide
Now, let’s go through the installation process. Remember that these are general guidelines, and your specific installation may vary depending on your chosen equipment and vehicle.
Step 1: Choose an Antenna Mounting Location
The ideal location for your antenna is on the vehicle’s roof, as high up as possible. This position minimizes interference and maximizes signal reception. However, you can also mount it on the trunk lid or fender if roof mounting isn’t feasible.
Step 2: Install the Antenna Mount
Follow the instructions provided with your antenna mount to securely attach it to your chosen location. You might need to drill holes and use the provided hardware.
Step 3: Connect the Antenna to the Scanner
Attach the coaxial cable to the antenna and route it through your vehicle’s interior to the location where you’ll install the scanner.
Step 4: Mount the Scanner
Find a suitable location for your scanner within easy reach and visibility. Common mounting options include the dashboard, center console, or visor. Use the provided mounting bracket or purchase a compatible one.
Step 5: Connect the Scanner to Your Vehicle’s Electrical System
This step is crucial for powering your scanner. You can connect it directly to your car’s battery, fuse box, or an accessory power source. Using a wiring kit with an inline fuse is recommended for safety.
Step 6: Test Your Installation
Before buttoning everything up, turn on your scanner and check if it’s receiving signals properly. Adjust the antenna’s position and check the wiring connections if needed.
Step 7: Secure All Wires and Components
Once you’re satisfied with the installation, neatly route and secure all wires using zip ties or Velcro straps. This prevents wires from dangling or interfering with other vehicle components.
Tips for Optimal Radio Scanner Performance
- Choose the Right Antenna: A high-quality antenna is paramount for clear reception.
- Proper Grounding: Ensure the antenna mount and scanner have a solid ground connection to minimize interference.
- Strategic Mounting: Mount the antenna as high as possible for the best signal.
- Avoid Obstructions: Keep the antenna clear from obstructions like trees, buildings, or power lines.
- Regular Maintenance: Inspect your antenna and wiring periodically for damage or loose connections.
Integrating Your Scanner with Other Car Accessories
For those who want to take their radio scanner setup a step further, integration with other car accessories is possible. Consider these options:
- Aftermarket Car Radio with OBD2 Scanner: Combine the functionality of a radio scanner with a modern car stereo system that also provides vehicle diagnostics through an OBD2 connection. Learn more about aftermarket car radio with obd2 scanner.
- External Speakers: Enhance audio clarity, especially in noisy environments, by connecting your scanner to external speakers.
Radio Scanner Laws and Etiquette
It’s vital to be aware of and respect the laws and etiquette surrounding radio scanner use.
- Legality: In most areas, listening to public safety and other radio communications is legal. However, some jurisdictions might have restrictions.
- Privacy: Never use the information you hear on your scanner for illegal activities or to harass others.
- Interference: Avoid transmitting on frequencies used by emergency services.
Conclusion
A radio scanner car installation can significantly enhance your driving experience, providing you with valuable information, safety, and entertainment. By following these steps and choosing the right equipment, you can enjoy crystal-clear reception and unlock a world of audio information right from your vehicle.
If you need expert assistance with choosing or installing your radio scanner, don’t hesitate to contact ScanToolUS at +1 (641) 206-8880. Our team is ready to help you find the perfect solution for your vehicle. Our office is located at 1615 S Laramie Ave, Cicero, IL 60804, USA.

