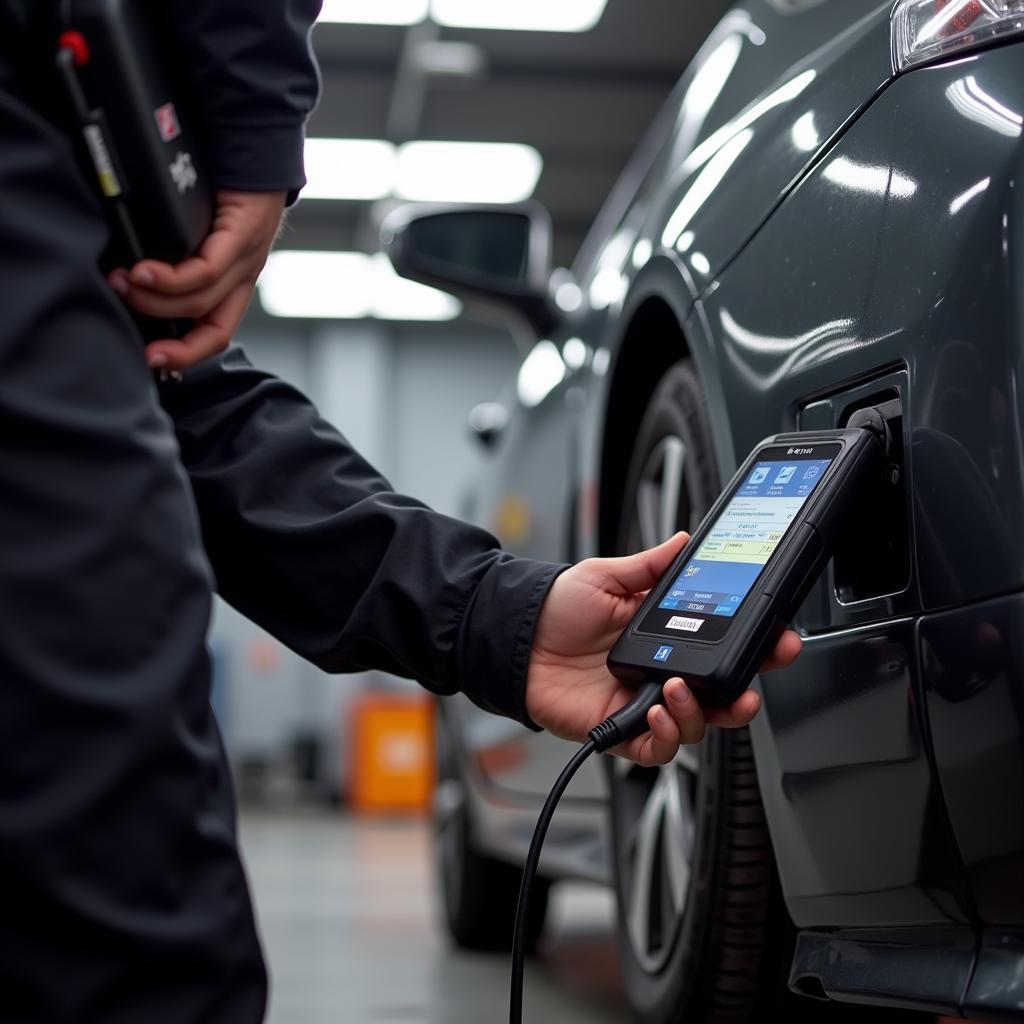
Connecting a diagnostic tool is the first step in troubleshooting modern vehicle issues. But where do you plug in a diagnostic tool? This guide provides a detailed explanation for car owners, mechanics, and technicians.
Understanding the location and function of the diagnostic port is crucial for effectively using a diagnostic tool. Whether you’re a seasoned mechanic or a DIY enthusiast, this article will equip you with the knowledge you need to confidently diagnose your car’s problems.
Locating the OBD-II Port: Your Car’s Data Gateway
Most vehicles manufactured after 1996 in the United States, and after 2001 in Europe and Asia, are equipped with an OBD-II (On-Board Diagnostics, Second Generation) port. This standardized 16-pin connector is the gateway to your car’s internal computer systems. Finding the OBD-II port is usually straightforward. It’s typically located under the dashboard, on the driver’s side, within a few feet of the steering wheel. Sometimes, it can be hidden behind a panel or near the center console. If you’re having trouble finding it, consult your vehicle’s owner’s manual.
Similar to the information provided in car diagnostic plug in tool, finding the OBD-II port can sometimes be tricky, depending on the car model. However, understanding the general location significantly narrows down the search.
What Can an OBD-II Diagnostic Tool Do?
An OBD-II diagnostic tool, also known as a scan tool, allows you to communicate with your car’s computer systems. These tools can read and clear diagnostic trouble codes (DTCs), which are stored by the car’s computer when a malfunction is detected. Beyond reading codes, advanced scan tools can access live data streams, perform actuator tests, and even program certain modules. This information can be invaluable for identifying the root cause of a problem and guiding the repair process.
Understanding Diagnostic Trouble Codes (DTCs)
DTCs are standardized codes that represent specific malfunctions within the vehicle’s systems. They are categorized into four types:
- P Codes: Powertrain (engine, transmission, emissions)
- B Codes: Body (airbags, power windows, central locking)
- C Codes: Chassis (ABS, traction control, steering)
- U Codes: Network and Communication (CAN bus, modules)
Connecting the Diagnostic Tool: A Step-by-Step Guide
Connecting your diagnostic tool is simple:
- Locate the OBD-II port on your vehicle.
- Insert the diagnostic tool’s connector into the OBD-II port. Ensure it’s firmly connected.
- Turn the ignition key to the “on” position (do not start the engine). This powers up the car’s computer systems and allows the diagnostic tool to communicate.
- Turn on the diagnostic tool and follow the manufacturer’s instructions.
This process is generally straightforward, but certain vehicle models might require specific procedures. Always consult your vehicle’s owner’s manual and the diagnostic tool’s instructions for detailed guidance. This is similar to how can obd2 diagnostic tool can perform various functions depending on the tool and vehicle compatibility.
Beyond the Basics: Advanced Diagnostic Techniques
For professional mechanics and advanced DIYers, understanding advanced diagnostic techniques can be beneficial. These include:
- Live Data Streaming: Observing real-time sensor data to identify intermittent issues.
- Actuator Tests: Commanding specific components to operate, such as fuel injectors or solenoids, to verify their functionality.
- Module Programming: Updating or reprogramming control modules to address software-related issues.
Just like finding the best diy diagnostic tool, mastering advanced techniques requires research and practice. However, these skills can significantly enhance your diagnostic capabilities.
Troubleshooting Common Connection Issues
Occasionally, you may encounter issues connecting your diagnostic tool. Some common problems and solutions include:
- Loose Connection: Ensure the connector is fully inserted into the OBD-II port.
- Power Issues: Verify the ignition is in the “on” position. Check for blown fuses related to the OBD-II system.
- Compatibility Problems: Ensure your diagnostic tool is compatible with your vehicle’s make, model, and year.
- Faulty Diagnostic Tool: Try using a different diagnostic tool to rule out a malfunctioning device.
Choosing the Right Diagnostic Tool for Your Needs
The market offers a wide range of diagnostic tools, from basic code readers to professional-grade scan tools. Choosing the right tool depends on your needs and budget. Factors to consider include:
- Functionality: Basic code readers are sufficient for reading and clearing DTCs. Advanced tools offer live data, actuator tests, and programming capabilities.
- Vehicle Compatibility: Ensure the tool is compatible with your vehicle’s make, model, and year.
- User Interface: Choose a tool with a user-friendly interface and clear display.
- Budget: Basic code readers are relatively inexpensive, while professional-grade tools can be significantly more costly.
Many people wonder, is the cars diagnostic tool hard to use? While the complexity varies, many tools are designed with user-friendliness in mind.
Expert Insights on Diagnostic Tools
“A quality diagnostic tool is an essential investment for any car owner or mechanic,” says John Smith, ASE Certified Master Technician. “It empowers you to take control of your vehicle’s maintenance and repairs, saving you time and money in the long run.”
“Understanding how to use a diagnostic tool effectively can transform your approach to car repair,” adds Jane Doe, Automotive Engineer. “It allows you to move beyond guesswork and pinpoint the exact cause of a problem.”
Conclusion
Knowing where to plug in a diagnostic tool and how to interpret the information it provides is essential for maintaining and repairing modern vehicles. Whether you’re a car owner, mechanic, or technician, understanding the basics of OBD-II diagnostics can empower you to address car problems effectively. For further assistance and a wide selection of diagnostic tools, connect with ScanToolUS at +1 (641) 206-8880 or visit our office at 1615 S Laramie Ave, Cicero, IL 60804, USA.
Is downloading specific diagnostic tools helpful? You can learn about downloading an download outlook product stability diagnostic tool.


