Foxwell Endoscope Light Adjustment is crucial for effective vehicle diagnostics. A poorly lit view can lead to misdiagnosis and wasted time. This guide provides in-depth knowledge and practical tips to optimize your Foxwell endoscope’s lighting, ensuring accurate and efficient inspections every time. Whether you’re a seasoned mechanic or a DIY enthusiast, understanding light adjustment will significantly enhance your diagnostic capabilities.
Understanding the Importance of Foxwell Endoscope Light Adjustment
Proper Foxwell endoscope light adjustment ensures clear visibility inside engines, transmissions, and other hard-to-reach areas. This allows for accurate identification of issues such as cracks, leaks, and corrosion. Without proper lighting, even minor problems can be missed, leading to more significant issues down the road. Imagine trying to find a hairline crack in a dark cylinder – a properly adjusted endoscope light is essential for this type of inspection.
Why is Light Adjustment Critical for Diagnostics?
Light adjustment isn’t just about seeing; it’s about seeing clearly. Too much light can wash out details, while too little light obscures them. Optimal Foxwell endoscope light adjustment reveals the nuances and subtle details crucial for accurate diagnoses. This precision saves time and prevents unnecessary repairs.
Common Challenges with Endoscope Lighting
One common challenge is overexposure. Excessive brightness can make it difficult to discern details. Another challenge is uneven lighting, creating shadows that obscure critical areas. Learning to control and adjust the light output of your Foxwell endoscope is essential for overcoming these challenges.
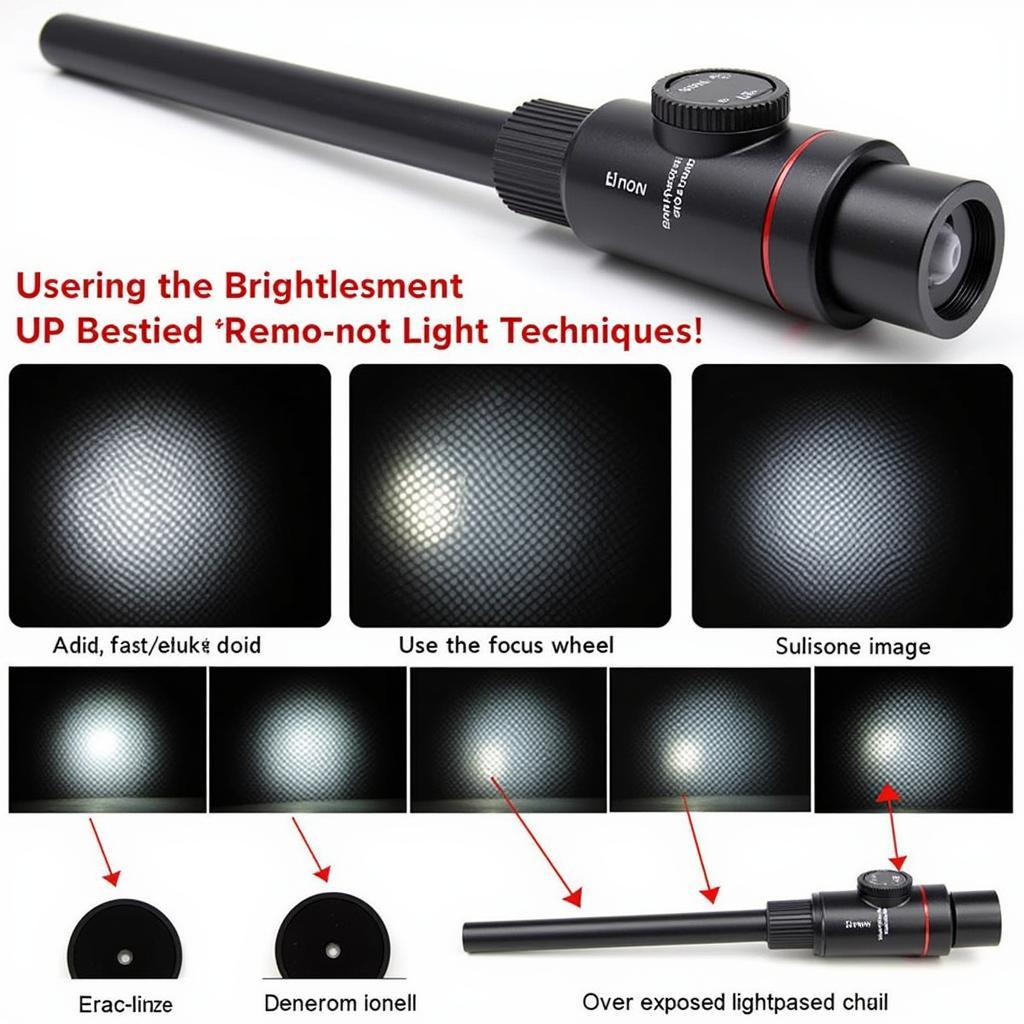 Foxwell Endoscope Light Adjustment Techniques
How to Adjust the Light on Your Foxwell Endoscope
Most Foxwell endoscopes feature a brightness control, usually a dial or buttons on the device itself. Start by familiarizing yourself with the controls on your specific model. Experiment with different light levels to understand how they impact the image quality.
Step-by-Step Guide to Optimal Light Adjustment
- Connect the endoscope: Connect your Foxwell endoscope to your display device.
- Insert the probe: Carefully insert the probe into the area you wish to inspect.
- Adjust the focus: Use the focus wheel to achieve a sharp image.
- Adjust the brightness: Start with a low light setting and gradually increase it until you achieve optimal visibility. Avoid excessive brightness, which can wash out details.
- Observe the image: Carefully examine the area, noting any irregularities.
Tips and Tricks for Effective Light Adjustment
- Start low, go slow: Begin with a low light setting and gradually increase it as needed.
- Avoid overexposure: Excessive brightness can obscure details.
- Consider the environment: Adjust the light based on the ambient lighting conditions.
- Practice makes perfect: Experiment with different settings to find what works best for you.
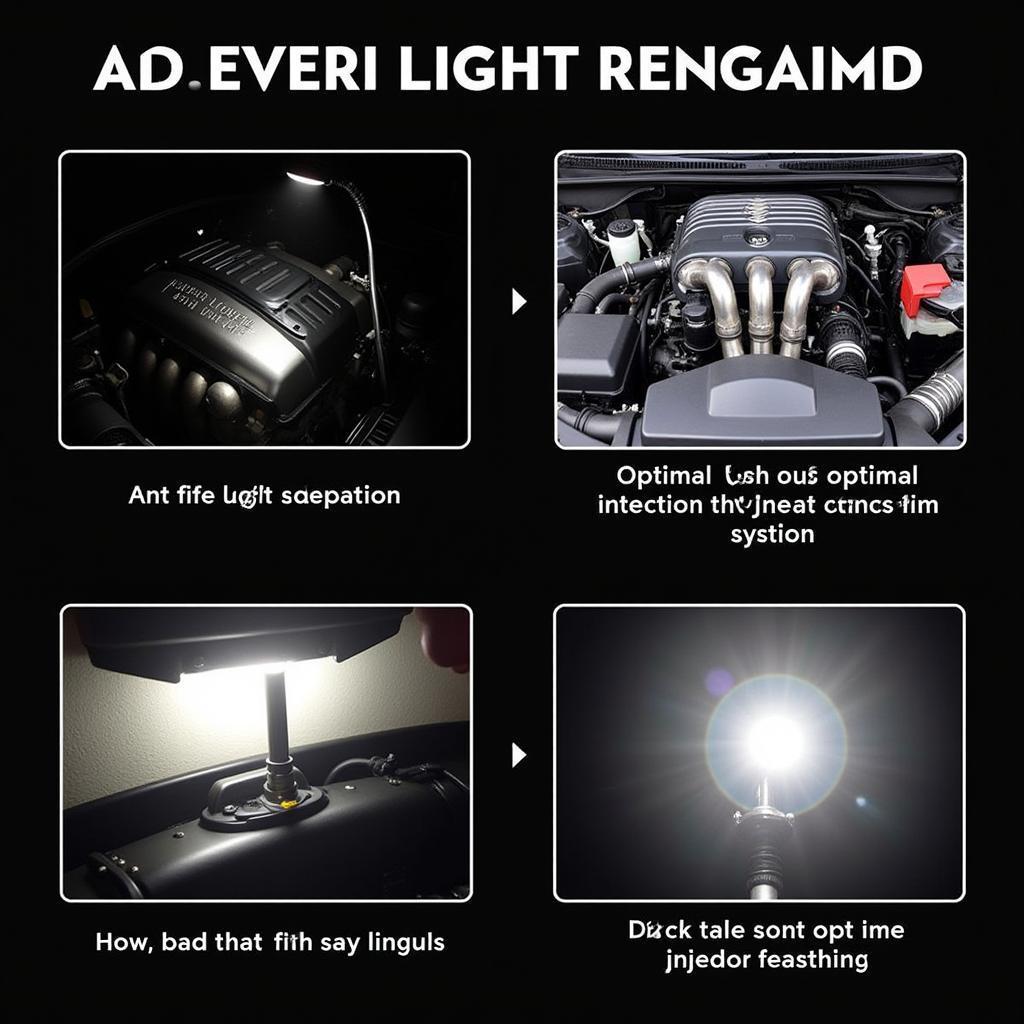 Foxwell Endoscope Optimal Light Settings Examples
Advanced Foxwell Endoscope Light Techniques
Beyond basic brightness control, some Foxwell endoscopes offer advanced lighting features. These might include adjustable LEDs, different light modes, or even UV light for leak detection.
Exploring Advanced Lighting Features
Understanding these advanced features can significantly enhance your diagnostic capabilities. For example, UV light can pinpoint leaks that are invisible under normal light. Similarly, adjustable LEDs can allow you to focus the light on specific areas of interest.
Maximizing Diagnostic Potential with Light Control
“Mastering light control is like having an extra set of eyes,” says John Miller, Senior Automotive Diagnostic Technician at Miller’s Auto Repair. “It allows you to see things you would otherwise miss.” By learning to utilize all the lighting features of your Foxwell endoscope, you can unlock its full diagnostic potential.
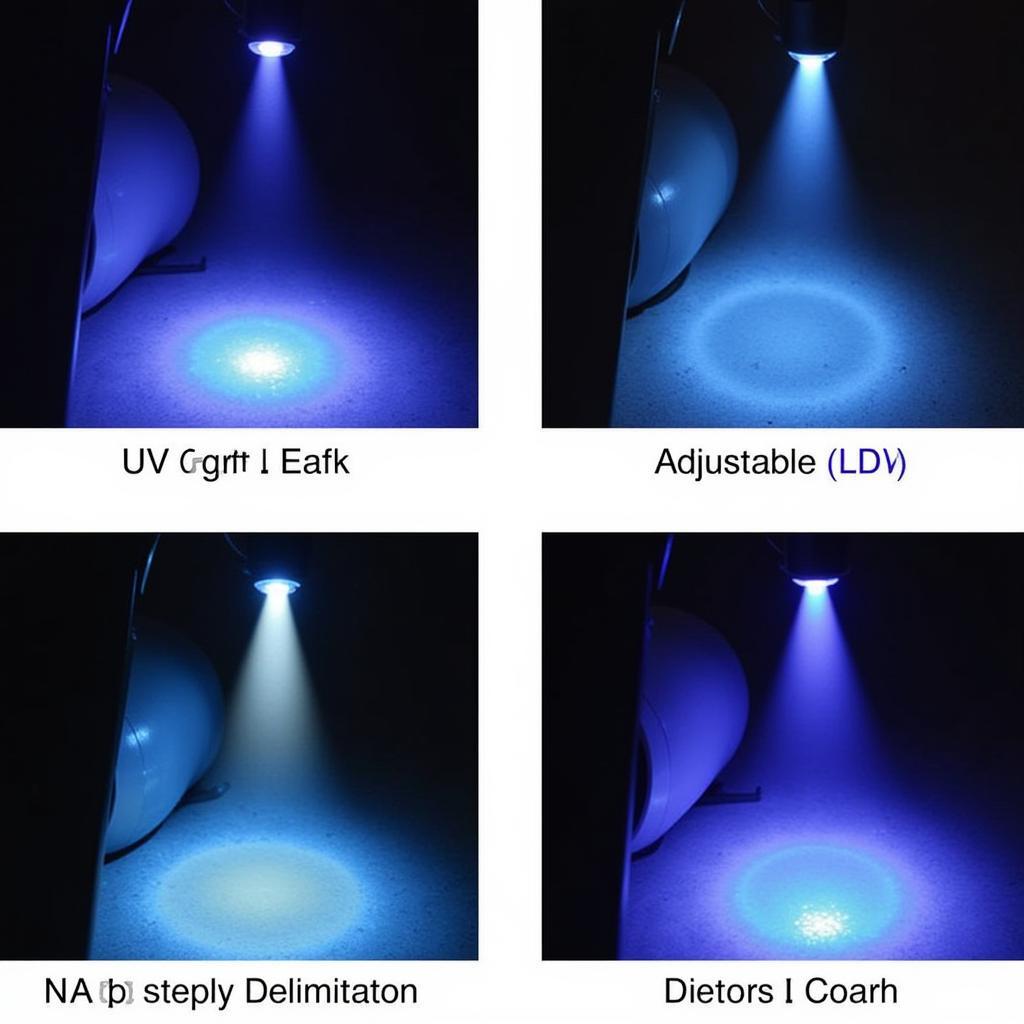 Foxwell Endoscope Advanced Lighting Features Application
Conclusion
Foxwell endoscope light adjustment is a fundamental skill for any automotive technician or DIY enthusiast. Mastering this skill can significantly improve the accuracy and efficiency of your diagnostics. By understanding the principles of light adjustment and utilizing the various features available on your Foxwell endoscope, you can uncover hidden problems and ensure effective vehicle maintenance. For further assistance or inquiries, connect with us at ScanToolUS. Call us at +1 (641) 206-8880 or visit our office at 1615 S Laramie Ave, Cicero, IL 60804, USA.
FAQ
- What if my Foxwell endoscope light isn’t working? Check the connection, battery, and brightness settings.
- How do I avoid overexposure? Start with a low light setting and gradually increase it.
- What are the benefits of using a Foxwell endoscope with adjustable LEDs? It allows you to focus the light on specific areas.
- Can I use a Foxwell endoscope for leak detection? Yes, some models offer UV light for this purpose.
- Why is proper focus important for endoscope use? It ensures a clear and detailed image.
- How do I clean the lens of my Foxwell endoscope? Use a soft, lint-free cloth.
- Where can I find more information on my specific Foxwell endoscope model? Consult the user manual or contact ScanToolUS.

