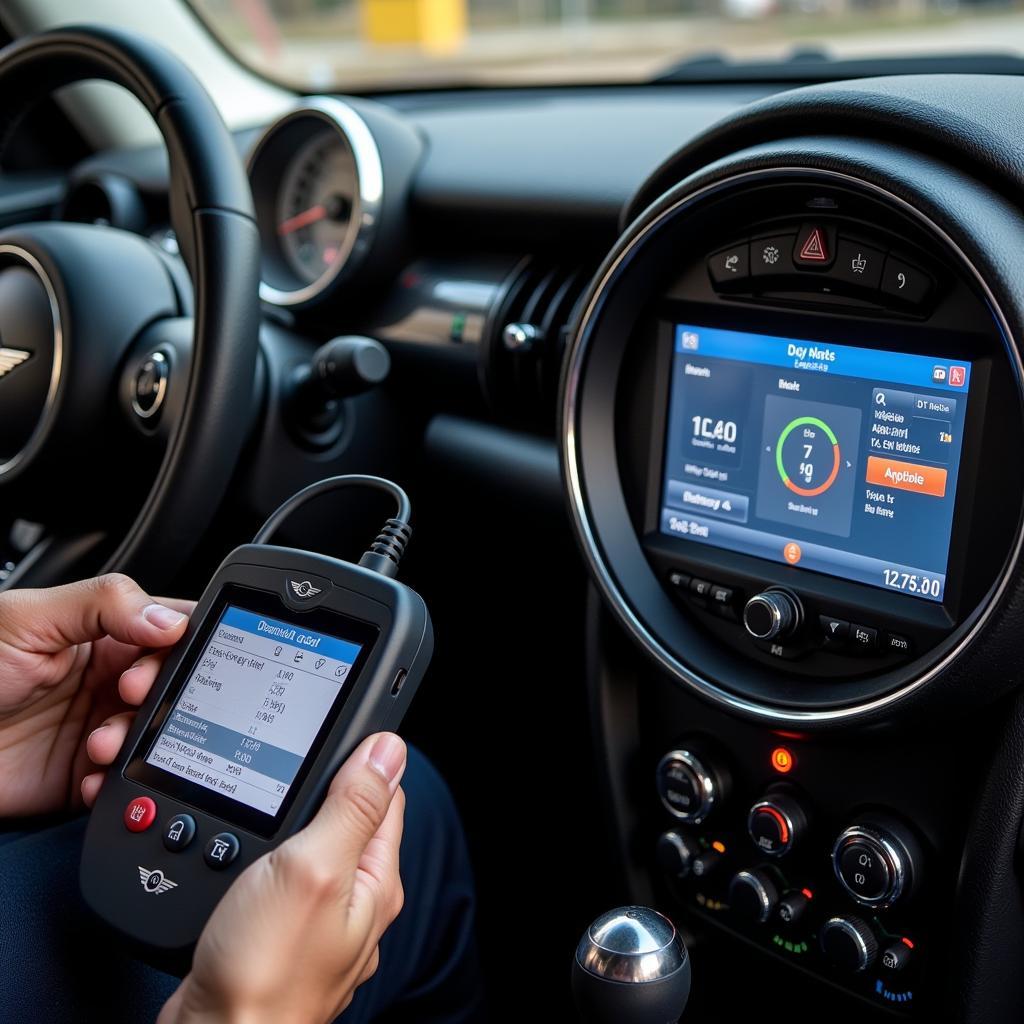
Imagine this: you’re in the middle of diagnosing a tricky car problem, relying on your trusty diagnostic tools to pinpoint the issue. Suddenly, the screen freezes, error messages pop up, or the device just shuts down. You’re left staring at a “Diagnostics Tools Failed Unexpectedly” message, feeling frustrated and unsure of what to do next.
This scenario is all too familiar for many automotive technicians and DIY enthusiasts. The increasing complexity of modern vehicles means we rely more heavily on these electronic tools, and when they fail, it can feel like hitting a brick wall.
Common Reasons Why Diagnostic Tools Fail
Before we dive into solutions, it’s helpful to understand why these tools might fail in the first place. Here are some common culprits:
- Communication Errors: This is often the root of the problem. The diagnostic tool communicates with your car’s onboard computer (ECU) through the OBD-II port. Any disruption in this communication line, be it a loose connection, damaged cable, or faulty port, can lead to failure.
- Software Issues: Outdated, corrupted, or incompatible software on either the diagnostic tool or your computer (if applicable) can cause unexpected errors and failures.
- Hardware Malfunctions: Like any electronic device, diagnostic tools are susceptible to hardware issues. A failing battery, internal component damage, or even overheating can render them unusable.
- Vehicle-Specific Issues: Some vehicles, especially older models, might have unique communication protocols or software incompatibilities that certain diagnostic tools struggle with.
Troubleshooting Steps When Your Diagnostic Tool Fails
Experiencing a diagnostic tool failure can be frustrating, but don’t panic! Here’s a step-by-step guide to help you troubleshoot the issue:
-
Check the Basics:
- Connection: Ensure the diagnostic tool is properly connected to both the vehicle’s OBD-II port and any external power source (if required). Wiggle the connector gently to check for a loose connection.
- Power Supply: If the tool uses an external power source, verify that it’s receiving power. Check the outlet, power adapter, and the tool’s battery (if applicable) for any issues.
- Cables: Inspect the OBD-II cable for any visible damage, such as cuts, frays, or bent pins. Replace the cable if you suspect any damage.
-
Restart Everything: Sometimes, a simple reboot can resolve temporary glitches. Turn off the ignition, disconnect the diagnostic tool, and power it down. Wait for a few minutes, then power everything back on and try again.
-
Consult the User Manual: Each diagnostic tool has its own set of quirks and troubleshooting procedures. Consult the user manual for specific instructions and error codes related to your device. It often provides valuable insights into potential issues and solutions.
-
Update Software: Outdated software can lead to compatibility issues and errors. Connect your diagnostic tool to a computer and check for any available software updates from the manufacturer’s website. Download and install the latest updates if available. For further guidance on Visual Studio diagnostics tools, you can refer to visual studio 15 diagnostic tools.
-
Try a Different Vehicle: If possible, connect your diagnostic tool to another vehicle to rule out a vehicle-specific issue. If it works on a different car, then the problem likely lies with the original vehicle’s OBD-II system or a compatibility issue.
-
Isolate the Problem: If you suspect the issue lies with the the diagnostic tools failed unexpectedly. the diagnostics hub output, try using a different OBD-II device, such as a basic code reader. If the other device also fails to connect, the problem may be with the vehicle’s OBD-II system, requiring further investigation.
-
Seek Professional Help: If you’ve exhausted all troubleshooting options and the diagnostic tool is still failing, it’s time to contact the manufacturer’s support or consult a qualified automotive electrician. They have the expertise and specialized equipment to diagnose and repair more complex issues.
Tips for Preventing Diagnostic Tool Failures
Prevention is always better than cure. Here are some tips to minimize the chances of your diagnostic tools failing unexpectedly:
- Invest in Quality Tools: While budget-friendly options might be tempting, investing in reputable brands with a proven track record often leads to greater reliability and longevity.
- Store Properly: Protect your diagnostic tools from extreme temperatures, moisture, and physical impact. Store them in a clean, dry place when not in use.
- Regular Updates: Manufacturers often release software updates to improve performance, fix bugs, and enhance compatibility. Make it a habit to regularly check for and install updates.
- Handle with Care: Treat your diagnostic tools with care. Avoid dropping them, exposing them to liquids, or using them for purposes other than intended.
- Professional Maintenance: For high-end or frequently used tools, consider periodic professional inspection and maintenance to identify and address potential issues before they escalate.
“Regular maintenance of your diagnostic tools is like getting regular checkups for your own health,” says John Smith, a veteran automotive electrician with over 20 years of experience. “It can save you from major headaches and costly repairs down the road.”
Conclusion
Experiencing the dreaded “diagnostics tools failed unexpectedly” message doesn’t have to bring your work to a standstill. By following these troubleshooting steps and preventative measures, you can increase the lifespan of your tools and get back to diagnosing and repairing vehicles efficiently. If you find yourself in need of further assistance, don’t hesitate to contact the experts at ScanToolUS at +1 (641) 206-8880 or visit our office at 1615 S Laramie Ave, Cicero, IL 60804, USA.


