Using a car diagnostic scanner with your Windows 10 device can seem daunting at first, but it’s actually a straightforward process with the right guidance. This article provides a step-by-step approach to help you connect and use your car scanner effectively.
Understanding Car Diagnostic Scanners and Their Importance
Modern vehicles come equipped with onboard computers known as Electronic Control Units (ECUs). These ECUs control and monitor various vehicle systems. A car diagnostic scanner, also called an OBD2 scanner, serves as a bridge between your Windows 10 device and your vehicle’s ECUs, allowing you to access and understand your car’s health in detail.
Choosing the Right Car Diagnostic Scanner for Windows 10
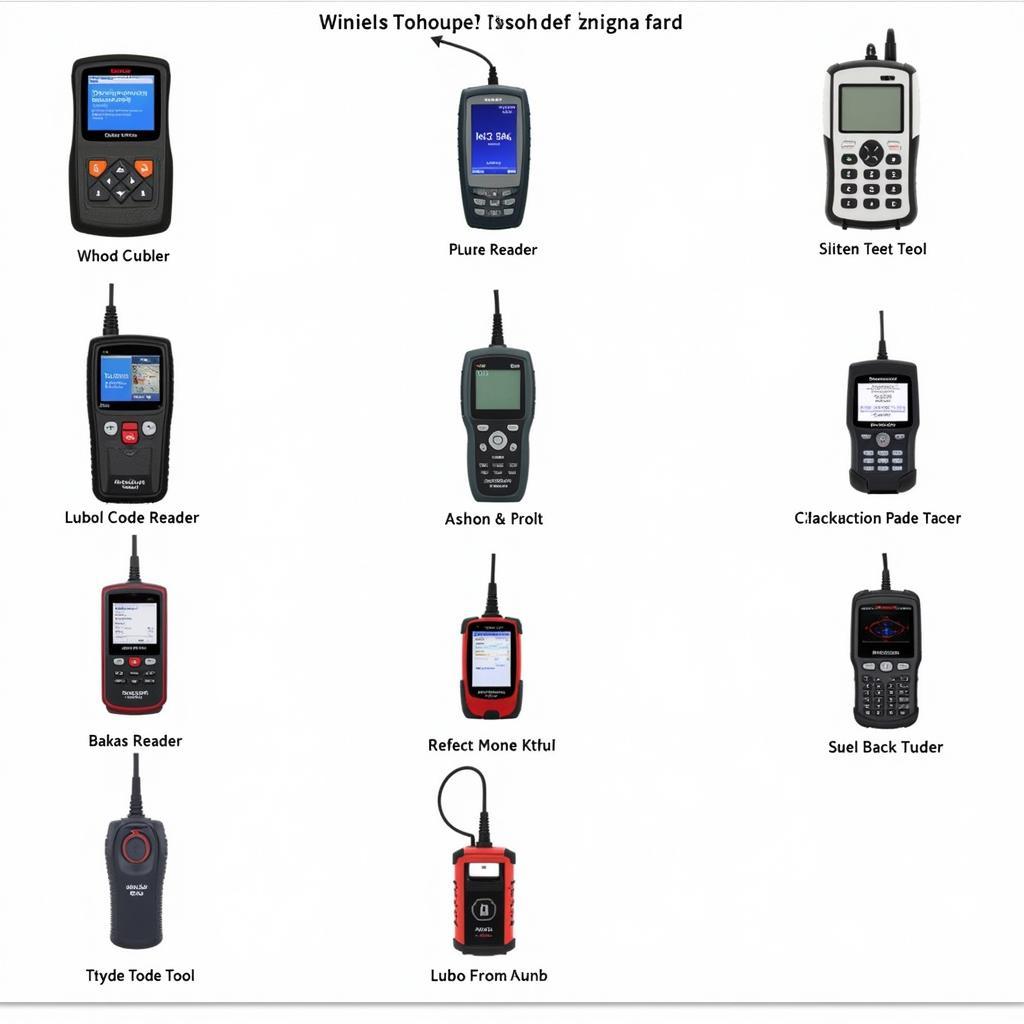
Selecting the right scanner is crucial. Consider the following factors:
- Compatibility: Ensure the scanner explicitly states compatibility with Windows 10.
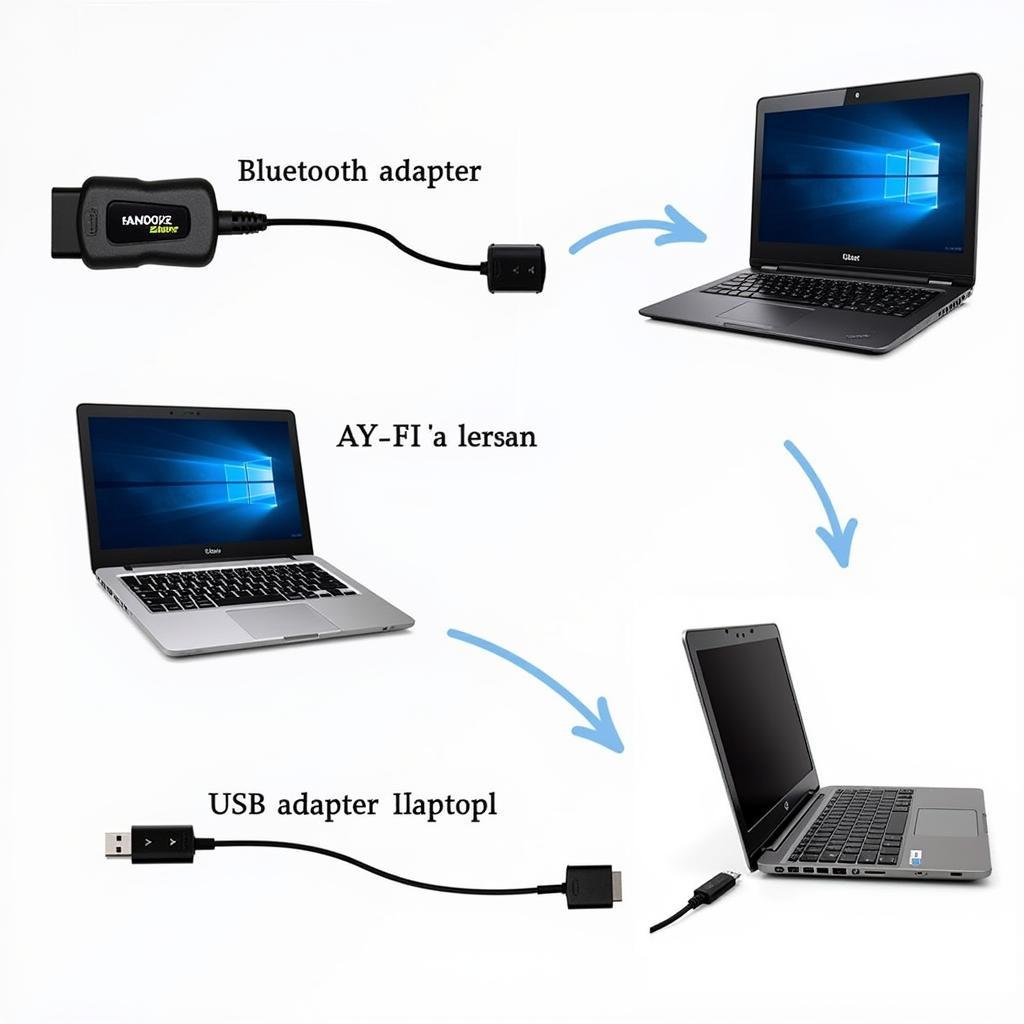
- Connection Type: Scanners generally connect via USB, Bluetooth, or Wi-Fi. Choose the option most convenient for your needs.
- Software Features: Different scanners offer a range of software capabilities, from basic code reading to live data streaming and advanced diagnostics.
Step-by-Step Guide to Connecting Your Scanner
1. Locate Your Vehicle’s OBD2 Port
The OBD2 port is typically located under the dashboard on the driver’s side.
2. Connect the Scanner to Your Vehicle and Computer
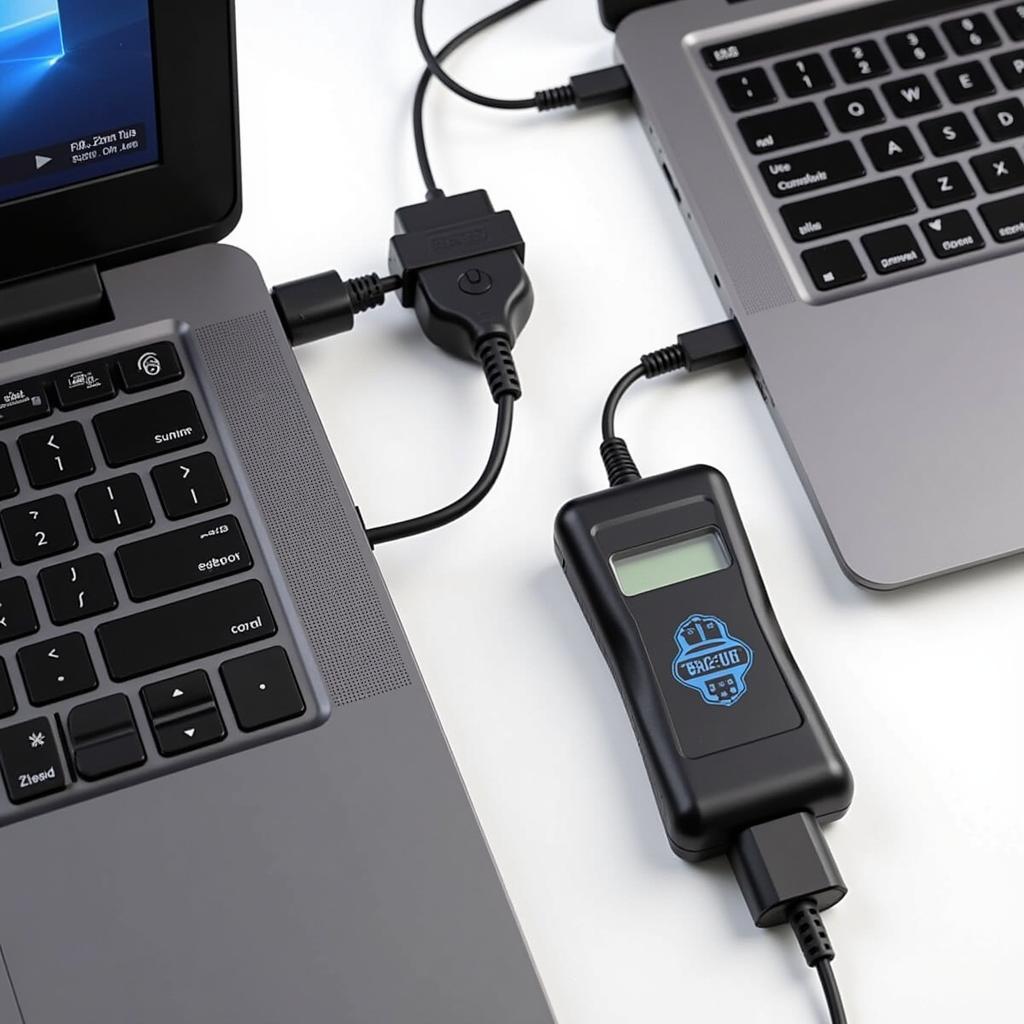
Plug the scanner into the OBD2 port and connect it to your Windows 10 device using the appropriate cable (USB, Bluetooth pairing, or Wi-Fi connection).
 Connecting the Car Scanner
3. Install the Necessary Software
Most scanners come with a CD containing the required drivers and software. If not, download the latest version from the manufacturer’s website.
4. Turn On Your Vehicle’s Ignition
Turn the ignition to the “on” position but do not start the engine. This powers up the ECUs.
5. Launch the Scanner Software
Once the software launches, it will usually automatically detect the connected scanner.
6. Establish Communication
The software will attempt to establish communication with your vehicle’s ECUs. Follow any on-screen prompts.
Troubleshooting Connection Issues
- Verify Compatibility: Double-check that both the scanner and software are compatible with your Windows 10 version.
- Check Drivers: Ensure the correct drivers are installed and updated.
- Examine Connections: Inspect the OBD2 port, cables, and connections for any damage or looseness.
- Consult Manufacturer Websites: Refer to the manufacturer’s website or support documentation for troubleshooting tips.
Utilizing the Scanner Software
Once connected, you can use the software to:
- Read and Clear Diagnostic Trouble Codes (DTCs): Identify the source of warning lights or performance issues.
- View Live Data Streams: Monitor real-time sensor readings to analyze vehicle performance.
- Perform Actuator Tests: Activate components like fuel injectors or solenoids to test their functionality.
“Regularly scanning your vehicle using a Windows 10 compatible scanner allows for early detection of potential issues,” advises Robert Hernandez, Senior Automotive Engineer at ScanToolUS. “This proactive approach can save you time, money, and potential headaches down the road.”
Conclusion
Connecting a car diagnostic scanner to your Windows 10 device opens a window into your vehicle’s health. By following this guide, you can unlock a wealth of information about your car’s performance and address minor issues before they escalate. Need assistance? Contact the experts at ScanToolUS at +1 (641) 206-8880 or visit our office at 1615 S Laramie Ave, Cicero, IL 60804, USA.


