In the fast-paced world of automotive repair, having the right tools can mean the difference between a quick fix and a frustrating headache. That’s where Bootable Usb Computer Diagnostic Tools come in. These powerful tools allow you to diagnose and troubleshoot car problems with a level of depth and accuracy that traditional methods simply can’t match.
Why Use Bootable USB Computer Diagnostic Tools?
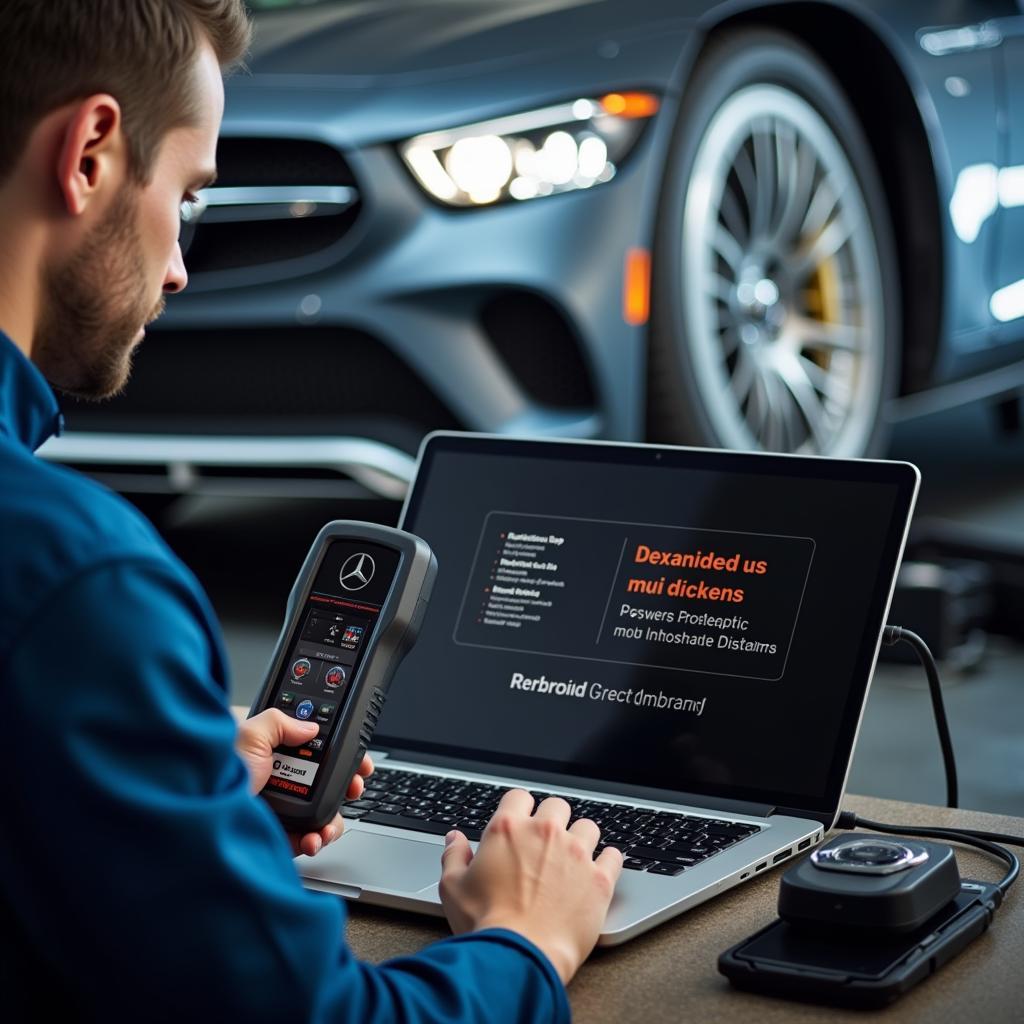
Unlike generic OBD2 scanners that provide basic fault codes, bootable USB diagnostic tools transform a computer into a comprehensive automotive diagnostic system. This offers several advantages:
- Advanced Diagnostics: Access manufacturer-specific diagnostics, delve deeper into system logs, and perform complex tests for a thorough understanding of the issue.
- Software Updates: Many tools enable firmware and software updates for various vehicle modules, keeping your clients’ cars running smoothly with the latest software versions.
- Cost-Effective: Purchasing individual scan tools for each car manufacturer is expensive. A bootable USB tool provides a more cost-effective solution by offering broad compatibility in one package.
Choosing the Right Bootable USB Diagnostic Tool
Navigating the world of bootable diagnostic tools can feel like navigating a complex engine bay. Here’s a roadmap to help you:
- Vehicle Compatibility: Not all tools are created equal. Some specialize in specific manufacturers, while others boast broader compatibility. Determine the makes and models you primarily service and select a tool accordingly.
- Software Features: Consider what features are essential for your work. Do you need access to ECU programming, bi-directional controls, or advanced coding functions?
- User Interface: A user-friendly interface is crucial. Look for tools with intuitive menus, clear instructions, and helpful resources.
Creating a Bootable USB Diagnostic Tool
Once you’ve chosen the right software, creating the bootable USB drive is usually straightforward. Here’s a general guide:
- Download the Software: Obtain the correct software version from the manufacturer’s website. Be sure it’s compatible with your chosen USB drive and operating system.
- Format the USB Drive: Format the USB drive to the required file system (usually FAT32 or NTFS). Ensure the drive has sufficient storage capacity for the software.
- Run the Bootable USB Creation Tool: Most software packages come with a dedicated tool to create the bootable media. This tool will guide you through the process, which typically involves selecting the software image and the target USB drive.
- Verify the Bootable Drive: After the creation process, safely eject the USB drive and test it on a different computer to ensure it boots correctly.
Remember to always consult the specific instructions provided by the software developer, as the process may vary slightly between different tools.
Using Your Bootable USB Diagnostic Tool
With your bootable USB drive ready, you’re equipped to dive into the world of advanced diagnostics:
- Boot Your Computer: Insert the USB drive into your computer and restart it. Access the boot menu (usually by pressing F12 or Delete during startup) and select the USB drive as the boot device.
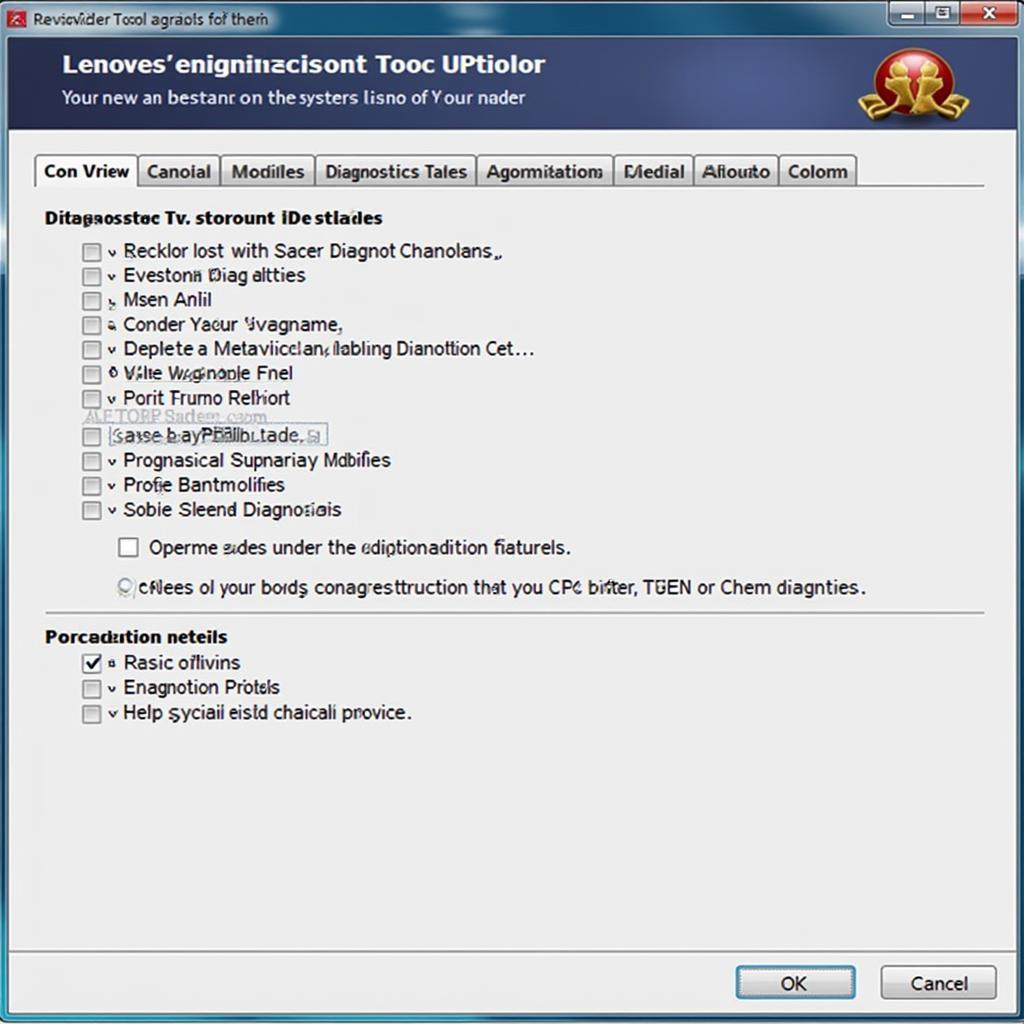
- Navigate the Diagnostic Software: Once the software loads, you’ll be greeted by the main menu. Familiarize yourself with the layout and options.
- Connect to the Vehicle: Connect your computer to the vehicle’s OBD2 port using a compatible cable.
- Diagnose and Troubleshoot: Begin diagnosing the vehicle by selecting the appropriate make, model, and system. Access live data streams, read and clear fault codes, and perform various tests to pinpoint the root cause of the problem.
Common Uses for Bootable USB Diagnostic Tools
The applications for bootable USB diagnostic tools are vast and ever-evolving. Here are some common use cases:
- Diagnosing Engine Problems: Identify issues related to fuel delivery, ignition timing, emissions, and more.
- Troubleshooting Transmission Issues: Analyze shift patterns, clutch performance, and other transmission-related parameters.
- Analyzing ABS and Airbag Systems: Diagnose problems with anti-lock braking systems, airbags, and other safety-critical components.
- Resetting Service Lights: After performing maintenance tasks, reset service reminders and warning lights.
- Programming Electronic Modules: In some cases, these tools can program new modules, such as keys and ECUs, offering a significant advantage in certain repair scenarios.
Troubleshooting Tips
- USB Drive Not Booting: Double-check that the USB drive is correctly formatted and that the boot order in your computer’s BIOS settings is set to prioritize USB drives.
- Software Compatibility Issues: Ensure the diagnostic software you’ve chosen is compatible with the make, model, and year of the vehicle you’re working on. Consult the software’s documentation or contact the developer for compatibility information.
- Driver Problems: Sometimes, your computer might require specific drivers to communicate with the diagnostic interface or vehicle. Check the manufacturer’s website for the latest drivers and install them if necessary.
If you encounter issues like needing to understand how to stop the Windows memory diagnostics tool on startup or are seeking specific tools like the Western Digital drive diagnostics tool, online resources can provide valuable assistance. For those working with older systems, exploring what diagnostic tools are available for Windows 7 can be helpful.
Conclusion
Bootable USB computer diagnostic tools have become indispensable assets in the automotive repair industry. Their ability to unlock in-depth vehicle data, perform advanced functions, and adapt to evolving technology makes them powerful allies for mechanics and technicians.
By understanding the selection criteria, mastering the creation process, and familiarizing yourself with common use cases, you can leverage these tools to enhance your diagnostic capabilities and provide top-notch service to your clients. Need expert assistance? Don’t hesitate to contact ScanToolUS at +1 (641) 206-8880 or visit our office at 1615 S Laramie Ave, Cicero, IL 60804, USA.


